Cannabis needs three primary macronutrients (nitrogen, phosphorus, and potassium), three secondary macronutrients (calcium, magnesium, and sulfur), and a handful of micronutrients (iron, manganese, zinc, copper, boron, molybdenum, and a few others) to complete its life cycle and produce quality buds. Get the big three right and dial in pH, and you'll solve about 90% of nutrient problems before they start. Miss the details on calcium, magnesium, or iron, and your grow will look fine until week four of flower when things start falling apart fast.
What Nutrients Does Weed Need to Grow: Full Guide

Marcus Holloway
2 Apr 2026
The complete nutrient list cannabis actually needs
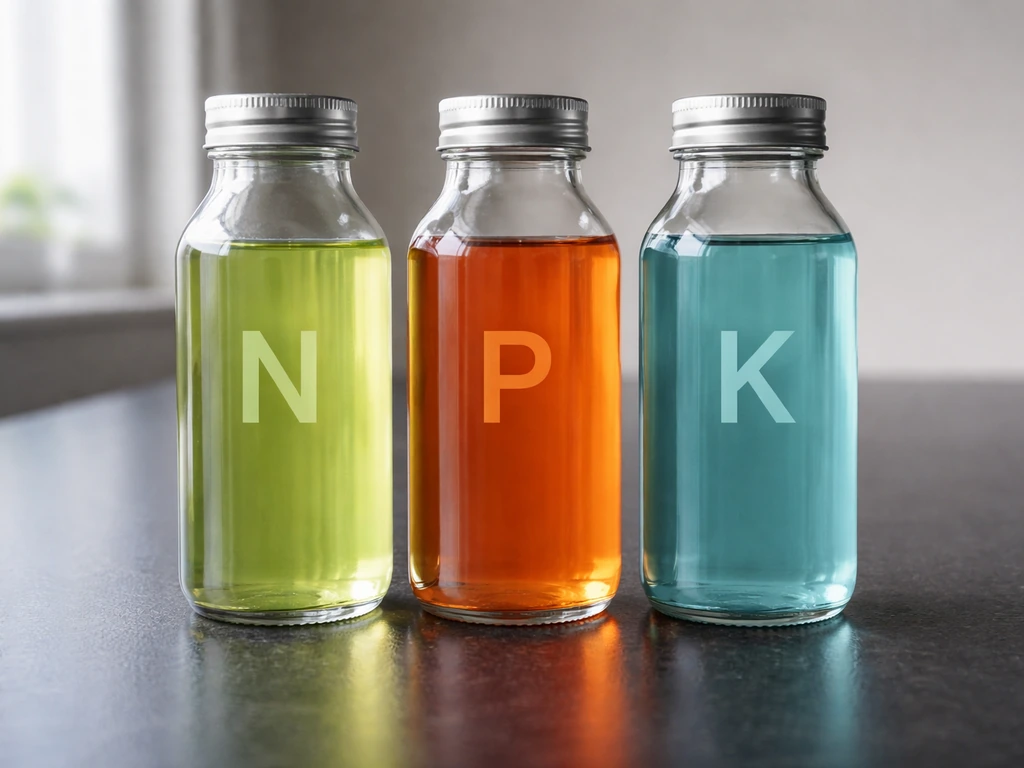
Primary macronutrients: N, P, and K
Nitrogen (N), phosphorus (P), and potassium (K) are the three nutrients you'll see listed on every bottle of fertilizer. They're consumed in the largest quantities and drive the most visible plant responses. Nitrogen pushes leaf and stem growth. Phosphorus supports root development, energy transfer, and bud formation. Potassium regulates water movement, enzyme activation, and overall plant strength. Every cannabis nutrient line is built around manipulating the ratio of these three elements across the grow.
Secondary macronutrients: Ca, Mg, and S
Calcium, magnesium, and sulfur are needed in smaller amounts than N/P/K but are still consumed in significant quantities. Calcium builds cell walls and is critical for new growth. Magnesium sits at the center of every chlorophyll molecule, making it essential for photosynthesis. Sulfur supports protein synthesis and enzyme function. These three are often overlooked by beginners, which is exactly why calcium and magnesium deficiencies are among the most common mid-grow problems you'll run into.
Micronutrients: small amounts, big consequences
Micronutrients are needed in trace amounts, but that doesn't mean they're optional. Iron is essential for chlorophyll synthesis and enzyme function. Manganese assists in photosynthesis and nitrogen metabolism. Zinc supports growth hormone production and enzyme systems. Copper is involved in respiration and reproductive development. Boron facilitates cell wall formation and sugar transport. Molybdenum plays a specific role in protein synthesis and nitrogen fixation. Nickel and chlorine round out the list, though deficiencies in those two are extremely rare in a managed grow environment.
What each nutrient actually does for your plant
Understanding the roles nutrients play helps you connect what you see on your plants to what's happening at the root and cellular level. Here's how cannabis uses each one in practice:
| Nutrient | Primary Role | Visible Impact When Deficient |
|---|---|---|
| Nitrogen (N) | Protein and chlorophyll production, vegetative growth | Yellowing of older leaves, slow growth, pale green color overall |
| Phosphorus (P) | Energy transfer (ATP), root growth, bud development | Dark or purplish leaves, poor root development, slow flowering |
| Potassium (K) | Water regulation, enzyme activation, plant immunity | Leaf edge burn, weak stems, susceptibility to disease |
| Calcium (Ca) | Cell wall integrity, new tissue formation | Brown spots on new leaves, distorted or cupped new growth |
| Magnesium (Mg) | Chlorophyll molecule center, enzyme activation | Interveinal chlorosis on older leaves, rust-colored spots |
| Sulfur (S) | Amino acid and protein synthesis | Yellowing of new leaves (rare in managed grows) |
| Iron (Fe) | Chlorophyll synthesis, enzyme function | Yellowing between veins on new growth (interveinal chlorosis) |
| Manganese (Mn) | Photosynthesis support, nitrogen metabolism | Interveinal chlorosis on young leaves, small brown spots |
| Zinc (Zn) | Growth hormone and enzyme production | Small leaves, short internodes, mottled leaf coloration |
| Copper (Cu) | Respiration, reproductive development | Bluish-green leaves, wilting, reduced vigor |
| Boron (B) | Cell wall formation, sugar transport | Distorted new growth, hollow stems, dead growing tips |
| Molybdenum (Mo) | Protein synthesis, nitrogen metabolism | Interveinal chlorosis, leaf cupping (often looks like N deficiency) |
One of the most useful practical concepts here is the mobile vs. immobile nutrient distinction. Mobile nutrients like nitrogen, phosphorus, and potassium can be relocated from older tissue to support new growth when supplies run short, so their deficiency symptoms appear on older, lower leaves first. Immobile nutrients like calcium and sulfur can't be moved once they're locked into plant tissue, so those deficiencies show up on the newest growth first. Knowing this lets you narrow down a problem quickly: yellowing on your lower fan leaves points toward a mobile nutrient issue; distorted or spotted new growth at the tips points toward calcium, iron, or another immobile element.
How nutrient needs shift from seedling to harvest
Seedling stage (weeks 1–2)
Seedlings are fragile and have tiny root systems. They need almost nothing from you at this stage. If you're growing in a quality pre-amended soil, don't add any nutrients for the first two weeks. The seed itself contains enough energy for early development, and overfeeding a seedling causes more damage than underfeeding. In hydroponics or coco, start at an EC of around 0.3–0.6 mS/cm (roughly 210–420 ppm on the 500 scale). Use a gentle, balanced formula at quarter strength. Your only real job at this stage is keeping pH in range and not drowning the roots. Oklahoma State University Extension recommends keeping hydroponic nutrient solution pH in a suitable range, typically around 5 to 6 (about 5.5 for soilless culture), because pH strongly affects nutrient availability pH in range.
Vegetative stage (weeks 3–8, depending on strain)
This is when nitrogen becomes the dominant nutrient demand. Plants are building stems, leaves, and root mass, all of which are nitrogen-intensive processes. A high-nitrogen grow formula with moderate phosphorus and potassium is exactly what you want here. Feed at an EC of roughly 1.0–1.6 mS/cm in hydro or coco, and about 0.8–1.1 mS/cm in soil (soil's buffering capacity means you don't need to push as hard). Calcium and magnesium demand also rises significantly during veg, particularly under strong LED or HPS lighting that drives rapid growth. This is the stage where most growers add a dedicated Cal-Mag supplement if their base formula doesn't already cover it.
Flowering stage (weeks 1–8+ of flower)
When you flip to 12/12 or your autoflower hits its trigger, the nutrient demand profile shifts significantly. Phosphorus and potassium need to increase relative to nitrogen. Nitrogen doesn't disappear entirely during flower, but excess nitrogen in mid-to-late flowering interferes with bud development and can cause loose, leafy buds. A bloom-specific formula with an elevated P/K ratio is the right move from week two of flower onward. EC targets rise during peak flowering to around 1.5–2.0 mS/cm in hydro (1050–1400 ppm), and you can push toward 1.6–2.4 mS/cm during heavy feeding weeks if your plants are responding well. In the final 1–2 weeks before harvest, most growers reduce feed strength or flush entirely to clear accumulated salts and improve flavor. For coco, a flush target of EC below 0.12 mS/cm with pH-adjusted water (around 6.0–6.4) about three days before harvest is a common and effective approach.
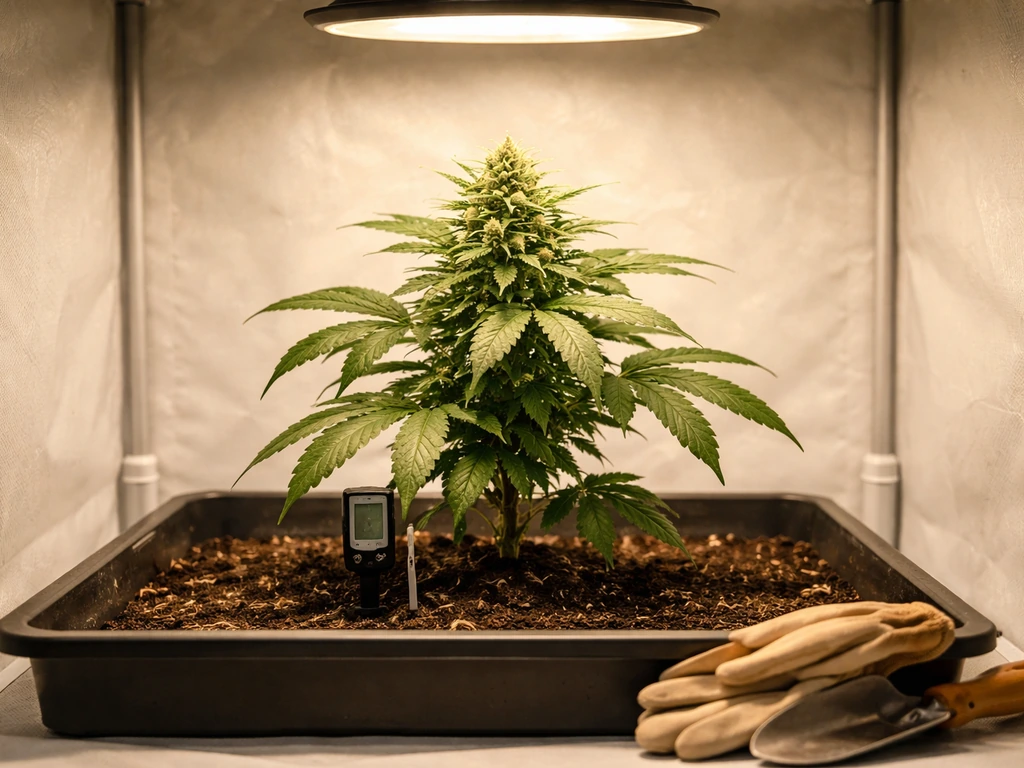
Feeding in soil vs. hydroponics: they're not the same game
The core difference between soil and hydro feeding comes down to buffering and speed. Soil acts as a reservoir that absorbs, holds, and slowly releases nutrients, which means it forgives overfeeding more than hydro does and doesn't require daily intervention. Hydro (and coco, which behaves like hydro) delivers nutrients directly to roots with no buffer, so plants respond faster, both to correct feeding and to mistakes. As one practical framing puts it: hydro demands tighter EC and daily pH checks compared with the looser, weekly monitoring approach that works fine in a well-amended soil grow.
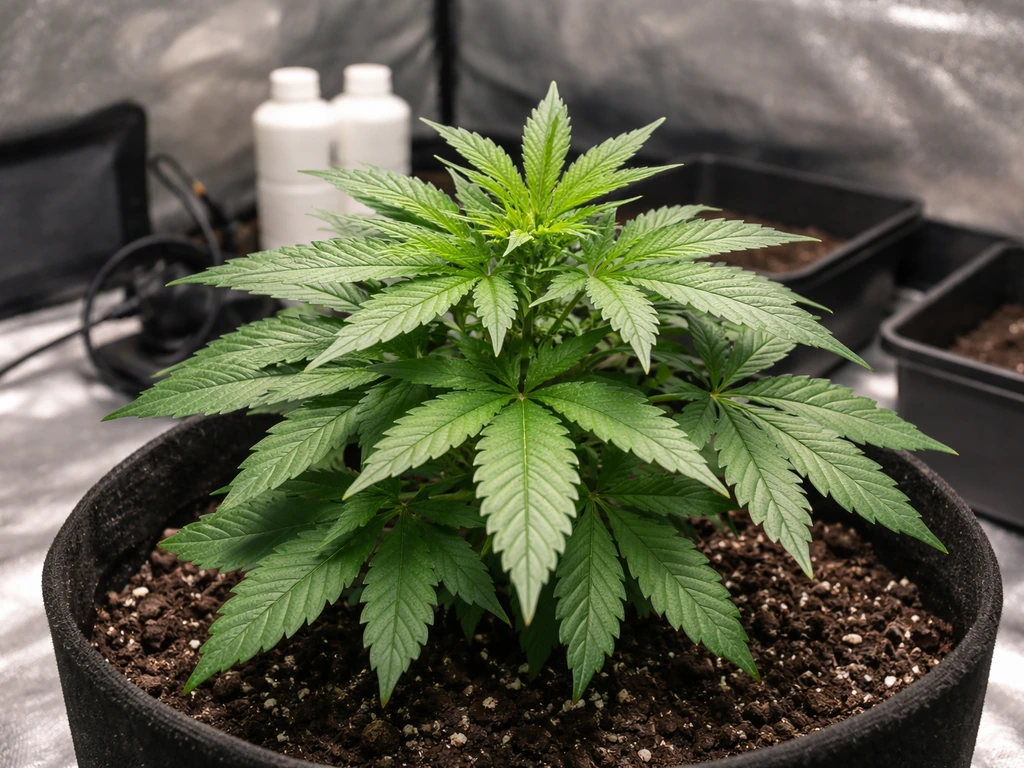
Feeding in soil
In soil, start with a quality pre-amended mix that already contains slow-release nutrients. Many premium soils have enough phosphorus and micronutrients to carry plants through most of the vegetative stage without any additional feeding. When you do start feeding, use liquid nutrient lines at the lower end of the recommended dose and work up based on plant response. Maintain root-zone pH between 6.0 and 7.0, with most of your time spent between 6.2 and 6.9. That window keeps the widest range of nutrients available. Going above 6.5 starts locking out iron; going below 6.0 causes calcium and magnesium availability to drop. Monitor runoff pH and EC periodically to catch salt buildup before it becomes a problem. If your runoff EC is climbing well above your input EC, a plain water flush or reduced feeding period helps reset the root zone.
Feeding in hydroponics and coco
In hydro and coco, you're the soil. Every nutrient the plant gets comes from you, in the exact concentration you provide it. Target pH of 5.7–6.1 for coco and most recirculating hydro setups, with some growers preferring the slightly wider window of 5.5–6.2. Check and adjust pH daily, especially in RDWC or NFT systems where pH can drift significantly between checks. EC meter drift is a real problem that can silently wreck a feeding schedule, so calibrate your EC and pH meters regularly, at minimum once a week in an active grow. Start new plants at the low end of the EC range for their stage and adjust upward based on how the plant responds, not just because the calendar says to.
Coco specifically requires more frequent watering than soil because it holds less residual moisture and has essentially no nutrient buffering. Many experienced coco growers feed at every watering, using a full nutrient solution each time rather than alternating water and feed. If you want to go deeper on nutrient product selection for this medium specifically, there's a solid breakdown in this guide on the best nutrients for coco coir grow that covers the top options worth considering.
Soil vs. hydro at a glance
| Factor | Soil | Hydroponics / Coco |
|---|---|---|
| pH target range | 6.0–7.0 (ideal 6.2–6.9) | 5.5–6.2 (ideal 5.7–6.1) |
| EC/PPM monitoring | Weekly runoff checks | Daily input and reservoir checks |
| Nutrient buffering | High (soil holds and releases) | None (direct delivery only) |
| Risk of overfeeding | Lower (soil absorbs excess) | Higher (roots exposed directly) |
| Seedling EC target | No feed (pre-amended soil) | 0.3–0.6 mS/cm (210–420 ppm) |
| Veg EC target | 0.8–1.1 mS/cm (feed-dependent) | 1.0–1.6 mS/cm |
| Peak flower EC target | 1.2–1.6 mS/cm | 1.5–2.4 mS/cm |
| Flush EC target | Run plain 6.0–6.5 pH water | Below 0.12 mS/cm, pH 6.0–6.4 |
| Cal-Mag supplementation | Often needed under intense light | Almost always needed |
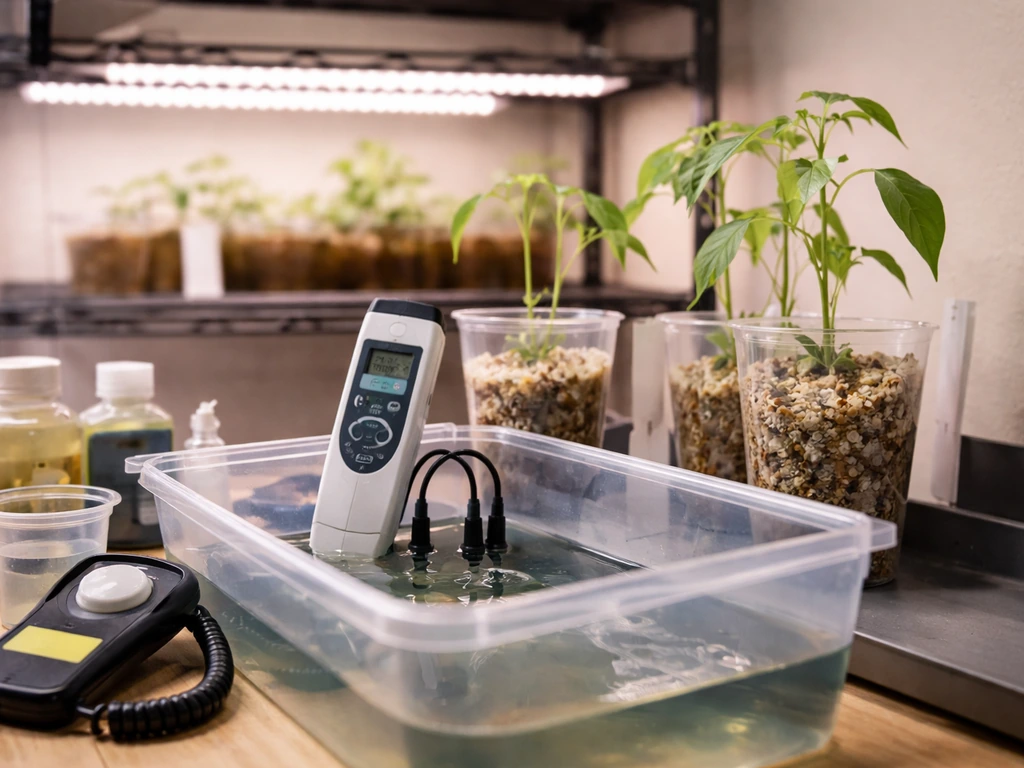
Setting pH, EC, and water quality targets correctly
pH is the single most important variable in cannabis nutrient management. Most nutrient deficiencies that growers blame on missing supplements are actually pH lockout problems. When root-zone pH drifts out of range, nutrients become chemically unavailable even when they're physically present in the solution or soil. Iron chlorosis is a textbook example: it's extremely common when soil pH climbs above 6.5, because high pH converts iron into forms the plant can't absorb. The fix isn't more iron, it's correcting the pH. This is why a large percentage of grower problems trace back to incorrect pH rather than missing nutrients.
For EC and PPM measurement, understand which scale your meter uses. The 500 scale (multiply EC mS/cm by 500) is common in the US. The 700 scale (multiply EC by 700) is used by some brands, including Hanna instruments. Always check which scale your meter is on before comparing numbers with a feeding chart, because the same solution will read about 500 ppm on one scale and 700 ppm on the other. A seemingly small difference in reading can lead you to significantly under- or over-feed your plants.
Water quality also matters more than many beginners expect. If your tap water starts at an EC of 0.4–0.5 mS/cm (which is common in many municipal supplies), that already counts toward your plant's nutrient load. Subtract your baseline water EC from your target solution EC to determine how much nutrient concentrate to add. Growers using RO (reverse osmosis) water start from near-zero EC and have total control over their solution, but they also need to add Cal-Mag back since RO strips out calcium and magnesium that tap water typically contains.
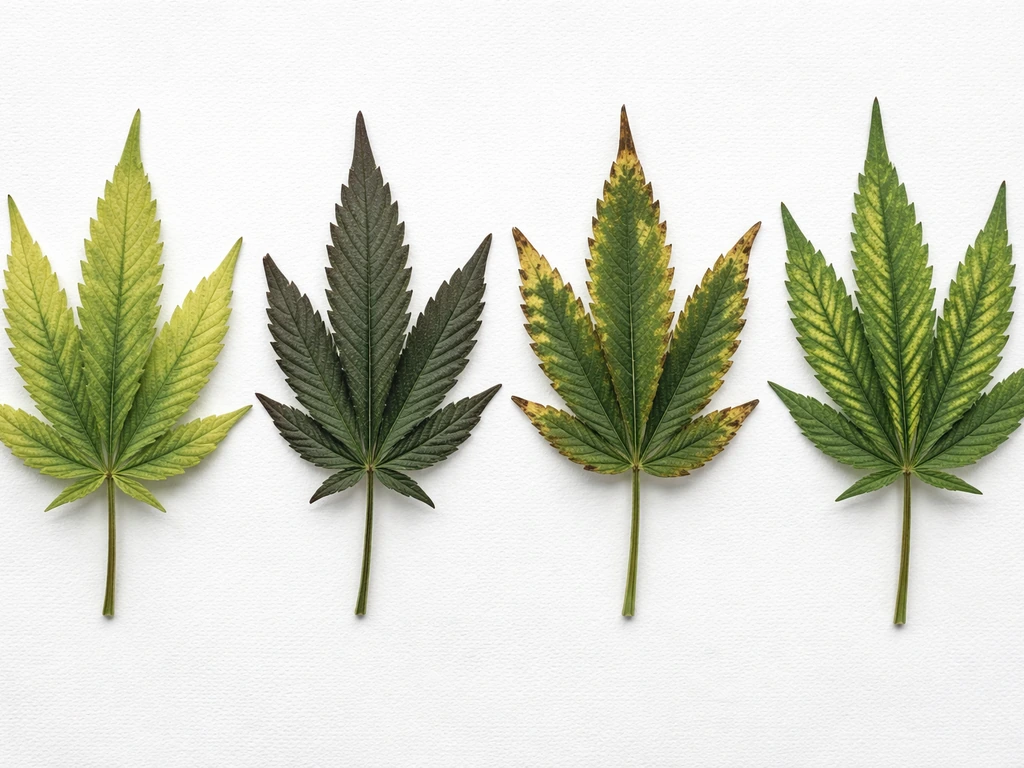
Troubleshooting by symptom: what your leaves are telling you
When something looks wrong, the first step is figuring out whether you're dealing with a deficiency, a toxicity, or a pH lockout problem. The location of symptoms on the plant is your first diagnostic clue. Symptoms on older, lower leaves: check mobile nutrients (N, P, K, Mg). Symptoms on new growth at the tips or in the center of the canopy: check immobile nutrients (Ca, Fe, B) and pH.
Common deficiency symptoms and likely causes
| Symptom | Likely Deficiency | First Fix to Try |
|---|---|---|
| Yellowing starting on lower/older leaves, spreading upward | Nitrogen (most common cannabis deficiency) | Add nitrogen-rich feed; check pH is in range |
| Interveinal chlorosis on older leaves, rust-colored spots | Magnesium | Add Cal-Mag or Epsom salt (1–2 tsp/gal); verify pH 6.0–6.5 |
| Interveinal chlorosis on new/younger leaves only | Iron | Correct pH first (especially if above 6.5 in soil); check for excess Mn/Zn/Cu |
| Brown spots on new growth, cupped or distorted new leaves | Calcium | Add Cal-Mag; check root health and watering frequency |
| Dark purple or red tint to leaves, slow growth | Phosphorus | Reduce pH to improve P availability; add bloom formula |
| Leaf edge burn, yellowing tips, brown margins | Potassium or nutrient toxicity/salt buildup | Flush root zone; check EC isn't too high; verify pH |
| New growth distorted, hollow stems, dying growing tips | Boron | Rare; verify pH; add trace element supplement |
| Yellowing of newest leaves with green veins (rare) | Manganese or Molybdenum | Usually pH-related; correct pH first; rarely need to supplement |
| Dark green leaves, tip burn, stunted growth | Calcium or general toxicity | Reduce feed strength; flush; calcium excess can mimic calcium deficiency |
Magnesium deficiency deserves a specific call-out because it's sneaky. The symptoms (interveinal chlorosis on older leaves and rust-colored spots) can take 3–6 weeks to become visible after the actual deficiency begins. By the time you see it clearly, the plant has been running low for a while. This is why proactive Cal-Mag supplementation during vegetative growth and early flower, especially under high-intensity lighting, is worth doing even before you see symptoms.
On the toxicity side, phosphorus excess is a common result of over-aggressive bloom feeding. Too much phosphorus in solution actively interferes with zinc and iron uptake, which can produce what looks like a zinc or iron deficiency even when your feed contains plenty of both. If you're seeing interveinal chlorosis on new growth during flower and your EC and pH are correct, consider whether you've pushed P too high. Drop EC back and reassess over 3–5 days before adding any micronutrient supplements.
For hydro-specific troubleshooting: if you're seeing widespread leaf stress in a recirculating system and your EC is reading around 1.8 mS/cm or higher, that's a good starting point for diagnosis. Drop EC to around 1.2–1.4, flush the reservoir, recheck pH to confirm it's sitting in the 5.8–6.2 range, and inspect the root zone for signs of root rot or oxygen deficiency while you're at it. Solving two problems at once is common in hydro because root stress and nutrient stress often appear together.
Organic vs. synthetic nutrients: choosing your approach
Synthetic (bottled) nutrients give you precise, immediate control. You mix them, check EC, adjust pH, and know exactly what concentration is going to your roots. They're the standard choice for hydro, coco, and any grow where you want fast feedback and tight control. The downside is that synthetic salts can accumulate in the root zone and require more active flushing and EC management.
Organic nutrients work differently. They rely on soil microbiology to break down organic compounds into plant-available forms, which means they're slower to act but also much harder to over-apply to the point of toxicity. They also tend to buffer pH naturally, which is one reason experienced organic soil growers often check pH less frequently. The trade-off is less precision and slower response when a correction is needed. If you're growing in living soil with heavy organic amendment, you may only need to add a bloom supplement and some Cal-Mag during flower. If you want to explore specific product options for organic feeding, the guide on best organic grow nutrients is a practical starting point.
For indoor soil growing specifically, organic inputs paired with a good living soil mix often produce excellent results with minimal active management. There's a detailed breakdown of product options worth checking in this roundup of the best organic nutrients for indoor soil grow if you're leaning that direction.
Practical feeding plan: what to actually do this week
Here's how to build a feeding plan that works regardless of which product line you choose. University of Nebraska-Lincoln Extension nutrient guide EC155 (Revised December 2023) includes sections on deficiency symptoms and nutrient roles that can help guide how you build a practical feeding plan. The principles stay the same whether you're running General Hydroponics Flora series, a complete one-part formula, or a premium organic soil amendment program.
- Check your source water EC before mixing anything. Tap water above 0.3 mS/cm means you have dissolved minerals already in play. Subtract that from your target EC when measuring your nutrient solution.
- Start at half or quarter strength on the manufacturer's recommended dose for the first feeding of any new stage. Plants tolerate underfeeding far better than overfeeding, and you can always add more next feeding.
- Mix nutrients in the correct order: start with water, add Cal-Mag first, then your base nutrients (micro before grow/bloom in multi-part systems), then boosters last. Always pH-adjust at the very end after all nutrients are mixed.
- Verify pH every time you mix a new batch, not just when something looks wrong. In soil, target 6.2–6.9. In coco and hydro, target 5.7–6.1.
- Check runoff EC once a week in soil. If runoff EC is more than 0.3–0.5 mS/cm higher than your input EC, accumulated salts are building up. Water with plain pH-adjusted water for one or two sessions to flush them out.
- In hydro, check and adjust pH daily. Calibrate your EC and pH meters at least weekly. EC meter drift is a silent schedule-wrecker and is often the real cause of mystery deficiencies in otherwise well-managed hydro grows.
- Transition to a higher P/K bloom formula when you flip to flower or when pre-flowers appear on autoflowers. Maintain some nitrogen through mid-flower but reduce it significantly in weeks 5–6 of flower onward.
- Begin reducing EC in the final 1–2 weeks before harvest. Most growers cut nutrients entirely and run plain pH-adjusted water for the last 5–10 days, targeting near-zero EC in coco or hydro.
If you're just getting started and want a curated product recommendation rather than building a program from scratch, the most practical move is to pick a complete nutrient line designed for cannabis and follow their schedule at 50–75% of recommended dose, adjusting up or down based on how your plants look. The guides on best grow nutrients and best cannabis grow nutrients both cover top-rated options with honest trade-off analysis if you're comparing product lines.
For indoor grows specifically, the right nutrient line matters more than many growers expect because you're controlling the entire environment. There's a focused comparison of top-performing options in the best indoor grow nutrients guide that's worth reading before you commit to a product. And if you're growing in the UK, nutrient availability and product ranges differ from North American options, so check the region-specific breakdown of best nutrients for soil grow UK to find what's actually stocked and practical where you are.
The most important mindset shift for any grower, beginner or experienced, is treating your plants as the feedback mechanism rather than the feeding chart. Charts give you a starting framework, but the plant tells you whether it's working. Healthy cannabis in the right nutrient range has deep green color during veg, transitions cleanly to lighter green during flower, forms tight bud sites, and shows no spotting, curling, or margin burn. If you see those signs, you're in the zone. If you don't, check pH first, EC second, and only then start suspecting a specific nutrient is missing.
FAQ
What nutrients do weed need if I’m using “pre-amended” soil?
Even in pre-amended soil, you usually rely on the soil for most macronutrients early on, but you should still plan for a mid-veg and early-flower bump (often mainly nitrogen balance plus calcium and magnesium). The key decision aid is to watch leaf color and new growth rate around weeks 3 to 5, then start feeding at a low dose rather than adding full strength immediately.
Do I need to add every micronutrient (iron, zinc, copper, boron) or can I just use NPK plus Cal-Mag?
In most managed grows, you do not need to “chase” each micronutrient separately because complete cannabis blends include the trace elements. A common mistake is adding multiple supplements on top of a base nutrient, which can push one element (like phosphorus or boron) high enough to cause lockout symptoms that look like a deficiency.
How do I tell the difference between a true deficiency and a nutrient lockout?
Use three checks in order: symptom location, pH/EC accuracy, and response timing. Lockout problems typically persist even when you add the suspected nutrient, but they improve quickly when pH is corrected. Also, immobile nutrient deficiencies show up on new growth first (like calcium), while mobile nutrient issues show up on older leaves first (like nitrogen).
If my leaves look yellow in veg, should I add nitrogen immediately?
Not always. Yellowing can be nitrogen shortage, magnesium deficiency, or iron lockout, especially if pH is high. A practical approach is to confirm root-zone pH is within range first, then check whether the yellowing is between veins on older leaves (magnesium pattern) or generalized on older leaves (often nitrogen pattern).
What nutrient form matters most for cannabis, nitrate versus ammonium, or chelated iron?
For many growers, the practical difference is chelated iron and stable micronutrient availability, especially under pH drift. If you’re feeding at the high end of the pH window, chelated forms reduce the risk of iron becoming unavailable. Nitrate and ammonium balance matters more for experienced dial-in growers, but pH control remains the biggest lever for most people.
Can I reuse runoff and keep feeding the same solution in hydro or coco?
In recirculating systems, you can, but you must manage salt buildup and oxygenation. Runoff left too long can accumulate waste products and skew EC, which then forces you into a cycle of “chasing” problems. If you do recirculate, recheck EC, pH, and reservoir temperature frequently and consider partial reservoir resets if measurements drift.
What EC and pH should I target if I don’t know my meter scale?
First identify whether your meter reports on the 500 or 700 ppm conversion basis. Do not compare your numbers to charts until you convert correctly, because the same solution can read about 500 ppm on one scale and 700 ppm on the other. If unsure, focus on mS/cm readings directly and only convert after you confirm the meter’s settings.
How do I avoid overfeeding when starting with a new nutrient line?
Start at a reduced dose and increase only when plants show they can accept it. A common mistake is following the full chart from day one, which can overwhelm fragile seedlings or shock roots in hydro and coco. Use a “feed and observe” approach (adjust based on leaf posture and how EC/pH respond within 24 to 48 hours).
Do autos need different nutrients than photoperiod plants?
Autos generally follow the same nutrient principles, but they compress the timeline, so deficiency symptoms have less time to be corrected. That means you should avoid aggressive swings in EC and pH, start at the low end of the stage range, and adjust gradually based on growth rate rather than waiting for clear deficiency visuals.
Is flushing still necessary, and does it affect nutrients?
Flushing can reduce accumulated salts, which may help perceived flavor and harshness, but it’s not a magic cure for poor feeding. For coco, many growers aim for a very low EC with pH-adjusted water before harvest. For soil, fully “washing out” nutrients is less straightforward because the medium buffers, so focus more on controlled late-stage feeding and runoff checks than on a hard flush schedule.
What should I do if I see brown spots, rust spots, or interveinal chlorosis during flower?
Treat it as a diagnostic fork: verify pH first, then consider whether it’s an immobile-micronutrient pattern or a phosphorus excess pattern. If interveinal chlorosis appears on newer growth and your pH/EC are already in range, reduce EC and reassess before adding extra iron or zinc, because high phosphorus can interfere with uptake.
How can I tell if the problem is root stress instead of nutrients?
In hydro or coco, root issues often present along with “nutrient stress” symptoms, and plants may struggle to drink normally. If you see widespread stress plus high reservoir EC (for example, around 1.8 mS/cm or higher), drop EC, flush the reservoir, and inspect roots for reduced color or signs of oxygen deficiency. Correcting root oxygen and pH stability often improves the plant even without changing nutrient recipes immediately.