Autoflowers go from seed to harvest in 8–14 weeks depending on the strain, and the single biggest mistake most growers make is treating that timeline like it's flexible. It isn't. Unlike photoperiod plants, autos don't wait for you to catch up. They run their own internal clock, and every week you're either supporting that process or fighting it. This guide gives you a concrete week-by-week calendar: what to do with light, environment, water, and nutrients at each stage, for both soil and hydro setups, plus what goes wrong when and how to fix it fast.
How to Grow Autoflowers Week by Week: Full Calendar

Marcus Holloway
7 Apr 2026
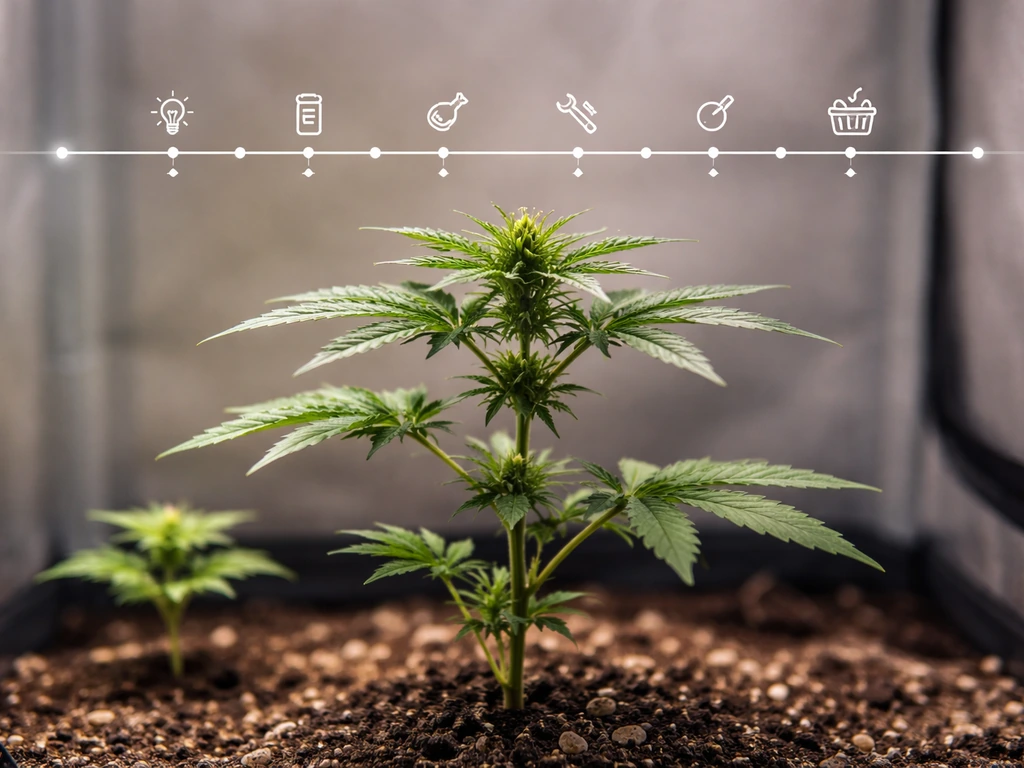
The autoflower growth timeline from seed to harvest
Most autoflower strains hit the following phases in a predictable order. Fast strains can be done in 8–9 weeks. Larger, heavier-yielding genetics often take 11–14 weeks. Here's how the timeline typically breaks down:
| Week(s) | Phase | What's happening |
|---|---|---|
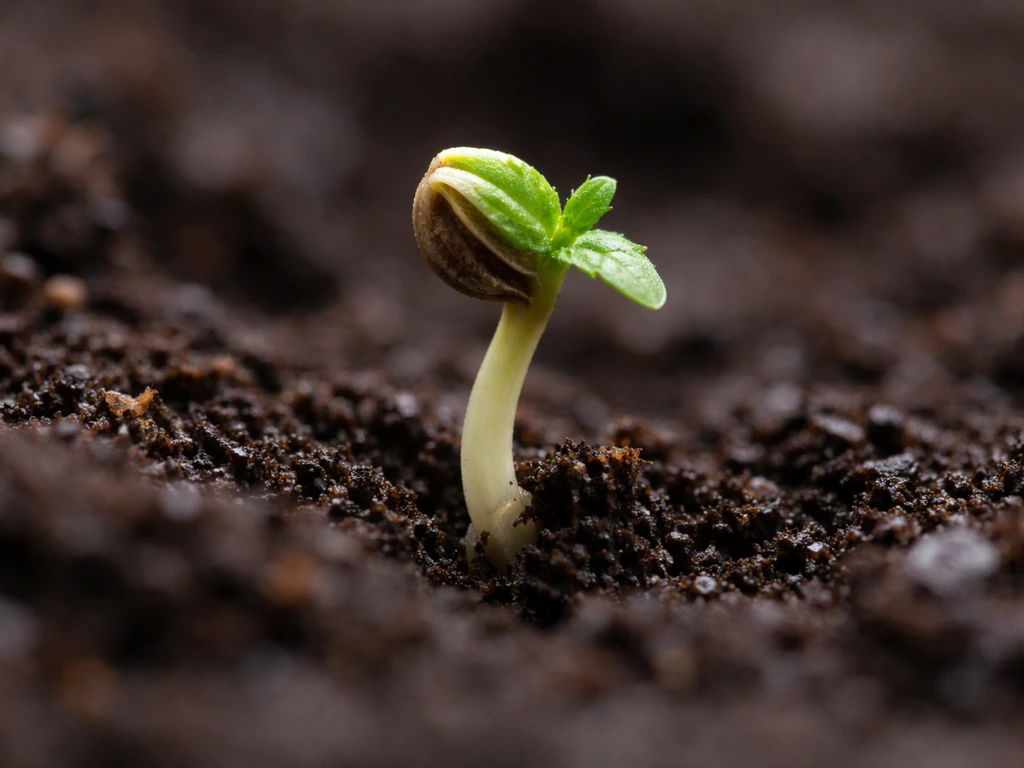
| 1 | Germination / Seedling | Taproot emerges, seed shell drops, first cotyledons open |
| 2 | Seedling | First true leaves appear, root system establishing |
| 3–4 | Early Veg | Node development accelerates, canopy starts filling, some autos show first preflowers |
| 5–6 | Transition / Early Flower | Pistils visible, stretch begins, plant builds its flowering framework |
| 7–8 | Mid Flower | Bud sites stacking, trichome production ramps up, most nutrient demand peaks |
| 9–10 | Late Flower / Ripening | Trichomes cloudy to amber, pistils darkening, plant naturally slows feeding |
| 10–14 | Harvest Window | Strain-dependent finish; flush or final feed, then cut |
Autoflowers begin producing buds around weeks 3–4 after germination for most genetics. That's fast, and it means you have a very short window to do any training before flowering locks in. If you're growing a strain like Gorilla Glue Auto, expect a slightly longer timeline closer to 10–12 weeks, with a bigger stretch and heavier resin production in weeks 7–9.
Light, temperature, humidity, and watering targets by week
Light schedule and intensity
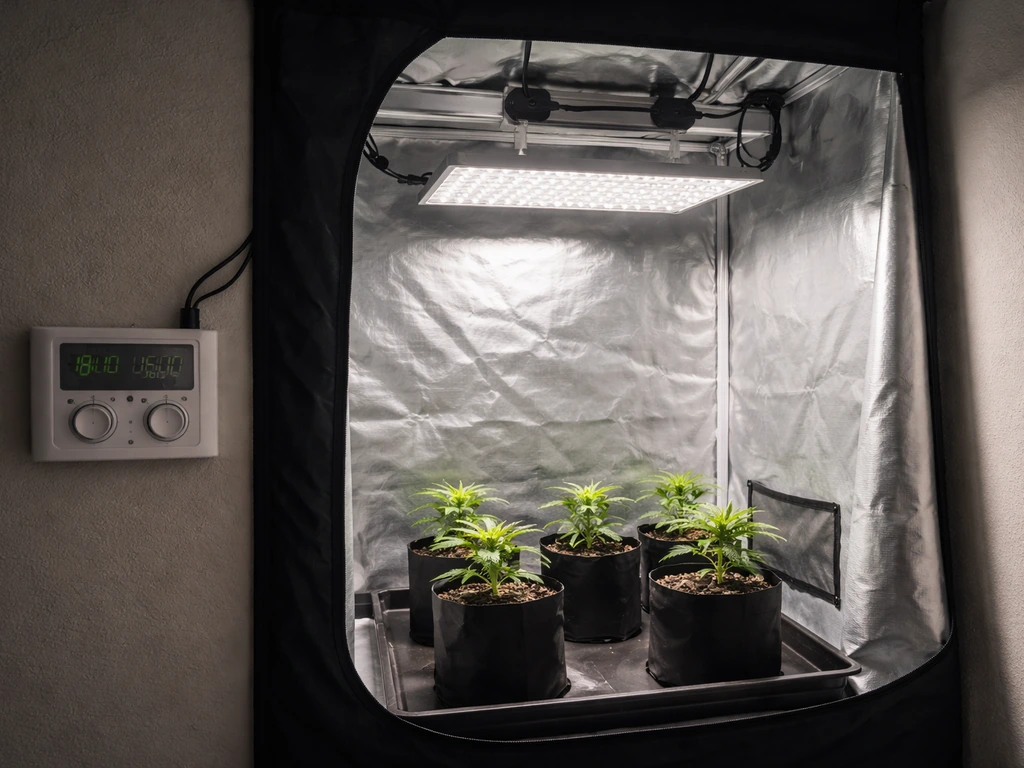
Autos flower regardless of light schedule, which is their superpower. Most indoor growers run 18/6 (18 hours on, 6 off) from seed to harvest. Some push 20/4 or even 24/0, and there's real logic to it: more light hours means higher Daily Light Integral (DLI), which is the total amount of photosynthetically active radiation the plant receives over 24 hours. If you're running 18 hours, your PPFD needs to be higher to hit the same DLI as a 20-hour schedule.
For autos, a good DLI target is around 25–40 mol/m²/day through veg and early flower, rising toward the upper end during peak flowering. In practical terms, that's roughly 300–450 µmol/m²/s of PPFD during seedling and veg, stepping up to 600–800 µmol/m²/s during peak flower. Don't blast seedlings with high intensity, they'll bleach and stall. Start low, raise gradually.
18/6 is the sweet spot for most home growers. It keeps electricity costs reasonable, gives the plant a short dark period that many growers believe supports root development, and still delivers excellent yields. 20/4 makes sense if you're pushing for speed or have a strain that responds well to extra light. 24/0 is rarely worth the electricity cost for most home setups.
Temperature and humidity targets
| Stage | Temperature (°F) | Relative Humidity (%) | VPD Target (kPa) |
|---|---|---|---|
| Seedling (Wk 1–2) | 70–80°F | 65–75% | 0.4–0.8 |
| Veg (Wk 3–4) | 70–80°F | 55–70% | 0.8–1.1 |
| Early Flower (Wk 5–6) | 68–78°F | 45–60% | 0.8–1.1 |
| Mid Flower (Wk 7–8) | 65–77°F | 40–50% | 1.0–1.3 |
| Late Flower (Wk 9+) | 63–75°F | 35–45% | 1.3–1.6 |
Temperature between 68–80°F and humidity between 40–60% covers most of the grow. The critical shift happens when you enter flower: drop humidity progressively as buds develop. Higher humidity in late flower is the fastest path to bud rot and powdery mildew. VPD is worth tracking if you have the equipment. The practical ranges for flower are early flower around 0.8–1.1 kPa, mid flower 1.0–1.3 kPa, and late flower 1.3–1.6 kPa. Plants struggling below 50°F or above 95°F will show heat/cold stress fast, so give yourself buffer room.
Watering approach week by week
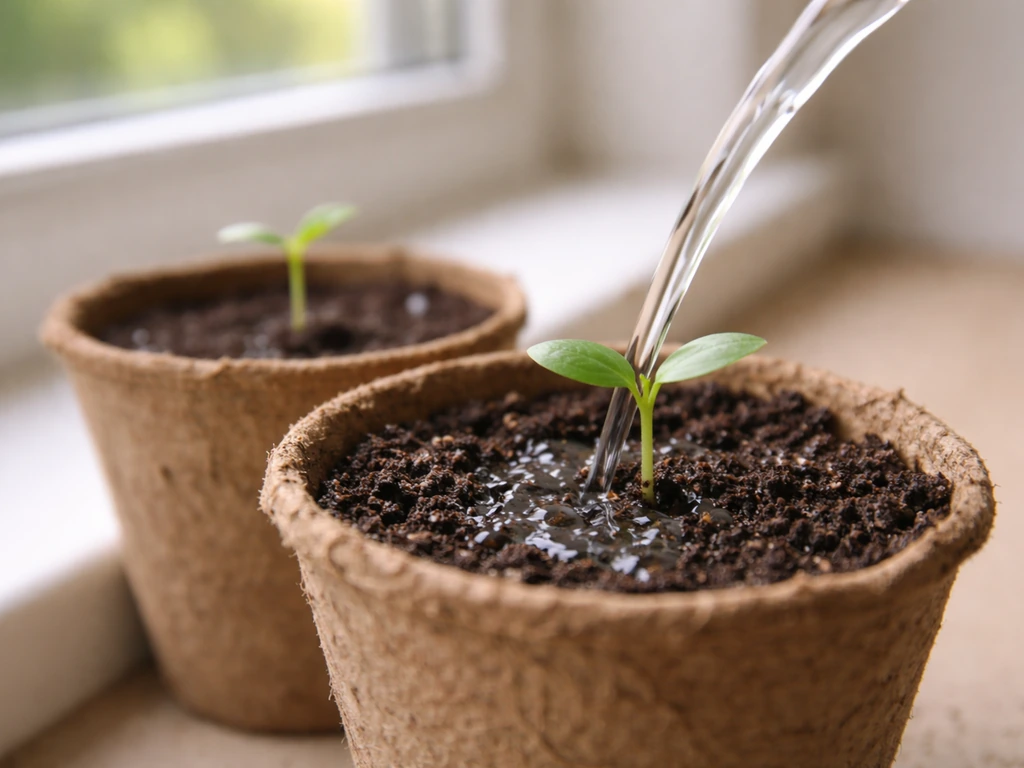
Week 1–2: Water sparingly. Seedlings don't need much and overwatering at this stage is the number one rookie mistake. Water close to the stem, not the entire pot. Wait until the top inch of soil is dry before watering again.
Week 3–4: Root zone is expanding. Start watering in wider circles to encourage roots to chase moisture. Let the pot dry down between waterings. In hydro (DWC), water level in the reservoir should sit about an inch below the net pot at this stage so roots can reach down.
Weeks 5–10+: As the plant builds canopy and enters flower, water demand increases significantly. In soil, lift the pot to gauge weight. A fully saturated pot is heavy; a dry one is noticeably lighter. In hydro, top off daily and do full reservoir changes every 7–10 days to prevent salt buildup.
Week-by-week feeding schedule for soil and hydro
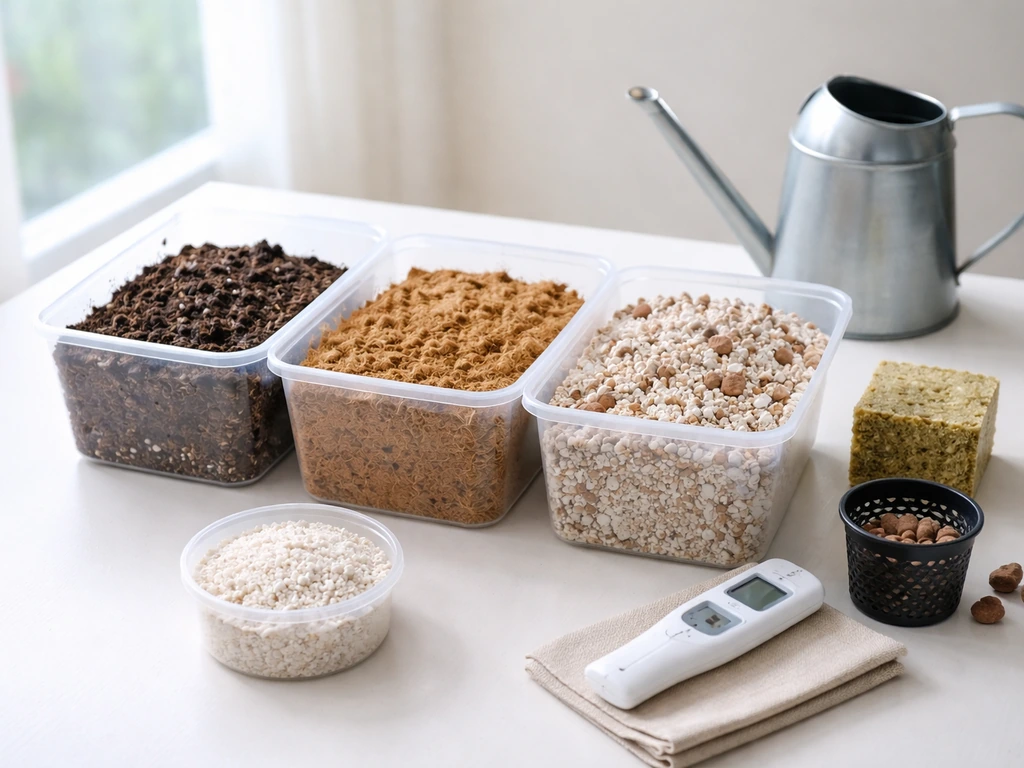
The biggest difference between soil and hydro feeding isn't the nutrients themselves, it's the pace and precision required. Soil buffers pH swings and nutrient concentration naturally. Hydro (especially DWC) delivers nutrients directly to roots with no buffer, so mistakes show up within 24–48 hours instead of days. Your choice of grow medium for autoflowers should guide how aggressively you feed from the start.
Soil feeding week by week
If you're using a pre-amended or "hot" soil, you may not need to feed at all for the first 3–4 weeks. The soil already has enough nutrients to carry early growth. Once the plant starts showing its third or fourth set of true leaves (around week 3–4), introduce a diluted nutrient solution. Start at about 25% of the manufacturer's recommended dose and work up. For those using an amended approach, products like Dr. Earth nutrients with autoflowers offer a slow-release organic format that's hard to overfeed.
| Week | Soil EC Target | Notes |
|---|---|---|
| 1–2 | 0 (plain water) | Pre-amended soil needs nothing; plain water only |
| 3 | 0.4–0.6 EC | First diluted feed; high N, low P/K |
| 4 | 0.6–0.8 EC | Increase slightly as veg accelerates |
| 5 | 0.8–1.0 EC | Transition feed; reduce N, start raising P/K |
| 6 | 1.0–1.2 EC | Early flower formula; bloom-focused nutrients |
| 7–8 | 1.2–1.6 EC | Peak flower; maximum P/K push |
| 9 | 1.0–1.2 EC | Begin tapering; final push then fade |
| 10+ | Plain water (flush) | Flush last 1–2 weeks for soil finish |
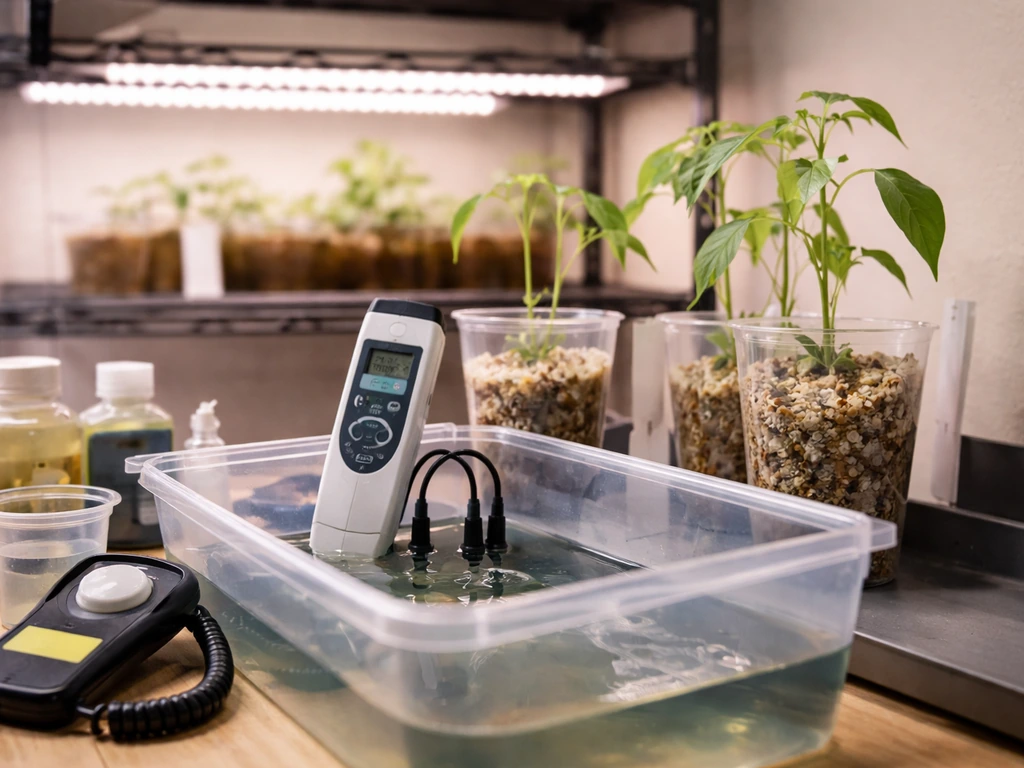
Hydro (DWC) feeding week by week
Hydro runs tighter EC windows and demands consistent pH management. For DWC, keep pH between 5.5–6. blank" rel="noopener noreferrer">For hydroponics, a typical target pH for the root environment is around 5 to 6 (often about 5.5), and going outside that range can reduce nutrient availability blank" rel="noopener noreferrer">pH between 5.5. 0 throughout the grow. This is the range where nutrient availability is maximized, and drifting outside it is the most common cause of apparent deficiencies in hydroponic grows. If you're exploring how to grow autoflowers in DWC, commit to checking pH and EC daily, especially during weeks 5–9 when demand peaks.
| Week | Hydro EC Target | pH Range | Notes |
|---|---|---|---|
| 1–2 | 0.2–0.4 EC | 5.5–6.0 | Seedling strength only; minimal nutrients |
| 3 | 0.5–0.7 EC | 5.5–6.0 | Introduce veg formula; check daily |
| 4 | 0.8–1.0 EC | 5.5–6.0 | Ramp up as plant size increases |
| 5 | 1.0–1.2 EC | 5.5–6.0 | Transition; full reservoir change recommended |
| 6 | 1.2–1.4 EC | 5.5–6.0 | Early bloom formula; increase P/K |
| 7–8 | 1.4–1.8 EC | 5.5–6.0 | Peak demand; monitor daily, top off with plain water |
| 9 | 1.2–1.4 EC | 5.5–6.0 | Begin tapering EC down |
| 10+ | 0.4–0.6 EC or plain water | 5.8–6.0 | Final rinse/flush period |
Some growers using slow-release granular products take a completely different approach. Using Grow Dots for autoflowers, for example, means you front-load nutrients at transplant and the media feeds the plant on its own schedule, eliminating the need for weekly mixing. This is a solid option for growers who want to simplify the process without sacrificing results.
Training and plant management by growth stage
This is where autos require a fundamentally different mindset than photoperiod plants. You have a much tighter window to do anything structural, and stressing an auto at the wrong time can cost you 20–30% of your final yield because the plant doesn't have time to recover before flowering locks in.
What to do (and when)
Low Stress Training (LST) is the most reliable technique for autos. Start gently bending and tying the main stem outward at weeks 3–4 once the plant has developed 3–4 nodes. This opens up the canopy, lets light reach lower bud sites, and doesn't damage tissue. Keep training as the plant grows through early flower (weeks 5–6), then back off.
Training after week 6–7 adds stress without enough recovery time to benefit yield. Topping is riskier on autos. If you're going to do it, top early (right after the 4th or 5th node, around week 3) and only on vigorous, fast-developing plants. Many Autoflowers users on Reddit recommend topping autos around the 4th or 5th node, and avoiding topping once flowering is clearly underway (for example after pistils have started) [top autos around the 4th or 5th node](https://www.
reddit. com/r/Autoflowers/comments/1lwql4x). If the plant looks small or slow, skip it entirely.
Defoliation should be conservative. The 10–20% rule is a practical limit: don't remove more than 10–20% of total foliage in any single session. Leaf tucking (pushing fan leaves under bud sites rather than cutting them) is a lower-stress alternative worth using first, especially in the first half of flower. A helpful lower-stress option is a simple LST approach combined with light defoliation in early flower, which is exactly what most experienced auto growers recommend. You can also maximize autoflower size through environment and feeding optimization rather than aggressive training, which is often the safer path.
What not to do
- Don't top after week 4 — recovery time evaporates once flowering begins
- Don't do heavy defoliation during the first 2 weeks of flower — the plant is already under stretch stress
- Don't use ScrOG (screen of green) unless you've planned your timing carefully — filling a screen takes longer than many autos' entire veg phase
- Don't transplant more than once — autos do best started in their final container to avoid transplant shock eating into their fixed timeline
Indoor vs. outdoor setup and scheduling adjustments
Indoor scheduling
Indoor grows give you total control over light schedule, temperature, and humidity. Run 18/6 from day one and you rarely need to adjust. The main variable is strain genetics: some autos flower fast and finish in 8–9 weeks, others take 12–14. Always check the breeder's timeline and add 1–2 weeks as buffer. If a fast strain is on week 9 and trichomes aren't ready, don't harvest early just because a calendar says so. Watch the plant, not the date. Grow tent setup, airflow, and light placement matter more in the seedling and early veg phase than most growers realize. Poor airflow leads to heat spots and humidity pockets that create problems weeks later.
Outdoor scheduling
Autos are fantastic outdoor plants because they don't need a seasonal light flip to flower. You can run multiple harvests per season in most climates. Start seeds indoors 1–2 weeks before your last frost date, then move outdoors once overnight temps stay reliably above 50°F. Outdoor autos need 12–18 hours of natural daylight for optimal growth, though they'll flower regardless.
The tradeoff is that outdoor grows in cooler climates take longer than the breeder's stated timeline. Lower temperatures slow metabolic processes, so a strain listed as "8–9 weeks" might run 11–12 weeks outdoors in a northern climate. Plan your outdoor schedule accordingly and plant early enough that harvest falls before your first fall frost. If you're growing organically in an outdoor setup, growing autoflowers organically outdoors pairs especially well with amended beds or fabric pots filled with living soil.
What goes wrong and when: common problems by week
Weeks 1–2: Seedling problems
- Damping off (stem rot at soil line): caused by overwatering and poor airflow — fix by reducing watering frequency and improving circulation
- Leggy/stretchy seedlings: light is too far away — move it closer or increase intensity slightly
- Yellowing cotyledons: normal if true leaves are green; not normal if true leaves also yellow (check for overwatering or nutrient toxicity from hot soil)
Weeks 3–4: Early veg problems
- Nitrogen deficiency (yellowing from bottom up): start diluted feeding if using depleted soil
- Phosphorus deficiency (purple stems, dark leaves): usually pH-related, especially in soil above 7.0 — adjust pH to 6.0–7.0 for soil
- Overfeeding (burnt tips): dial back EC immediately, flush lightly with plain water
- Root-bound symptoms if using a small starter pot: transplant to final container before week 4 if you haven't already
Weeks 5–7: Transition and early flower problems
This is the highest-risk window. Nutrient lockout shows up here more than any other phase, both in soil and hydro. In soil, lockout is almost always pH-related: keep runoff pH between 6.0–7.0. In hydro, pH drifting above 6.2 or below 5.4 will lock out multiple nutrients simultaneously. If you see multiple deficiencies appearing at once (yellow leaves AND purple stems AND burnt tips), suspect lockout before individual deficiencies. In DWC, do a full reservoir drain and refill with fresh, properly pH'd solution. In soil, flush with 2–3x the pot's volume of pH-corrected water and then feed at reduced EC.
- Magnesium deficiency (interveinal yellowing on older leaves): add cal-mag, especially in soft water or coco
- Heat stress (tacoing leaves, bleached tops): check canopy temperature, raise light or improve airflow
- Spider mites (tiny dots on leaves, webbing): treat immediately with neem oil or insecticidal soap, check undersides of leaves
- Fungus gnats (small flies around soil): let soil dry more between waterings, use yellow sticky traps
Weeks 8–10: Late flower problems
- Bud rot (grey mold inside dense colas): drop humidity below 45%, increase airflow — infected buds must be removed immediately
- Potassium deficiency (brown leaf edges late in flower): usually EC is too low; bump up your late-flower feeding if trichomes aren't close to done
- Nutrient burn from overfeeding the final push: taper EC down rather than stopping cold; abrupt changes stress the plant
- Foxtailing (new white pistils on old buds): often caused by heat or light stress at the canopy, lower your light slightly or fix hot spots
When and how to harvest, dry, and cure
Reading harvest readiness
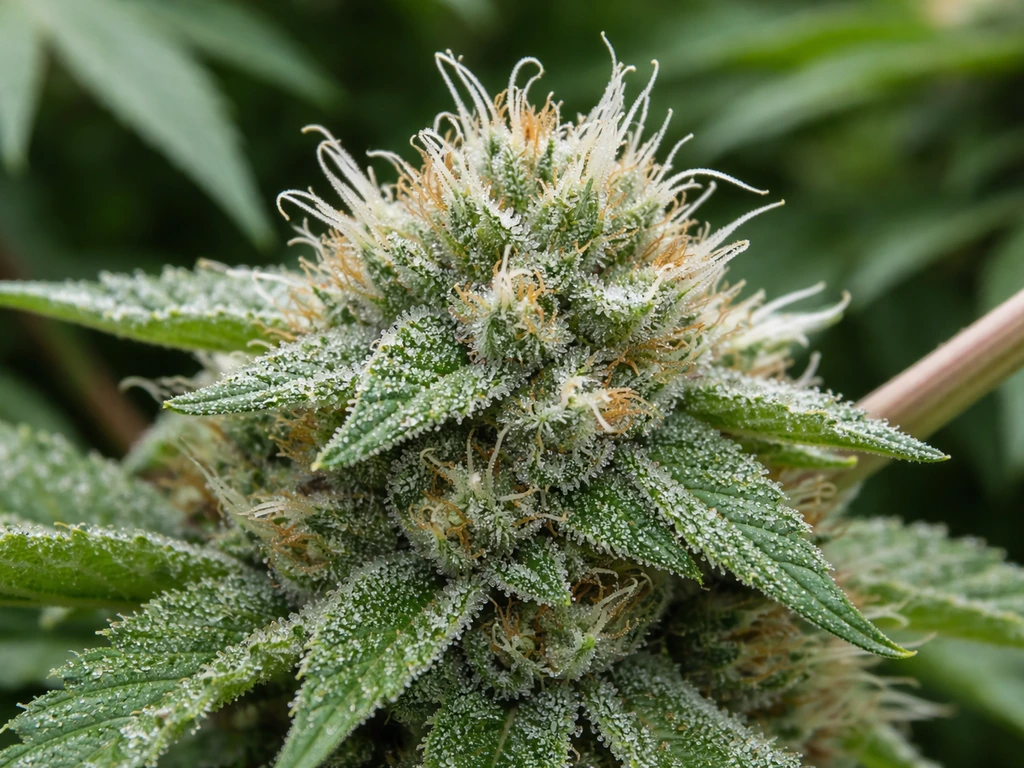
The breeder's stated week is a starting point, not a finish line. The plant tells you when it's actually done. Here's what to look for: pistils (the white hairs on buds) should be at least 70–90% darkened and curled inward. Trichomes are the most reliable indicator.
Use a jeweler's loupe (30–60x) or a digital microscope to examine them. Clear trichomes mean the plant isn't ready. Cloudy (milky white) trichomes indicate peak THC. Amber trichomes signal THC degrading to CBN, which produces a heavier, more sedative effect.
Most growers harvest when trichomes are mostly cloudy with 10–30% amber, depending on the effect they want. For autos specifically, the full seed-to-harvest window runs 8–14 weeks depending on strain, and estimating your harvest window starts with tracking which week you first saw pistils, then counting forward 5–7 weeks from that point as your initial check window.
Flushing vs. continued feeding before harvest
Flushing is genuinely debated in the growing community, but here's the practical breakdown. If you're growing in soil, flushing the last 1–2 weeks (running plain pH-corrected water through the pot) is a low-risk practice that many growers report produces a cleaner-tasting final product. In hydro, the flush window is shorter: drain and refill with plain water or very low EC solution (0.4–0.6) for the last 5–7 days. In coco or soilless media, treat it similarly to hydro. The key is not stopping feeding cold at week 8 if your plant still has 2+ weeks to go. Taper down instead of stopping suddenly. The plants still need some potassium and phosphorus to finish ripening properly.
Drying and curing basics
Cut the plant at the base (or harvest branch by branch if different colas ripen at different times, which is common). Hang branches upside down in a dark, well-ventilated space at 60–70°F and 55–65% RH. Drying too fast (under 5 days) produces harsh, grassy-smelling buds. Drying too slow (above 70% RH) risks mold. The ideal dry time is 7–14 days. Buds are ready to jar when the small stems snap (rather than bend) and the outside of buds feels dry to the touch but the inside still has slight moisture.
Curing in glass mason jars is the next step. Pack jars loosely to about 75% full. Open (burp) jars twice daily for the first 2 weeks to release moisture and fresh air. After 2 weeks, burp once daily until the moisture content stabilizes. A 4–8 week cure produces noticeably better aroma, smoother smoke, and preserved cannabinoid quality versus buds consumed straight off the dry rack. If you're growing an organic run, the curing process is where the terpene work really pays off, which is one reason growing autoflowers organically consistently gets high marks from quality-focused growers.
Your actual next steps
Print or bookmark this calendar and fill in the actual dates based on your germination day. Set reminders for week 3 (start feeding check), week 5 (transition your nutrient formula), week 7 (begin checking trichomes weekly), and week 9+ (monitor daily). Pick your medium and feeding approach before you start, not mid-grow. If you're newer to the process, soil with a pre-amended mix and a simple two-part nutrient line is the most forgiving path. If you're chasing yield and speed and don't mind daily monitoring, DWC delivers faster, larger plants when dialed in. Either way, this calendar works. You just have to follow it consistently and respond to what the plant is showing you week by week.
FAQ
Can I extend the veg phase to get a bigger autoflower with more time?
Yes, but only if you do it early enough. If you want a longer veg from an auto, start training (LST) around weeks 3 to 4 when the plant has 3 to 4 nodes, and avoid topping or heavy defoliation. Cutting too late, usually after week 6 to 7, often costs yield because the plant has less time to recover before bud set locks in.
What happens if I change the light schedule mid-grow (for example from 18/6 to 12/12)?
Generally, no. Autoflowers can show pistils around weeks 3 to 4, and the internal clock keeps running even if you change lighting. Turning lights down early may slow growth and delay canopy filling, but it rarely gives you a true “reset,” and it can reduce final size.
How do I adjust the week-by-week calendar if my strain shows pistils earlier or later than expected?
Track from first pistils, not from transplant date. A practical method is: write down the day you see the first clear pistils, then mark weeks 1, 2, 3 forward from that. Use the trichome check window starting 5 to 7 weeks after first pistils, because that aligns better across strains than a germination-based calendar.
If my plant looks like it has deficiencies, should I immediately add more nutrients?
Don’t. In soil, sudden pH swings from overwatering, runoff issues, or inconsistent feeding are a common cause of apparent “nutrient problems.” If you suspect lockout, correct the watering pattern first, then stabilize runoff pH (aiming for your normal target range), and only then adjust feeding.
My pistils are turning dark, can I harvest now?
If pistils are white but most are not darkening yet, you are usually early. For harvest timing, rely primarily on trichomes (clear versus cloudy, plus amber amount). Pistil color can continue changing while the plant still finishes producing resin and thickening calyxes.
How do I prevent hydro problems during weeks 5 to 9 when water demand spikes?
In hydro, start with a water-level and oxygen plan rather than just a feeding plan. If you are raising reservoir level because roots reach down, make sure the net pot stays properly wet and that air/oxygenation is strong, otherwise nutrient uptake can lag even when pH and EC look “right.”
How often should I change my pH or EC targets if readings fluctuate?
Yes, but keep the change small. After a pH or EC correction, re-check within 12 to 24 hours and confirm the trend, not a single reading. Over-correcting repeatedly is a frequent mistake in DWC, and it can trigger nutrient lockout that looks like multiple deficiencies at once.
Is pot weight an accurate way to time watering for autos in soil?
Use the weight method, but calibrate it for your pot size. A “saturated is heavy” rule is helpful, yet the exact dry-down interval depends on container volume, temperature, and airflow. For consistency, weigh the pot once when fully saturated and once when nearly dry, then use that as your personal watering trigger.
Can I stop feeding at week 8 (or any fixed week) to improve flavor?
Not if it’s for convenience. In the late flowering window, cutting off nutrients abruptly can starve finishing needs, and if your taper isn’t smooth you can see fade that looks like a deficiency right before harvest. If you want less input, taper EC gradually and keep feeding compatible with the remaining run time.
Why does my bud still smell “wet” even after drying?
Curing schedule matters as much as drying. If jars are burped twice daily at first, you reduce the chance of trapped excess moisture. Also, if humidity in the room is high, consider slightly longer initial dry time so the jar process does not spend weeks fighting moisture.
What are the most common drying mistakes that hurt autoflower quality?
Airflow and temperature during drying should be dialed so RH stays in the target band, and drying faster than about 5 days often produces a harsher, grassy profile. If drying is too slow, mold risk rises quickly, so adjust airflow and dehumidification rather than only waiting longer.
Is branch-by-branch harvest a good idea for autos?
Yes, but expect different plant responses across colas. If you harvest branch by branch, do it when that branch’s trichomes are at the desired stage, and keep the later-harvest branches supported so they do not dry out faster from uneven airflow.
How do I know whether my pre-amended soil is already feeding my autoflower enough?
If you use pre-amended or “hot” soil, feeding can often be reduced or delayed, but don’t assume it’s always zero. Watch for early signs like leaf burn tips or excessively dark green, and if those appear before week 3 to 4, hold back even if your calendar says to start feeding.
What should I do if my autoflower is already stressed in week 3 or week 4?
Seedlings usually tolerate gentle handling, but any major bending, topping, or heavy defoliation should be kept to the early windows described. If a plant is stressed due to cold, heat, or transplant shock, pause training and recover first, because auto recovery time is short once flowering is underway.