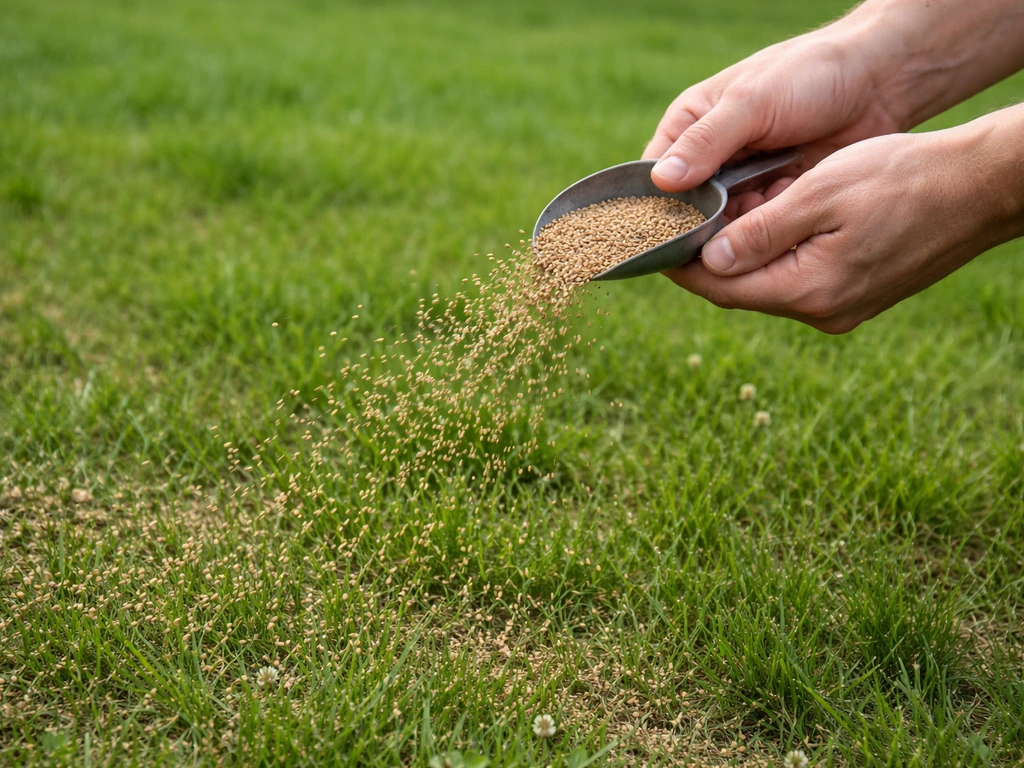
For throw and grow clover, white Dutch clover (Trifolium repens) is your best pick. blank" rel="noopener noreferrer">Broadcast it at 2–4 lb per acre (or about 1 lb per 10,000 sq ft for smaller areas) directly onto a closely mowed or grazed surface, inoculate the seed with Rhizobium leguminosarum bv. trifolii, keep the soil pH between 6.0 and 7.0, and make sure seeds contact bare soil rather than sitting on top of thick thatch. That combination gives you a thick, fast stand with almost no tillage required. This is one of the best ways to grow plants fast because you can establish a thick stand without heavy tillage best way to grow plants.
Best Throw and Grow Clover: Step-by-Step Success Guide

Marcus Holloway
7 May 2026
What 'throw and grow' actually means (and which clover to use)
Throw and grow is exactly what it sounds like: you broadcast seed over existing ground without turning the soil first, then rely on light incorporation methods, rainfall, and freeze-thaw cycles to work the seed into surface contact. There's no moldboard plow, no deep disc, often no tractor at all. The tradeoff is that your results depend heavily on choosing the right clover species, timing the seeding correctly, and getting seed-to-soil contact without burying the seed too deep.
White Dutch clover is the top choice for this method because it's a perennial, tolerates low mowing, spreads via stolons (surface runners) to fill bare patches on its own, and germinates reliably at cooler soil temperatures starting around 50°F. Its tiny seed size (roughly 500,000 seeds per pound) means it needs almost no burial depth, which suits broadcast seeding perfectly.
Crimson clover (Trifolium incarnatum) is the best annual option if you want speed. It can emerge within about 7 days at optimal soil temperatures near 70°F with enough moisture, and it works well as a winter annual in warmer climates or as a fast-establishing cover crop. It's a one-and-done plant, though, so it won't persist the way white clover does.
Red clover (Trifolium pratense) sits in the middle: it's a short-lived perennial (typically 2–3 years), produces more biomass than white clover, and does well on medium-to-high fertility soils with pH at 5.5 or above. Alsike clover is worth knowing about if your soil is wetter or more acidic than average, since it tolerates pH as low as 5.0 and handles poorly drained spots that would thin out white or red clover stands.
| Clover Type | Lifespan | Best pH | Germination Temp | Ideal Use Case |
|---|---|---|---|---|
| White Dutch | Perennial | 6.0–7.0 | 50°F+ | Low-maintenance permanent ground cover, throw and grow lawns/pastures |
| Crimson | Annual | 6.0–7.0 | 60–70°F | Fast cover crop, warm-region winter annual, quick nitrogen fix |
| Red | Short-lived perennial (2–3 yr) | 5.5–7.0 | 50°F+ | High biomass production, forage, larger plots |
| Alsike | Perennial | 5.0–7.0 | 50°F+ | Wet, acidic, or poorly drained soils |
Picking your site and seeding at the right time
Clover is a cool-season plant. Its peak growth window runs roughly 64–86°F, and germination stalls in hot, dry soil. That means your two best seeding windows are early spring (before summer heat arrives) and late summer/early fall (after summer heat breaks). For most of the U.S., late February through early April is the prime spring window. Fall seeding works well from late August through September in most zones, giving seedlings time to establish roots before hard frost.
Frost seeding is a specific technique worth knowing if you're in the Midwest or mid-Atlantic. You broadcast seed from mid-February to mid-March directly onto frozen ground. As the soil freezes and thaws each morning and afternoon, the seed gets worked into the surface naturally. Iowa State puts the typical frost seeding window at mid-February through early March; North Carolina State found the best success in the Piedmont with seeding dates between February 8 and 18. Frost seeding works particularly well for white clover and red clover on thin or bare-patched turf.
For site selection, clover prefers full sun to partial shade and decent drainage. It will thin out in waterlogged areas unless you're using alsike. Mow or graze the existing vegetation as short as possible before seeding. Thick, matted grass residue is the enemy of broadcast clover because it keeps seed from ever touching soil.
Soil prep: what you actually need to do (and what you can skip)
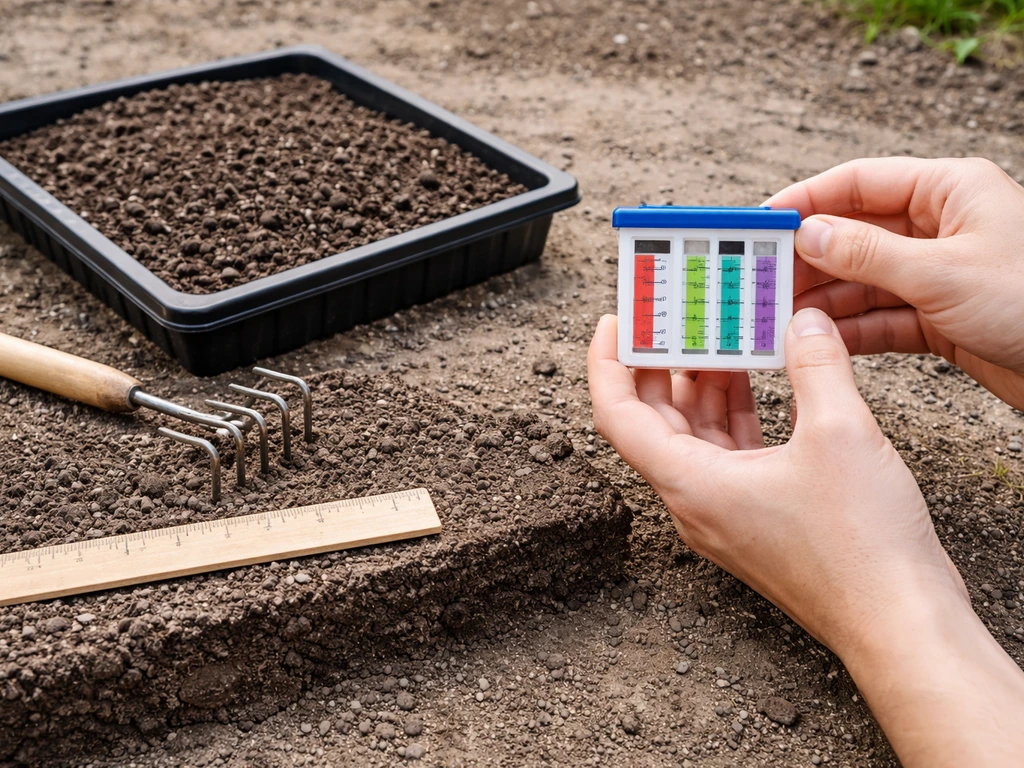
Full tillage isn't required for throw and grow to work, but a few soil fundamentals do matter. Get a soil test before you seed if at all possible. You're targeting a pH of 6.0–7.0 for white, red, and alsike clovers. Below 6.0, Rhizobium bacteria that form the nitrogen-fixing nodules on clover roots struggle to colonize effectively, which undercuts one of the main reasons you're growing clover in the first place. If your pH is low, apply lime several weeks before seeding so it has time to start reacting with the soil.
Compaction is a real problem for throw and grow stands because clover roots can't penetrate heavily compacted layers well. If the ground is hard-packed, a pass with a core aerator before broadcasting seed helps significantly. You don't need deep tillage, just enough surface disturbance to give roots somewhere to go and seed somewhere to land.
For a no-till approach on existing turf or pasture, scalp the grass down as low as your mower will go. Then either drag a chain-link fence section, run a spike aerator, or let livestock hoof-traffic work the seed in after broadcasting. UGA extension confirms that clover broadcast onto a closely grazed sod surface can still establish well if seed is incorporated by dragging, hoof treading, or frost action. On bare or tilled ground, firm the seedbed by rolling or cultipacking after broadcast seeding. Penn State and University of Maine both note that press wheels and cultipacking after seeding meaningfully improve germination by pressing seed into firm soil contact.
A starter fertilizer can help when soil fertility is on the lower end. If you're trying to speed up growth, compare how fertilizer and early nitrogen inputs affect results versus using the faster-establishing varieties like crimson clover starter fertilizer. If you need a practical recommendation, a starter fertilizer at establishment is often the best fertilizer for throw and grow when soil fertility is low. Penn State suggests 20-60-20 lb/acre of N-P-K as a starter application at establishment, with the phosphorus being most valuable for the tiny, shallow root systems of young clover seedlings. Don't go heavy on nitrogen at establishment, though. Excess N fertilizer at seeding will feed competing grasses and weeds more than it feeds your clover.
Seed rates, inoculant, and when to re-seed
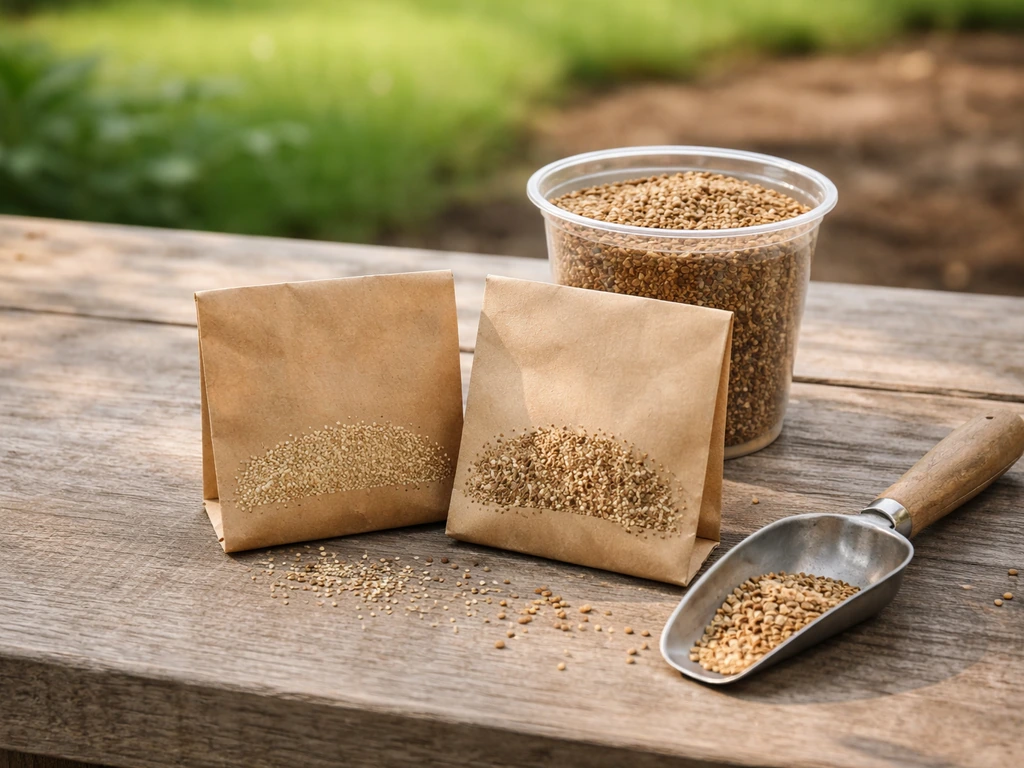
For broadcast seeding white clover as a standalone planting, use 4–5 lb per acre. In mixtures with grass, 2–3 lb per acre is enough. For small areas, that works out to roughly 1 lb per 10,000 sq ft when planting alone. Crimson clover rates run slightly higher at 15–20 lb per acre for broadcast applications. Because clover seed is so small and seeds per pound are so high (around 500,000 for white clover), small errors in rate calculation add up fast, so weigh your seed rather than estimating by volume.
Inoculant is not optional. Rhizobium leguminosarum bv. trifolii is the specific bacterial inoculant you need for true clovers (white, red, crimson, alsike). NRCS is clear: inoculate every time you plant a legume species in a field where it hasn't been grown before, and re-inoculate when the legume hasn't been present for several years. You can buy pre-inoculated seed or inoculate yourself by coating dry seed with powdered or granular inoculant just before seeding. Keep inoculant out of direct sunlight and don't let it sit for days after mixing with seed, since the bacteria are alive and can die off.
Re-seeding over thin spots is easiest to do during frost seeding windows or in early fall. For established stands that have thinned after 2–3 years (common with red clover), a light overseeding at half the original rate usually fills gaps without killing the existing stand. White clover often re-seeds itself or spreads via stolons and may not need intervention for 4–5 years if managed well.
After seeding: watering, mowing, and weed control
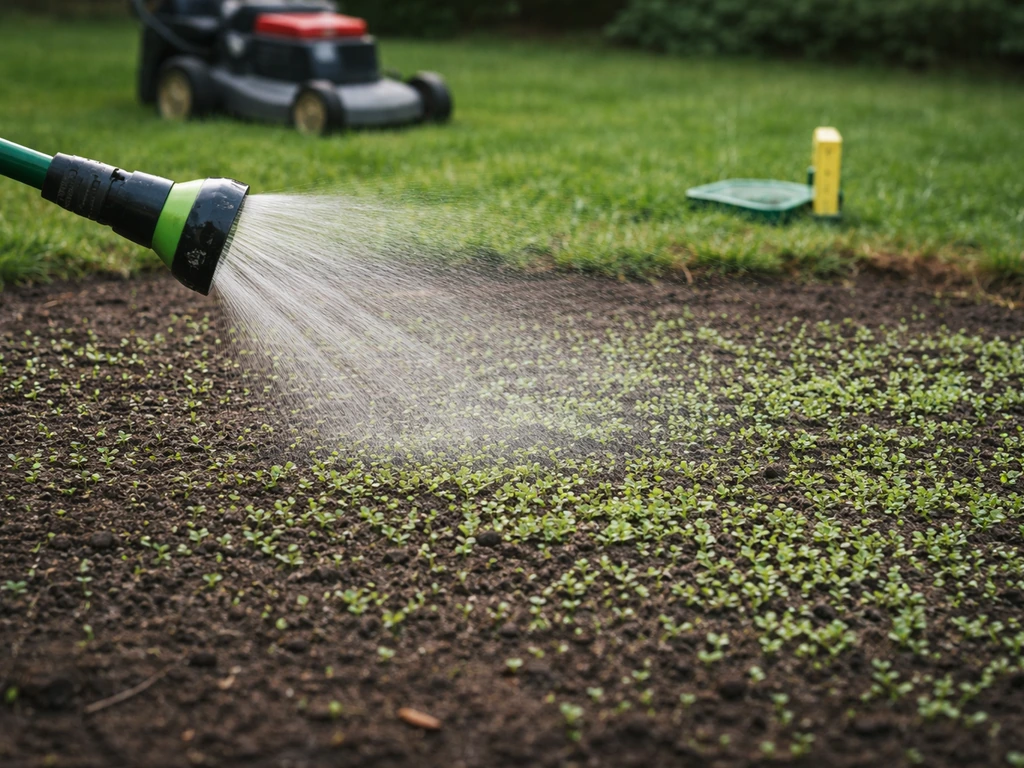
The first two weeks after seeding are the most critical. The soil surface needs to stay moist but not waterlogged. If you're seeding into a dry spell, water lightly once or twice daily to keep the top inch of soil from drying out completely. Once seedlings are 1–2 inches tall and roots have anchored (usually 2–3 weeks after emergence), you can back off to deep, infrequent watering. Clover is drought-tolerant once established but not during germination.
Hold off on mowing until the stand is at least 4–6 inches tall and has been growing for 4–6 weeks. The first mow should leave at least 3 inches of height. Cutting too early or too short stresses seedlings before they've stored enough energy in their root systems. After establishment, regular mowing at 3–4 inches keeps the stand dense and competitive against weeds, and it also triggers clover to spread laterally via stolons.
Weed management during germination requires restraint. Broadleaf herbicides will kill clover, so they're off the table once you've seeded. Before seeding, mowing competing vegetation as short as possible and timing your seeding for cool weather (when cool-season clover outcompetes summer annual weeds) is your main defense. If annual grassy weeds are the main competition, a selective grass herbicide (graminicide) can be applied after clover seedlings have their first true leaf without harming the clover. Read labels carefully.
Why your clover didn't come up (and how to fix it)
Poor germination is the most common frustration with throw and grow seedings, and the causes are almost always one of a handful of fixable things.
- Seed buried too deep: Clover seed should be at the soil surface to 1/4 inch deep, no more than 1/2 inch in any case. If seed was incorporated too aggressively or rained into heavy soil, it may be too deep to emerge. Re-seed at the correct depth.
- No seed-to-soil contact: Seed sitting on top of thick thatch, dense grass mat, or dry loose soil won't germinate reliably. Scalp the existing vegetation, drag the surface, or cultipack after seeding.
- Dry conditions after seeding: Clover seed is too small to survive even brief drying out during germination. If you seeded into dry weather without irrigation and didn't get timely rain, re-seed when moisture is available or when you can water.
- Bird and insect pressure: Small-seeded clovers broadcast on bare ground can attract birds. This is more of a problem on small garden plots than large fields. A light soil drag or cultipacker pass immediately after seeding reduces exposed seed and significantly cuts bird losses.
- Wrong or missing inoculant: Without the right Rhizobium strain, clover seedlings can still germinate but often grow pale, slow, and weak. If you've got thin, yellow seedlings after 3–4 weeks, missing or dead inoculant is a common culprit.
- Low soil pH: Below pH 6.0, nodulation fails and seedlings struggle. If you skipped soil testing and liming, this is worth investigating. Test the soil, apply lime, and re-seed.
- Weed competition: Fast-growing annual weeds can shade out slow-establishing clover seedlings. Timing your seeding for cool weather when weed pressure is lower, or overseeding at a higher rate to compensate, helps in weedy environments.
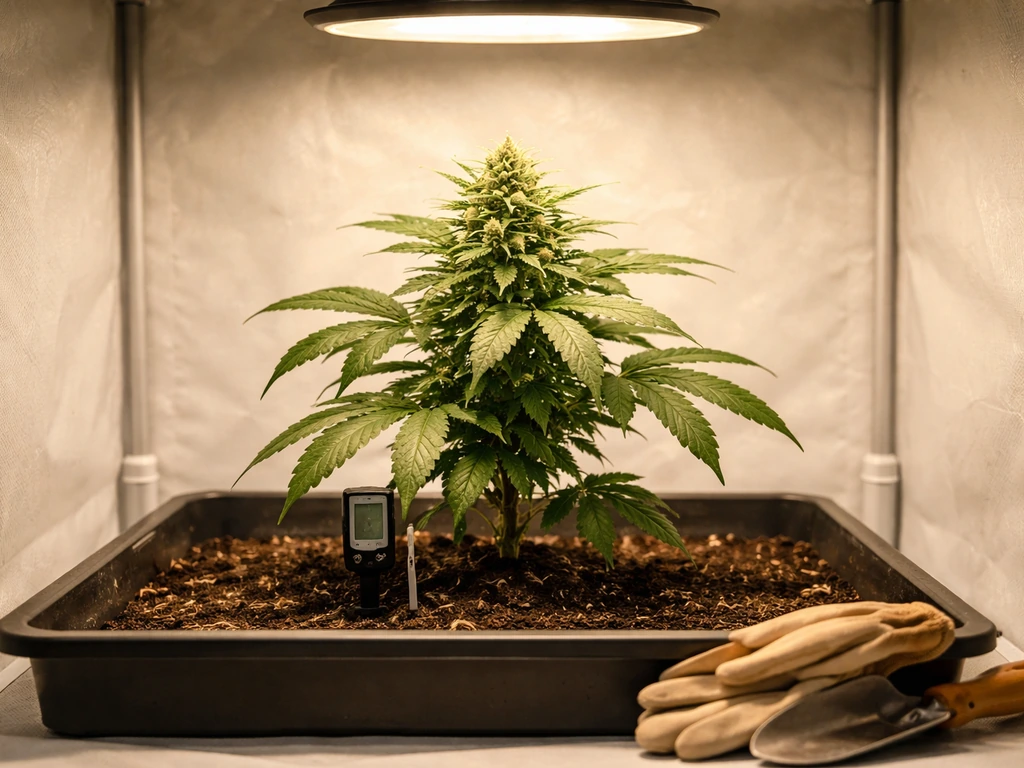
Indoor and container seeding: using clover in trays or hydroponic setups
Clover is a soil plant at heart and performs best in the ground, but it absolutely can be grown in containers, raised beds, or trays for specific purposes. If you're a home grower interested in using clover as a living mulch, a nitrogen-fixing companion plant in a container setup, or a quick green to harvest as biomass, here's how to adapt the throw and grow approach indoors or in a controlled environment.
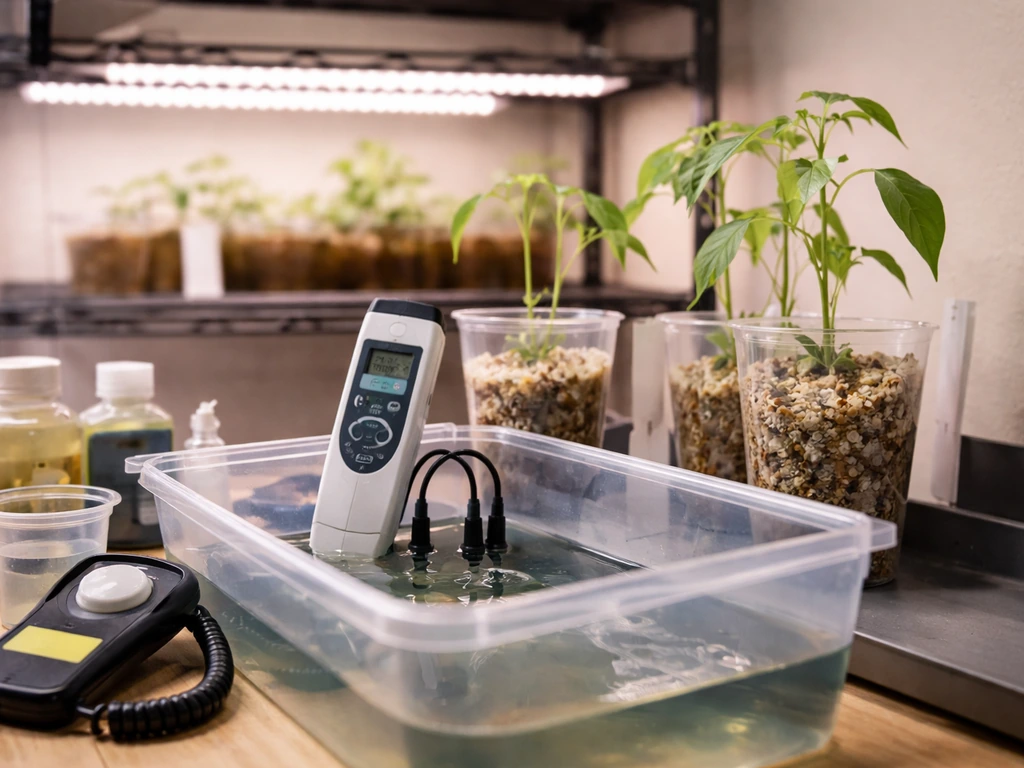
For container or tray seeding, fill your container with a well-draining, slightly amended soil mix and target a pH of 6.0–7.0 using a basic pH meter. Surface-broadcast seed and press it firmly into the soil with your palm or a flat board. Don't bury it. Water gently with a mister or low-pressure hose to avoid displacing seed. Keep the tray or container in a location that gets at least 6 hours of light (or under a T5/LED grow light at moderate intensity) and maintain soil temps above 50°F, ideally 60–70°F, for best germination speed.
In a true hydroponic system, clover doesn't perform the way it does in soil. You cannot grow true plants in hydroponics just by using Gatorade, because it does not provide the right nutrients and growing medium the roots need can you grow plants with gatorade. The nitrogen-fixing function of Rhizobium bacteria requires soil and root-nodule interaction that doesn't translate to an inert hydroponic medium.
You can germinate clover in a hydroponic tray using a medium like coco coir or rockwool, but you'll be growing it as a green rather than for nitrogen-fixation benefits. For readers exploring alternative growing media and hydroponic methods for plant starts, the same fundamentals from this article around moisture, light, and temperature apply. The fertilizer considerations differ significantly in that context, something covered in more depth in articles on fertilizer strategies for throw and grow setups.
If your goal is a quick indoor green from clover, crimson clover in a shallow tray of soil or coco peat is the fastest option. Surface-broadcast seed, keep it moist and warm (65–70°F), and you'll see emergence within 5–7 days. Harvest as microgreens or small shoots before they get woody.
What to do once clover is established
Once your stand is established and filling in, you have several options depending on your goals. For nitrogen management, the real payoff happens when clover residue is incorporated into soil. A healthy white or red clover stand can fix 100–200 lb of nitrogen per acre per year, most of which becomes available to the following crop when the clover is terminated and residue breaks down. Tilling crimson clover residue lightly into the soil speeds up nutrient release compared to leaving it on the surface.
If you're using clover as a living mulch or companion in a garden bed, mow it regularly at 3–4 inches to keep it from shading shorter crops and to push clippings down as a surface mulch. Clover clippings are a free, nitrogen-rich mulch layer that breaks down quickly. In a mixed grass-clover stand, the clover component reduces your need for synthetic nitrogen fertilizer on the surrounding grass, which is a meaningful cost saving over time.
For transitioning to the next crop or season, terminate the clover stand 2–4 weeks before planting to let residue decompose. You can mow it short, apply a non-selective herbicide, or till it under depending on your setup and tillage philosophy. In a no-till approach, rolling the clover flat with a roller-crimper at full bloom (when nitrogen content in the biomass is highest) creates a thick mulch mat you can transplant into directly. Timing the termination at full bloom also prevents clover from re-seeding and persisting where you don't want it.
If you're keeping the stand long-term, the main maintenance tasks are overseeding thin areas every 2–3 years (especially for red clover), maintaining soil pH with periodic lime applications, and mowing to prevent weed encroachment. White clover is the most self-sustaining of the group: it spreads via stolons, tolerates traffic, and re-establishes from seed in bare patches with minimal intervention. For most home growers, it's the variety you plant once and manage lightly for years.
FAQ
Why did my throw and grow clover germinate poorly even though I followed the rate?
If you see no clover after 10 to 14 days, the fastest way to diagnose is to check seed depth and contact. Broadcast seed should remain near the surface, not buried under debris. Gently lift a small section of the top layer, confirm the seed is visible and not sitting under a crust or mat, then re-seed thin spots rather than reapplying heavily everywhere.
Can I throw and grow clover into thick grass thatch or dead turf buildup?
Yes, thick thatch or matted residue can completely block establishment even when seed-to-soil contact is otherwise good. Before seeding, mow as short as possible and remove loose clippings. If the surface feels spongy and seed sits on top when sprinkled, plan on scalping plus dragging or aeration to create actual contact.
What mowing height and schedule should I use for clover that I want to persist versus clover I plan to turn under?
It depends on the clover and your goal. For a living mulch or pasture stand, keep the mower height at 3 to 4 inches and mow only once the stand reaches about 4 to 6 inches tall and has had 4 to 6 weeks to establish. For biomass speed, crimson clover can be terminated sooner at full establishment, but white clover is meant to persist.
If my soil test shows low pH, how soon do I need to apply lime before seeding?
Lime timing matters. If your soil pH is below target, apply lime several weeks before seeding so it can begin reacting. If you lime right before seeding, you may not get the pH shift fast enough for good Rhizobium nodulation.
Should I add more nitrogen fertilizer if clover looks thin early?
Avoid nitrogen “rescue” unless you have a specific reason. Clover’s nitrogen fixation still needs low competition and correct biology, and extra N tends to feed grasses and weeds rather than improving clover cover. If you use a starter, keep it modest and focus on phosphorus, then evaluate stand density before adding more.
What’s the safest way to control weeds in the first month after seeding clover?
Weed timing is the main lever. Once you’ve seeded clover, broadleaf herbicides are risky because they can injure or kill clover. If grassy weeds are the dominant problem, consider applying a selective grass herbicide only after clover has produced its first true leaves, and follow the label’s timing and rates for your specific clover species.
Do I need cultipacking or press wheels, and when does it help most?
For broadcast work, press wheels or cultipacking are particularly useful on bare ground and on soils prone to drying, because they improve surface contact. On already-grazed sod, dragging or chain harrowing often works better than deep disturbance, since it embeds seed without burying it too far.
Can frost seeding fail, and how can I prevent that?
Yes, frost seeding can boost white and red clover on thin turf, but you still need moisture and a surface that will allow freeze-thaw movement. If ground is too dry and doesn’t thaw deeply, seed may not get worked in. In that case, lightly water only after you see no germination and avoid waterlogging.
How much should I overseed thin clover areas, and should I use the original seeding rate?
For overseeding thin spots, a common mistake is using the full original rate. Half-rate overseeding is usually enough to fill gaps without overwhelming the existing stand, especially for white clover where stolons and self-reseeding can do much of the work.
Could old seed or poor handling of inoculant be the reason for patchy stands?
Seed viability and storage can make or break results, especially with tiny clover seed. Keep inoculant and seed out of direct sun, use fresh seed when possible, and do not let coated seed sit for extended periods. If you suspect old seed, germination testing before seeding can save time.
When should I terminate clover to best benefit the next crop and prevent it from coming back?
If you want nitrogen benefits, the key timing is termination. Terminate roughly 2 to 4 weeks before planting the next crop, and if you’re rolling, do it at full bloom so biomass quality is highest. This also helps reduce unwanted clover persistence.