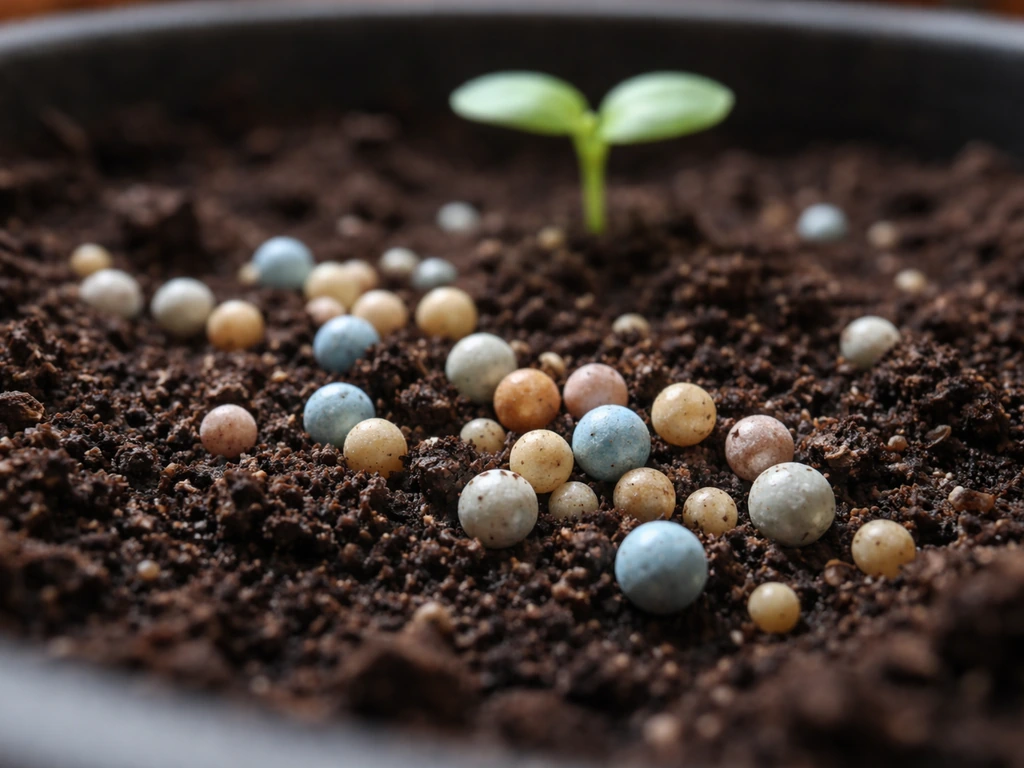
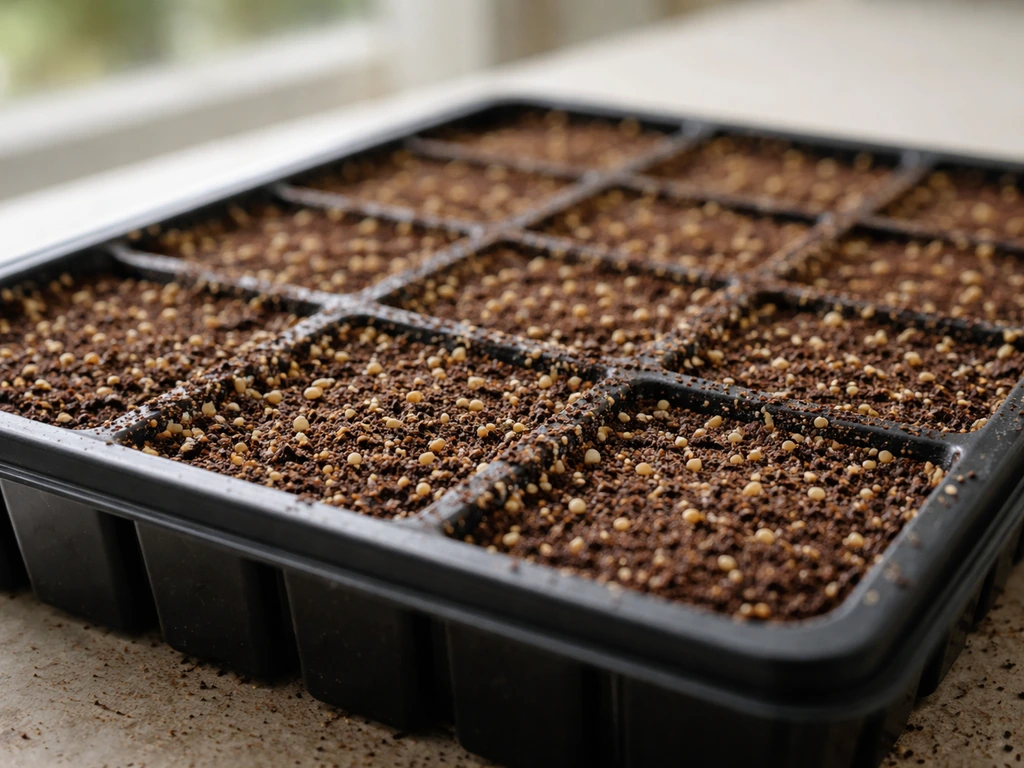
A better seed raising mix is fine-textured, low in nutrients, moisture-retentive without becoming waterlogged, well-aerated, and made from sterile or pasteurised ingredients. Get those five things right, whether you buy a bag or make your own, and germination rates jump noticeably. Most seedling failures trace back to just one or two of those traits being off: a mix that's too rich burns emerging roots, one that's too dense suffocates them, and one made from unsterilised garden soil or old compost introduces the fungi that cause damping-off before the seedling even stands up properly.
Grow Better Seed Raising Mix: How to Choose or DIY
Marcus Holloway
28 Apr 2026
What actually makes a seed raising mix 'better'
The job of seed raising mix is completely different from potting mix or garden soil. It's not there to feed the plant. It's there to hold the seed in place, keep moisture consistent around it, and give the first fragile root something loose enough to push through without resistance. That narrow brief explains every quality trait worth caring about.
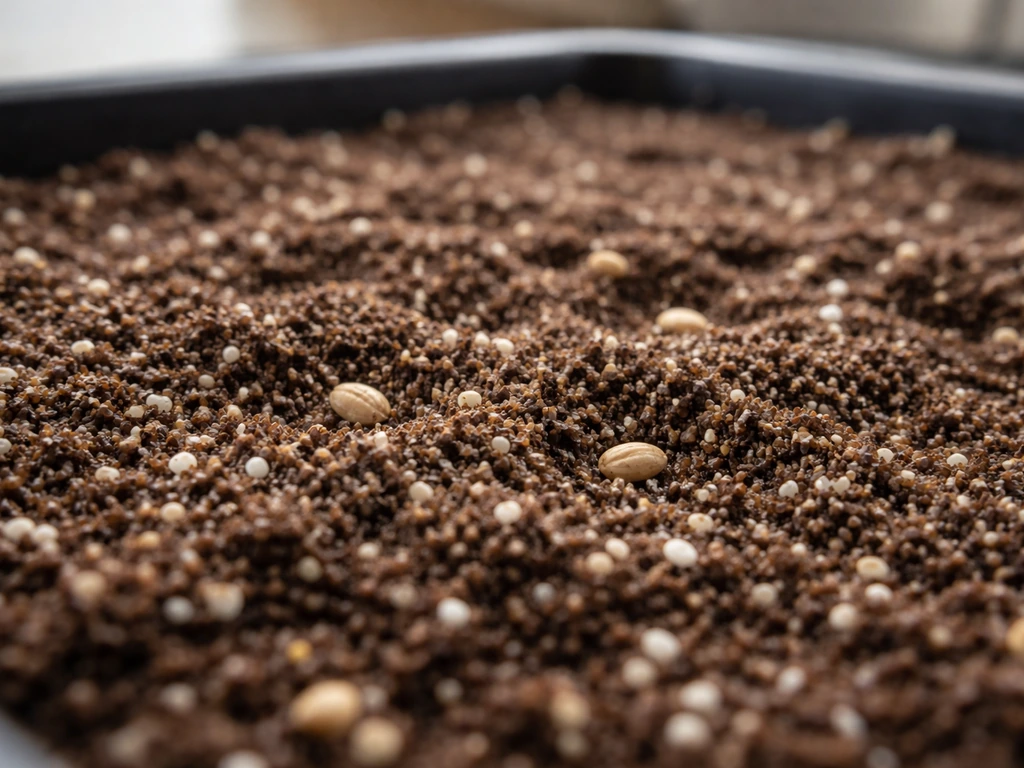
- Fine, uniform texture: seeds need close contact with the medium to absorb moisture evenly. Chunky or lumpy mix leaves air pockets around the seed and stalls germination.
- Low nutrient strength (low EC): seedling roots are extremely sensitive. A mix high in fertiliser salts causes root burn before the first true leaf appears. Seed raising mix should have almost no added nutrients.
- Good moisture retention without waterlogging: the medium needs to stay 'moist but not soggy' at all times. If it dries out, the germination process stalls or kills the embryo; if it sits wet, you get rot and fungal disease.
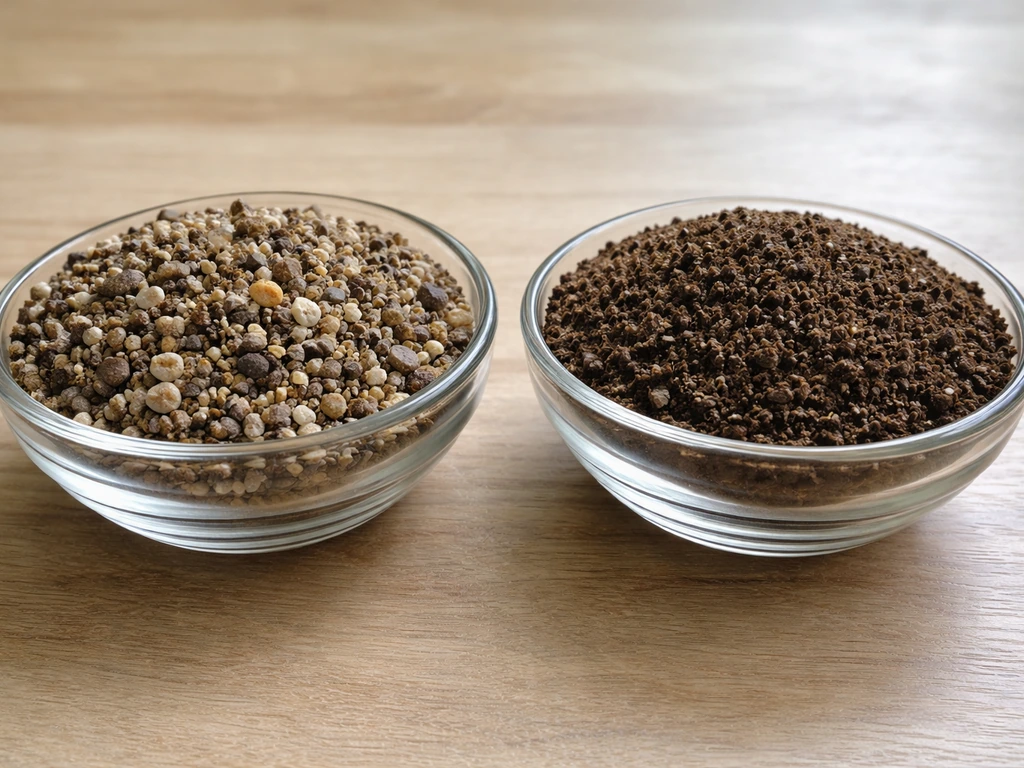
- Aeration and drainage: fine texture doesn't mean dense. Perlite or vermiculite keeps the structure open so roots get oxygen and excess water drains away.
- Sterile or pasteurised components: this is the single biggest difference between a good seed raising mix and a poor one. Unsterilised garden soil and raw compost carry Pythium, Phytophthora, Rhizoctonia, and Fusarium—the main pathogens behind damping-off.
- Near-neutral pH: a range of around 5.5 to 6.5 suits the vast majority of seeds and keeps early nutrient availability predictable once you start feeding.
If you're also thinking about ongoing plant nutrition after germination, products like a good organic potting mix or a balanced all-purpose plant food become relevant once seedlings are established and transplanted out of the seed raising environment. At the seed stage, though, keep it simple and lean.
Choosing the right medium for your plant type and setup
There's no single 'best' seed raising mix for every situation. The right choice depends on what you're germinating, whether you're working indoors or outside, and whether you're growing in soil or using hydroponic-adjacent methods like rockwool cubes or coco plugs for later transfer.
Vegetable and herb seeds (soil-based growing)
Most vegetables and herbs do well in a standard fine-grade seed raising mix. Tomatoes, capsicums, and eggplants need warm germination conditions (70 to 80°F / 21 to 27°C soil temperature) so a heat mat under a fine-textured, well-draining mix is important. Lettuce germinates best at cooler soil temps around 65 to 70°F (18 to 21°C) and is one of the more sensitive crops to overwatering. For brassicas and leafy greens, any quality sterile mix works well. Tap root crops like carrots and parsnips are better direct-sown outdoors because transplanting disturbs their roots, so a seed raising tray isn't the right tool for those.
Flowers, annuals, and fine seeds
Fine seeds like lobelia, celery, and petunias need an especially fine-textured surface and should not be covered with mix at all since they require light to germinate. A standard seed raising mix works, but sieve the top layer before sowing to create a smooth, fine surface. Pressing the seed lightly into that surface and misting from above (just to moisten, not flood) gives the best contact.
Hydroponic and plug-based starts
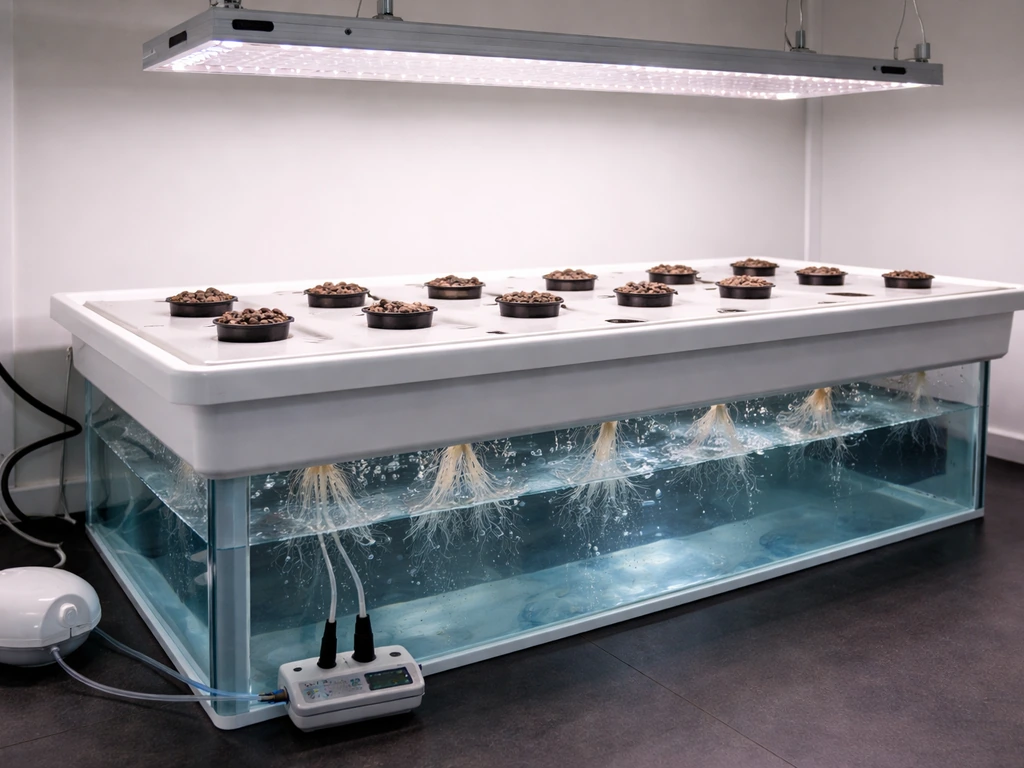
If you're germinating seeds for transfer into a hydroponic system, the medium choice changes. Rockwool starter cubes, rapid rooter plugs, or compressed coco coir plugs are a better fit than a peat or compost-based mix, because soil particles transferred into a hydroponic system cause blockages and pH swings. Soak plugs or cubes in pH-adjusted water (around pH 5.5 to 6.0) before use, drop one seed per cell, and keep them in a humidity dome under warm conditions until germination. The seedling is then transferred cube-and-all into the hydroponic system with minimal root disturbance.
Succulents and cacti
Succulents and cacti need a much faster-draining mix than standard seed raising mixes provide. If you're germinating these, cut any standard mix at least 50/50 with coarse perlite or fine grit. The moisture-retention properties that help vegetables actually cause rot with succulents. This is a different product category from most seed raising mixes, and something worth keeping separate in your supplies.
DIY seed raising mix: a recipe that actually works
Making your own gives you full control over quality, and it's cheaper at volume. The goal is a mix that's light, fine, sterile, and moisture-retentive with good drainage. Here are two reliable recipes depending on whether you want to use peat or go peat-free.
Standard recipe (peat-based)
- 4 parts fine sphagnum peat moss (or coco coir as a 1: 1 substitute)
- 1 to 2 parts perlite or vermiculite (start with 1 part for moisture-loving seeds; use 2 parts for better drainage with larger or more robust seeds)
- 1 part fine-screened horticultural compost or worm castings (optional but adds a small amount of biological activity; keep it under 20% of total volume to avoid burning)
Peat-free recipe
- 2 parts coconut coir (fully hydrated before mixing — add water and allow 15 to 20 minutes for it to absorb evenly; dry coir causes uneven moisture across the tray)
- 2 parts fine compost or leaf mold (screened through a 6mm sieve to remove chunks)
- 1 part perlite or vermiculite
Both recipes give you a mix in the 30 to 40% perlite/vermiculite range that research-backed guidance recommends for adequate aeration. Don't skip the sieving step if you're using compost or leaf mold. Chunks and lumps in seed raising mix cause the same contact and moisture problems as using the wrong material entirely. If you want a completely sterile DIY mix, bake your compost component in the oven at 180°F (82°C) for 30 minutes before mixing. Use a roasting pan covered in foil, and let it cool completely before combining with other ingredients.
Buying a seed raising mix: what to look for on the bag
The bag labelling on seed raising mixes is often vague, but a few things are worth checking before you buy. The key things to look for are ingredient quality, sterilisation claims, and what the mix does not contain.
| What to check | Green flag | Red flag |
|---|---|---|
| Main ingredients | Peat, coco coir, perlite, vermiculite, composted bark | Garden soil, unspecified 'organic matter', topsoil |
| Sterilisation | Pasteurised, heat-treated, or sterile components listed | No mention of sterilisation |
| Nutrient level | 'Low nutrient' or 'seed raising formula' noted; no added slow-release fertiliser | Contains controlled-release granules or high N-P-K blend |
| Texture description | Fine grade, fine screened, or propagation grade | General-purpose or multi-purpose (often too coarse) |
| pH range | 5.5 to 6.5 listed on bag | No pH information at all |
| Moisture control | Wetting agent included or moisture-retentive claim | Hydrophobic feel when dry (common in cheap peat mixes) |
Grow Better is one brand that produces both seed raising and potting mixes, and their formulations tend to follow the right ingredient principles. If you're comparing it against Grow Better's organic potting mix for example, the key difference is that the potting mix will have higher nutrient levels and a coarser texture suited to established plants, not germinating seeds. Always check whether what you're buying is specifically labelled as a seed raising or propagation mix, not a general potting product. A bag that says 'seed raising mix' but lists slow-release fertiliser in the ingredients is one to put back on the shelf. If you're specifically trying to achieve slow grow flower co results, double-check that the mix contains no slow-release fertiliser and is labelled for propagation.
Preparing the mix before you sow
Dry seed raising mix, even good quality store-bought product, is often hydrophobic straight from the bag. If you pour it into cells dry and then water from above, you'll get uneven wetting, dry pockets, and seeds that don't germinate consistently. Pre-moistening fixes this.
- Tip the mix into a clean bucket or tub. Add water gradually and work it through with your hands until the mix is evenly damp. It should hold its shape when squeezed but not drip water. This is the 'wrung-out sponge' texture you're after.
- If using coco coir as a base ingredient in a DIY mix, hydrate it separately for 15 to 20 minutes before combining with other ingredients. Dry coir absorbs unevenly and creates dry zones that kill germination in specific cells.
- For extra hygiene, particularly if you've had damping-off problems before, you can also bottom-water the filled tray with a dilute hydrogen peroxide solution (3ml of 3% H2O2 per litre of water) to suppress surface fungi before sowing.
- Fill cells or trays to just below the rim, then press the surface down lightly with a flat board or your fingers to remove air pockets. Don't compact it hard — just firm enough that the surface is even and seeds will have consistent contact.
- Don't reuse mix from a previous season unless you've sterilised it. Old mix can carry residual pathogens even if it looks clean.
Sowing technique and early-stage care
Sowing depth and seed coverage
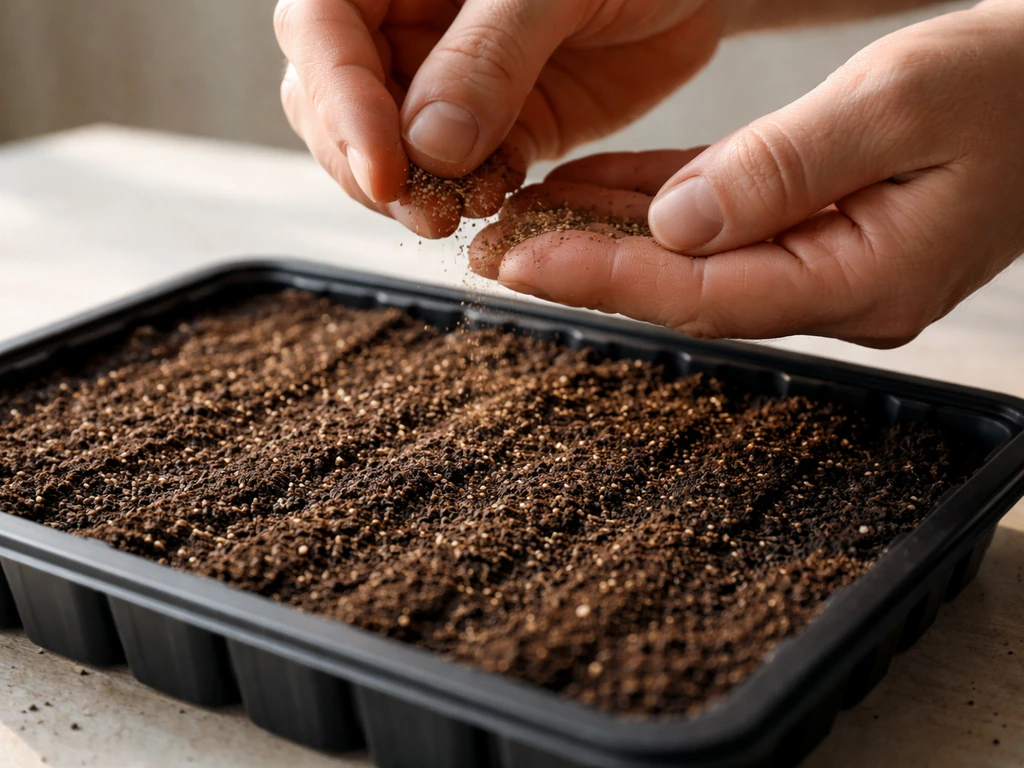
The general rule is to sow a seed at a depth equal to twice its diameter. Large seeds like pumpkin or beans go down 2 to 3cm. Medium seeds like tomatoes and capsicums need about 5 to 8mm. Small seeds like basil or lettuce get pressed onto the surface and covered with just a light dusting of mix or left uncovered entirely. Very fine seeds that need light to germinate (celery, petunias, lobelia) should not be covered at all: press them onto the moistened surface and mist lightly to make contact. Always check your seed packet, but this sizing logic works well when packet guidance is missing.
Temperature, moisture, and light in the first weeks
Seeds need warmth to germinate. Once they sprout, the guidance flips: start seeds warm, then grow seedlings cooler. A heat mat set to the right temperature for your crop makes an enormous difference to germination speed and consistency. Tomatoes want 70 to 80°F (21 to 27°C) at the root zone; lettuce prefers 65 to 70°F (18 to 21°C). When soil temperature drops too far from the crop's workable range, germination slows dramatically or stops entirely, so don't rely on ambient room temperature alone if your growing space is cool.
For moisture management, bottom watering is strongly preferable to overhead watering once seeds are sown. Place your tray in a shallow tray of water and let capillary action pull moisture up through the mix. This keeps the surface layer drier, which is exactly what you want to reduce damping-off risk. The disease organisms that cause damping-off thrive in persistently wet surface conditions. Only mist the surface lightly if it shows signs of drying out between bottom-water sessions. Once seeds have germinated and the humidity dome comes off, increase airflow around seedlings to reduce the warm, still, wet conditions that fungi love.
Hold off on any fertilising until the first true leaves appear, and even then, start at half strength. Seed raising mix is intentionally low in nutrients because seedling roots are sensitive. Using a rich feed too early is a common cause of slow growth that looks puzzlingly like nutrient deficiency but is actually nutrient burn at the root tips.
Troubleshooting: poor germination, damping-off, and slow growth
If something is going wrong in the first two to three weeks, the cause is almost always one of a short list of problems. Here's how to diagnose and fix each one.
| Problem | Likely cause | Fix |
|---|---|---|
| No germination after 2 weeks | Soil temperature too low or too high, old seed, seed sown too deep | Check soil temp with a probe thermometer; use a heat mat; test seed viability on a damp paper towel; re-sow at correct depth |
| Seeds germinate then collapse at soil level | Damping-off (Pythium, Rhizoctonia, Fusarium) | Remove affected seedlings, reduce watering, improve airflow, use a fan on low setting, switch to bottom watering only |
| Patchy or uneven germination | Uneven moisture in mix, dry coir pockets, mix too compacted | Pre-moisten mix thoroughly before filling cells; check for dry zones; use bottom watering to re-even moisture |
| Crust forming on the surface | Mix too high in clay or fine compost, overwatering from above | Switch to bottom watering; add 10% more perlite to the mix next batch; break crust gently with a toothpick |
| Seedlings pale yellow, stunted | Nutrient burn from overly rich mix OR light deficiency | Check mix type (shouldn't contain slow-release fertilisers); move seedlings closer to light source; introduce grow lights if natural light is poor |
| Fungus gnats in the mix | Soggy surface layer, organic material on the surface | Allow the top centimetre to dry between waterings; use yellow sticky traps; consider a layer of coarse sand on the surface to deter egg-laying |
| Seedlings leggy and stretched | Insufficient light intensity | Move closer to a window or add supplemental grow lighting; 14 to 16 hours of light per day under grow lights is the target |
Damping-off is the biggest single killer of seedlings at this stage. The organisms responsible (Pythium, Phytophthora, Rhizoctonia, Fusarium) spread rapidly in overwatered, poorly ventilated conditions and through contaminated water or mix. Once it takes hold in a tray, it usually spreads. Removing affected seedlings quickly, cutting back water, and running a small fan nearby to improve airflow are the practical responses. Prevention through sterile mix, thin sowing, and bottom watering is far more effective than trying to treat it after it starts.
If you're seeing persistent slow growth that doesn't respond to better light or temperature, consider that the mix itself might be the issue. A mix with a pH much outside the 5.5 to 6.5 range locks out early nutrient availability. If you're using a DIY recipe and haven't tested pH, a basic pH meter or strip test on the moistened mix is worth doing.
When and how to transplant: getting seedlings out of seed raising mix
Knowing when they're ready
Seedlings are ready to transplant when they have at least one set of true leaves (not just the initial cotyledons), roots have formed a cohesive root ball or are just beginning to show at drainage holes, and the stem is stocky rather than spindly. Transplanting too early means fragile roots that fall apart during the move; leaving it too late means congested roots and a harder adjustment to the new medium.
Moving to potting mix or garden beds
Water the seedlings thoroughly a few hours before transplanting. This firms up the root ball and reduces how much it crumbles when you extract the seedling. Use a dibber or pencil to ease the roots out rather than pulling the stem. Plant at the same depth the seedling was growing at (tomatoes are an exception and can be buried deeper as they root along the stem). Firm the new medium around the roots and water in well with plain water or a dilute seaweed solution. Hold off on full-strength fertiliser for at least the first week to allow roots to settle without salt stress. If the transplant destination is a higher-nutrient mix like a good organic potting mix, this buffer period is especially important. If you are sourcing products locally, you can often find organic fertiliser options at Bunnings to support stronger growth after transplanting higher-nutrient mix.
Moving to a hydroponic system
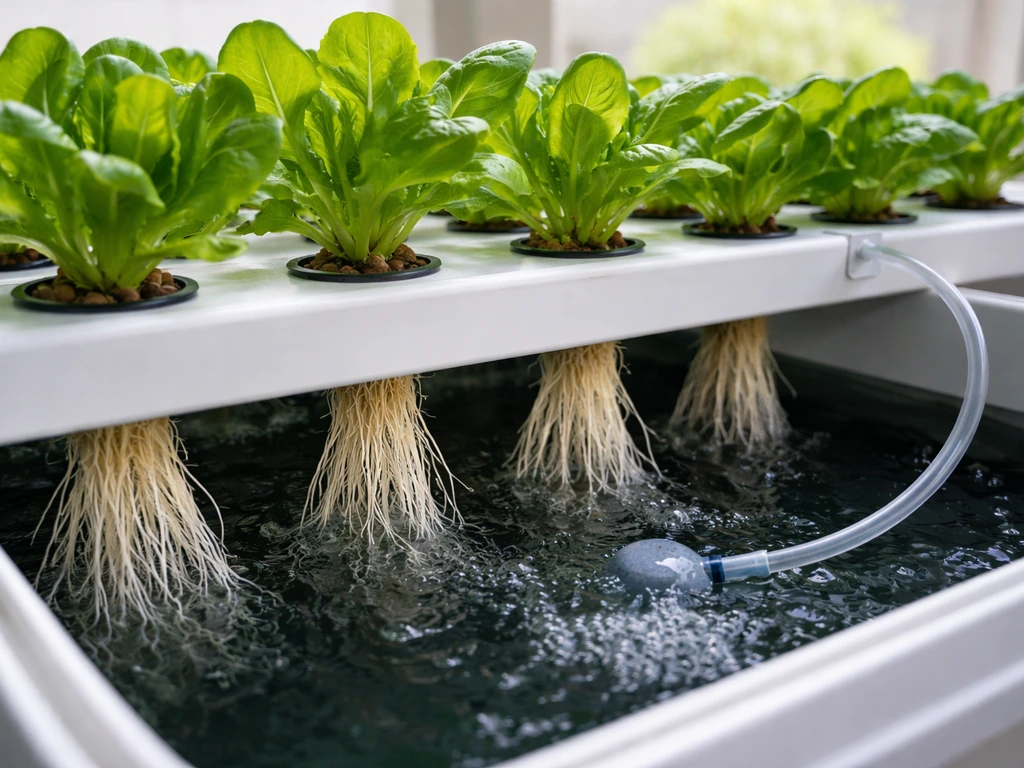
If you started seeds in soil-based mix and are planning to move into a hydroponic system, be aware that soil particles clinging to roots will cause problems in NFT or DWC setups. Gently rinse the root ball in pH-adjusted water (5.8 to 6.2) to remove as much soil as possible before transferring. This is why many growers who end up in hydro prefer starting directly in rockwool or coco plugs from day one: there's no soil-to-system contamination risk, and the plug transfers cleanly into the net pot or media bed. The transition is smoother, root disturbance is minimal, and the plant doesn't need to adapt to a completely different root environment mid-growth.
Minimising transplant shock
- Transplant in the evening or on a cool, overcast day to reduce heat stress on the plant during establishment.
- Keep seedlings out of direct sun for the first 24 to 48 hours after transplanting while roots begin to anchor in the new medium.
- Avoid fertilising for 5 to 7 days after transplanting into a nutrient-rich medium.
- A dilute seaweed extract watered in at transplant time helps stimulate new root growth and reduces stress response.
- If hardening off indoor seedlings to go outside, do it gradually over 7 to 10 days: start with an hour of outdoor exposure per day, building to full sun and outdoor conditions by the end of the period.
Getting the seed raising phase right sets the ceiling for everything that follows. Strong, healthy seedlings with intact roots and stocky stems adapt faster to their final growing environment, whether that's outdoor garden beds, containers with a quality potting mix, or a hydroponic system. The mix is the foundation of that, and it's one of the cheapest inputs in the whole grow to get right.
FAQ
Can I reuse leftover grow better seed raising mix from last season?
Often no, because pathogens can persist in used mix and salts can build up. If you do reuse it, only do so if it was kept dry and uncontaminated, then pasteurise or re-sterilise it (DIY oven baking is for compost components, not ideal for big bags). In most home setups, it is safer and cheaper to start fresh for the next sowing.
Is it better to use vermiculite or perlite in grow better seed raising mix?
Either can work, but the balance matters. Perlite boosts aeration and drainage, vermiculite holds more water, so for very fine seeds or warm germination you may prefer slightly more vermiculite for steady moisture. For crops prone to damping-off, lean toward more perlite for faster drying at the surface.
What pH should my grow better seed raising mix have for best germination?
For most seeds, aim for a mildly acidic range, around pH 5.5 to 6.5 when measured on the moistened mix. If your DIY batch uses compost or leaf mold, pH can drift and lock out nutrient availability, so test after pre-moistening, not from dry ingredients.
Can I add fertiliser to grow better seed raising mix to help seeds germinate faster?
Usually not. Seed raising mix is designed to be lean, and added fertiliser can raise salts around the emerging root tips, causing stalling that looks like deficiency. If you want earlier nutrition, wait until true leaves appear and then use half-strength feeding.
Should I cover seeds after sowing, or leave them exposed?
Follow the seed’s light requirement. Most seeds are fine under a covering equal to about twice their diameter, but many tiny seeds need light, so pressing them onto the surface (without covering) is correct. If you are unsure, sow a small test tray and label it, then compare germination after a week.
Why does my mix look wet but seeds still fail to germinate?
Uneven wetting is a common culprit, especially with dry mixes that repel water. Pre-moisting before filling cells, then bottom watering after sowing, helps eliminate dry pockets and improves seed-to-mix contact, which is critical for consistent germination.
How thick should the seed raising mix layer be in a tray or cell?
Thin coverage can dry out quickly and make root growth unstable. As a practical rule, fill cells enough that seeds have their normal sowing depth plus a little extra so moisture can wick upward reliably. For very fine seeds, ensure the surface is evenly moist but not waterlogged.
What’s the best way to prevent damping-off besides using sterile mix?
Use airflow and water timing. Bottom watering to keep the surface less wet, avoid overcrowding (thin sowing), and run a gentle fan once seedlings are up to reduce still, humid microclimates. Also remove affected seedlings early rather than leaving them in the tray.
Can I germinate in seed raising mix without a humidity dome?
Yes, but you must manage moisture carefully. Dome setups reduce surface drying, while without one you will likely need more frequent light misting only when the surface starts to dry, not until it is constantly wet. The key is stable moisture at the seed zone without soaking the surface.
How do I know if my seedlings are ready to transplant in grow better seed raising mix?
Look for true leaves, not just cotyledons, and check root structure. Readiness is also about stem firmness (stocky rather than leggy) and whether roots hold together when lifted. If the mix falls apart easily, seedlings are probably still too tender.
What should I do if my DIY mix has lumps even after sieving?
Re-sieve and discard the biggest chunks for the seed zone. Lumps create irregular moisture and poor seed contact, which can reduce germination even if the overall recipe is correct. For large trays, consider sieving only the top layer you will sow into, rather than the whole batch.
Can I start seeds in seed raising mix and then move directly to hydroponics without washing roots?
Try to avoid it. Soil particles clinging to roots can cause issues in NFT or DWC, including pH swings and clogging. If you started in any soil-based or compost-based mix, plan a gentle rinse in pH-adjusted water and transfer promptly to reduce residue.
Why are my tomato or pepper seeds germinating slowly even with warmth?
Two frequent extras are incorrect root-zone temperature consistency and stale seed surface moisture. Heat mats can cycle, so verify actual mix temperature and use pre-moistening plus bottom watering to keep the seed zone uniformly damp. Also check that the mix is not too rich, because nutrient burn can slow early growth.
Is grow better seed raising mix suitable for succulents and cacti?
Not as-is in most cases. Succulents prefer faster drainage, so standard seed raising mix often stays too wet and increases rot risk. If germinating succulent seeds, modify your medium by cutting standard mix with coarse perlite or fine grit to improve drainage, then keep moisture minimal.
How long can I keep a pre-moistened batch of grow better seed raising mix before sowing?
Pre-moistened mix is best used soon because it can compact, and warmth plus moisture can encourage microbial growth. If you need storage, keep it loosely covered to prevent drying while still limiting prolonged warmth, and do not leave it for weeks. Make only what you can sow within a short window (typically days, not extended periods).