The best nutrients for an outdoor grow are the ones that match your soil biology, your local climate, and where your plants are in their life cycle. That sounds obvious, but most growers trip up by copying an indoor feeding chart and wondering why their outdoor plants look burnt in July or starved in September. Outdoors, you're working with living soil, rainfall, temperature swings, and sun intensity that no indoor setup replicates. This guide gives you a practical framework for choosing, timing, and adjusting nutrients from seed to harvest so you can avoid the most common mistakes and actually get what your plants need when they need it.
Good Nutrients for Outdoor Grow: Organic and Practical Feeding Guide

Marcus Holloway
5 Apr 2026
What 'good' outdoor grow nutrients actually means
When people search for the best nutrients for an outdoor grow, they usually mean one of two things: what to buy, or what's in the bottle. Let's start with what's in the bottle, because understanding that makes the buying decision much easier.
Every nutrient product works through the same set of essential elements. The three macronutrients, nitrogen (N), phosphorus (P), and potassium (K), are listed on every label as the N-P-K ratio. Nitrogen drives leafy vegetative growth. Phosphorus supports root development and flower production. Potassium strengthens cell walls, regulates water use, and helps plants tolerate stress. For outdoor cannabis, stress tolerance matters a lot because heat waves, cold nights, and heavy rain are all on the table.
Beyond N-P-K, you have secondary macronutrients (calcium and magnesium) and micronutrients. The micronutrients your plants need are: calcium (Ca), magnesium (Mg), iron (Fe), zinc (Zn), manganese (Mn), copper (Cu), boron (B), and molybdenum (Mo). These are needed in much smaller amounts, but deficiencies still stop growth cold. Lab tissue analysis data gives us useful sufficiency benchmarks: calcium at 0.
79–1. 2% of leaf tissue, magnesium at 0. 24–0. 8%, manganese at 25–150 ppm, iron at 30–60 ppm, boron at 24–75 ppm, and zinc at 24–50 ppm.
Cornell Cooperative Extension provides example cannabis leaf tissue nutrient sufficiency ranges, including manganese (Mn) around 25 to 150 ppm, boron (B) around 24 to 75 ppm, and zinc (Zn) around 24 to 50 ppm [manganese at 25–150 ppm](https://harvestny. cce. cornell. edu/uploads/doc_231.
pdf). You don't need to test your leaves weekly, but these numbers tell you how little it takes to push a plant into deficiency range.
Form matters as much as content. Nutrients come in liquid concentrates, water-soluble powders, granular slow-release formulas, and coated controlled-release pellets. For outdoor soil grows, the form affects how quickly nutrients become available and how much weather influences that delivery. Liquid concentrates give you fast, predictable control.
Slow-release granulars work through biological activity, meaning soil temperature and moisture govern when nutrients actually release. Controlled-release fertilizers (CRFs) use a semi-permeable coating to deliver nutrients on a more predictable schedule: by definition, a true CRF releases no more than 15% of its nutrients within 24 hours and no more than 75% within 28 days under specified conditions.
That predictability is worth knowing about because outdoors, soil temperature is the single biggest driver of CRF release rate, not your watering schedule.
One more label detail worth knowing: chelated micronutrients. Chelation means a micronutrient like iron or zinc is bonded to an organic molecule (common ones are EDTA, DTPA, and EDDHA) that protects it from reacting with soil and becoming unavailable. MSU Extension notes that iron chelates such as citric acid, EDTA, DTPA, and EDDHA work differently with pH, with EDDHA maintaining iron availability at higher pH levels blank" rel="noopener noreferrer">Chelation means a micronutrient like iron or zinc is bonded to an organic molecule. Chelated iron, manganese, copper, and zinc absorb significantly better than non-chelated forms. When you're scanning product labels, look for "chelated" next to any micronutrient listing.
Organic vs natural vs synthetic: what to choose for outdoor soil
These three categories get conflated constantly, so let's be clear about what they actually mean for your outdoor grow.
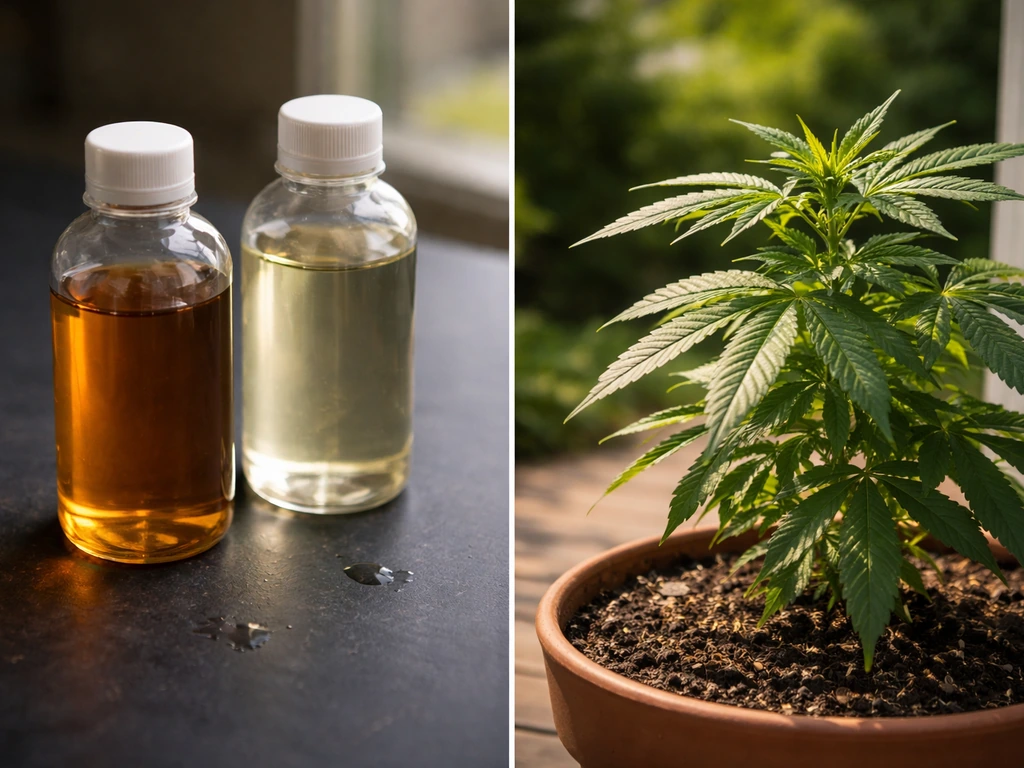
Synthetic nutrients are manufactured mineral salts that dissolve in water and become immediately plant-available. They give you precise control over N-P-K ratios, they work fast, and they're consistent. The downside outdoors is that unused salts accumulate in soil, EC can creep up between waterings, and they don't feed the microbial life that makes outdoor soil actually productive over a season. Heavy rain can flush them out before your plants use them, which wastes money and can stress plants when a flush follows dry application.
Natural/organic nutrients come from biological sources: composted manure, fish meal, bone meal, kelp, worm castings, blood meal. They release nutrients more slowly as soil biology breaks them down, which lines up naturally with outdoor growing rhythms. They build soil structure over the season, support microbial diversity, and buffer against pH swings. The tradeoff is less precise immediate control. If your plants show a deficiency, an organic amendment won't fix it in 24 hours the way a liquid synthetic will.
A hybrid approach works best for most outdoor soil growers: build the soil with organic amendments (compost, worm castings, slow-release granulars) before the season, then supplement with liquid organics or light synthetics when you see the plant demanding more. This gives you the soil health benefits of organic growing with the responsive control you need during peak flowering.
If you want to go fully organic, compost teas are a popular tool. Apply them about once a month, not at every watering. Over-applying when soil stays wet or oversaturated creates anaerobic conditions that harm roots, so more frequent application isn't better. For a deeper look at how different fertilizer formulations compare for outdoor plants, the breakdown in this guide on the best fertilizer for outdoor grow is worth reading alongside this one.
| Type | Release Speed | Soil Health Impact | Control Level | Best For |
|---|---|---|---|---|
| Synthetic liquid | Immediate | Low (can harm microbes at high doses) | High | Fast corrections, flowering supplementation |
| Organic liquid | Fast to moderate | Moderate (feeds microbes) | Moderate | Balanced feeding, veg and early flower |
| Organic granular/amendment | Slow (weeks) | High (builds biology) | Low | Pre-season soil prep, slow background feeding |
| Controlled-release (CRF) | Controlled by coating/temp | Neutral to low | Moderate (temp-dependent) | Low-maintenance background N during veg |
| Compost tea | Fast (liquid form) | High (microbial inoculant) | Low | Monthly soil biology support |
Nutrient plan by growth stage for outdoor weed
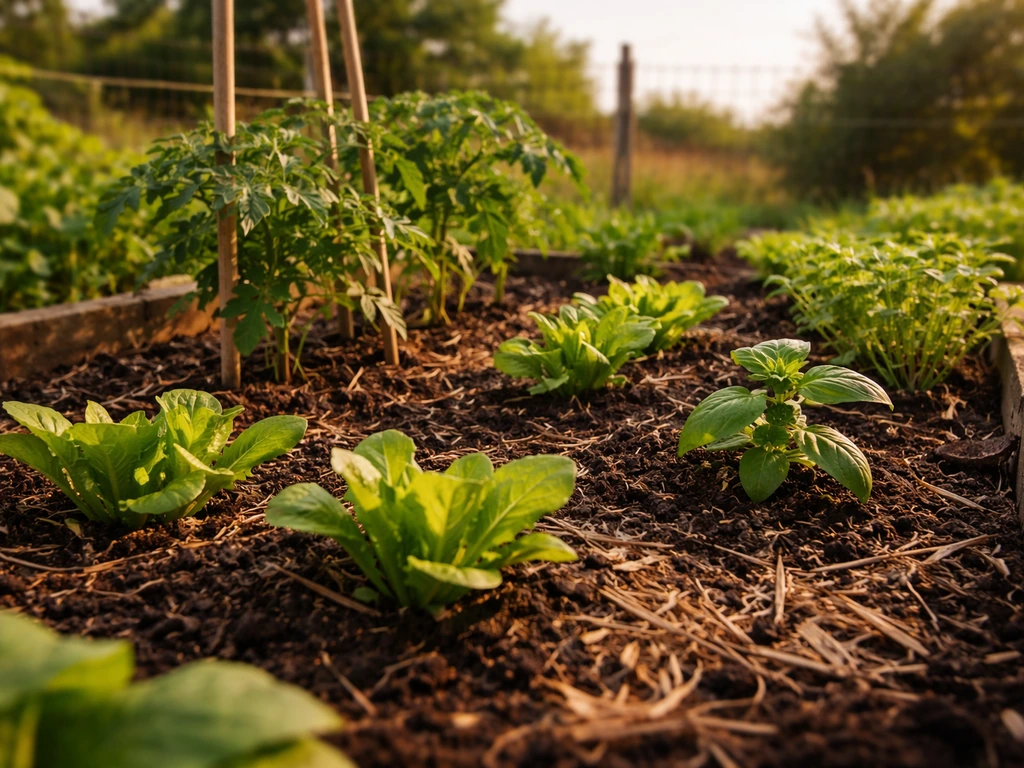
Outdoor cannabis growth stages don't follow a wall calendar the way indoor grows do. They follow the sun. In most Northern Hemisphere climates, photoperiod plants veg from May through July and flip to flower as daylight shortens in late July and August. Autos run on their own internal clock regardless of light. Here's how to feed across those stages.
Seedling stage (weeks 1–2)
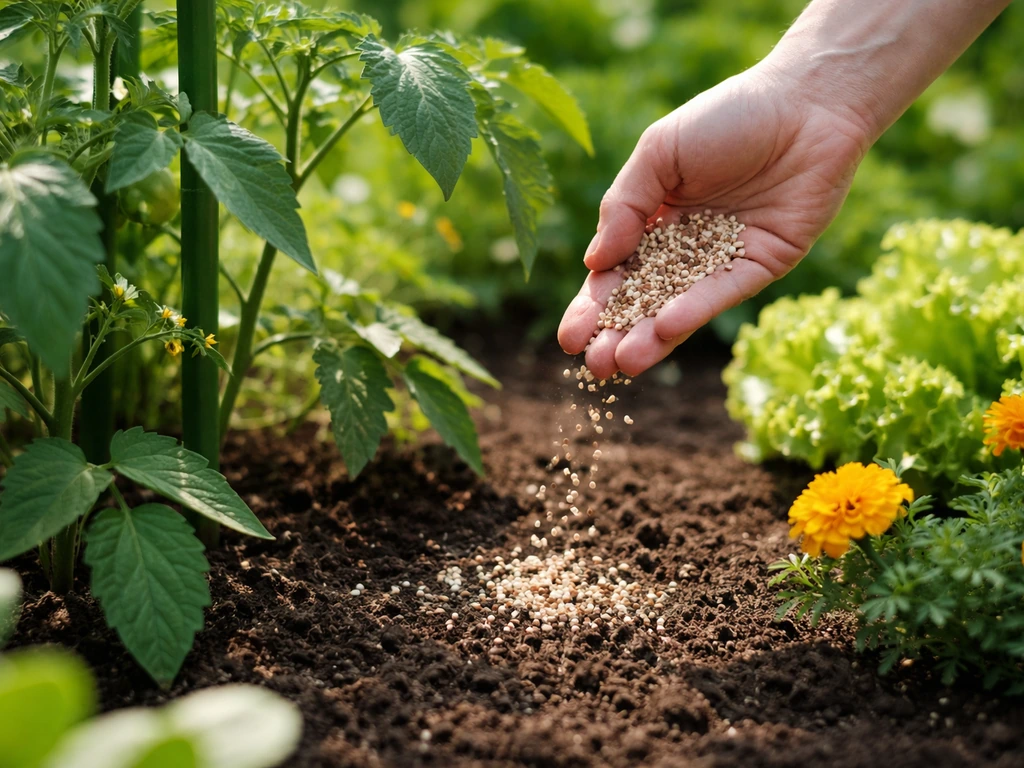
Don't feed for the first week. Seedlings have enough stored energy from the seed and their root systems can't handle even mild nutrient concentrations without burning. If you're starting in a pre-amended soil or quality seed-starting mix, you genuinely don't need to add anything. Most nutrient brand schedules recommend starting feeding about one week after germination, and for outdoor soil that usually means just a diluted dose of a gentle, low-N starter formula if you're in a depleted medium.
Early to mid-vegetative stage (weeks 3–6)
This is when nitrogen demand ramps up sharply. You want a higher N ratio here: something like 3:1:2 or 4:2:3 (N:P:K). For outdoor soil grows using organics, top-dress with a nitrogen-rich amendment like blood meal or a balanced granular fertilizer, and water it in. If you're using liquid nutrients, feed at half the recommended label dose initially and watch plant response before moving to full strength. Think about how your feeding schedule for outdoor grows maps to the actual growth pace your plants show, because outdoor plants in warm climates with high sun intensity can grow faster than any chart predicts.
Late vegetative stage (weeks 7–9)

Keep nitrogen available but start introducing more phosphorus and potassium to prepare for the transition. Maintain healthy calcium and magnesium levels here because a calcium deficiency at this stage will compound into serious flower problems later. If your water is soft or you're using RO water, a cal-mag supplement is nearly mandatory. Begin checking runoff pH and EC every couple of weeks to catch salt accumulation early.
Early to mid-flower (weeks 1–5 of flower)
Flip your N-P-K emphasis toward phosphorus and potassium. A ratio around 1:3:2 works well for early to mid-bloom. Nitrogen doesn't disappear from the diet, but excess nitrogen in flower suppresses bud development and keeps internodes stretchy. If you're choosing specific bloom products, the practical detail in this guide on the best bloom nutrients for outdoor grows covers specific product options and what to look for on bloom labels.
Late flower (final 2–3 weeks before harvest)
In the final weeks, many growers drop nitrogen entirely and shift to a 0:3:3 ratio. This is also when flushing becomes relevant if you're using synthetic nutrients: running plain pH-adjusted water through the medium helps clear residual salts before harvest. Organic grows generally don't require an aggressive flush because the nutrient load in the soil is lower and more buffered.
For a complete visual breakdown of what the flowering stage specifically demands and how to manage it week by week, the flowering stage nutrient guide for outdoor grows goes deeper on bloom-phase management.
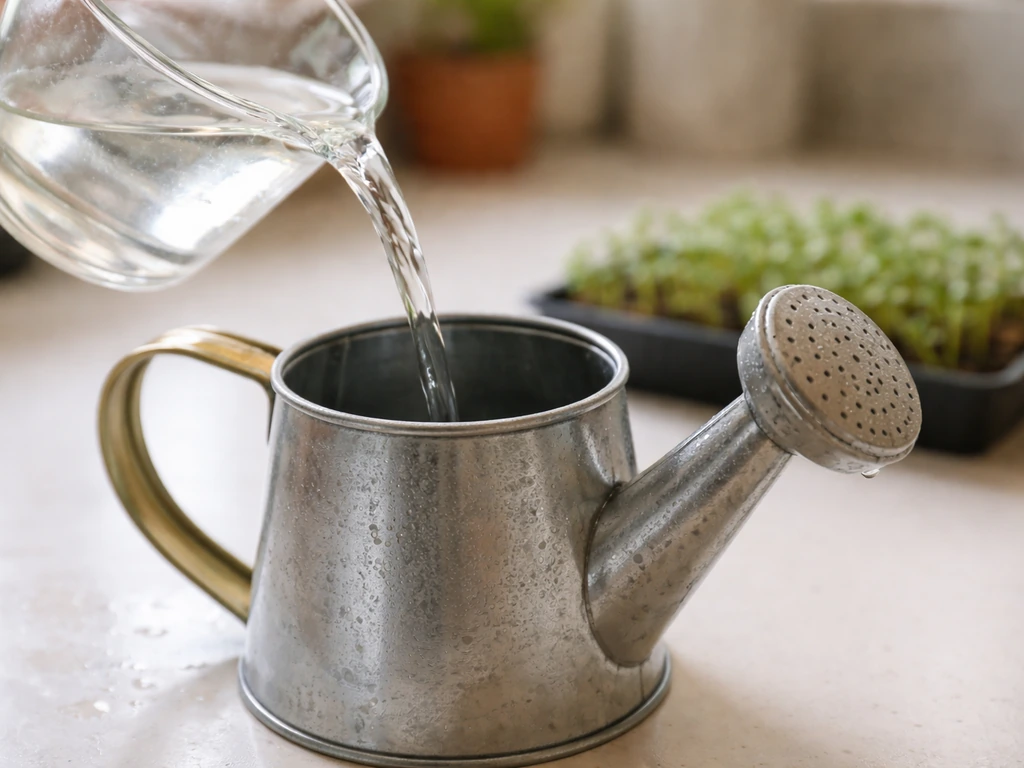
How to feed outdoors: schedule, dosage, and adjustment rules
The standard feeding cadence for liquid nutrients is once a week. Feed days alternate with plain-water days, which helps prevent salt accumulation and gives roots a chance to breathe. A typical week might look like: water Monday, feed Thursday, water Sunday. If you want a concrete example to compare against, this feeding schedule best nutrients for outdoor grow approach by growth stage is a useful next read. On the label, "5 mL = 1 teaspoon" is a common dosing shorthand, and you almost always want to start at half the recommended dose outdoors and scale up based on plant response.
Outdoors, you need to factor in rainfall. If you get 2 inches of rain in a week, that's free watering (and sometimes free flushing). After a heavy rain, hold off on your next feed for a day or two and let the soil drain. If it rains every day for a week, your plants are getting minimal nutrition even if your soil was well-amended, because water is leaching nutrients out continuously. In these stretches, a mid-week foliar spray of diluted liquid nutrients (applied in the morning so leaves dry before sunset) can bridge the gap.
Dose adjustment rules for outdoor soil:
- Deep green, clawing leaves with tight internodes: reduce nitrogen, you're overfeeding N
- Pale green or yellowing from the bottom up: increase nitrogen, classic N deficiency
- Slow growth despite feeding: check pH before adding more nutrients, the problem is likely lockout not starvation
- After a long rainy stretch: assume some nutrient depletion and resume feeding at half dose
- After a heat wave: plants may uptake faster, so check they aren't showing deficiency signs and consider a slightly higher-frequency feeding window
Don't just follow a chart blindly. Read your plants. A week-by-week schedule is a starting point, not a contract. If you want community-tested real-world schedules and see how other outdoor growers adjust week to week, browsing the Reddit discussions on best outdoor grow nutrients will give you a lot of practical first-hand variation to compare against your own setup.
Outdoor problem-solving: deficiencies, toxicities, and nutrient lockout
Most nutrient problems outdoors aren't caused by feeding too little. They're caused by pH drift preventing uptake, or salt accumulation from overfeeding. The symptom looks like deficiency; the fix is not always more fertilizer.
Reading deficiency symptoms
Mobile nutrients (nitrogen, phosphorus, potassium, magnesium) show deficiency symptoms on older, lower leaves first. The plant pulls these nutrients from older tissue to feed new growth. Immobile nutrients (calcium, iron, boron, manganese, zinc) show deficiency on new growth first, because the plant can't redistribute them once they're locked into leaf tissue. If your newest leaves are yellowing or distorted while older leaves look fine, look at immobile nutrient deficiency or pH lockout before adding more of anything.
Toxicities usually show as burned leaf tips or edges, deep dark green coloring, or in the case of nitrogen toxicity, claw-shaped leaf tips curling downward. Calcium deficiencies outdoors are most common in very wet and cool climates with acidic soil, which is worth knowing because those same wet conditions are exactly when growers add more nutrients thinking the plants are starving.
Nutrient lockout in outdoor soil
Lockout happens when pH drifts outside the optimal range or when salt buildup physically blocks nutrient absorption at the root zone. For outdoor soil, keep root-zone pH between 6.0 and 7.0, with 6.0–6.5 being the sweet spot where the widest range of nutrients stay available. Below 6.0, iron, manganese, and aluminum become overly available (potentially toxic). Above 7.0, iron, zinc, manganese, and phosphorus lock out quickly.
The fix for lockout is not more nutrients. It's a flush with pH-adjusted water (pH 6.2–6.5 for soil) to clear accumulated salts, followed by a rest period of 2–3 days before reintroducing nutrients at reduced strength. If individual leaves are showing severe deficiency while the root zone is in good shape, targeted foliar feeding with a diluted nutrient solution is a fast way to deliver specific elements directly while you fix the underlying soil situation.
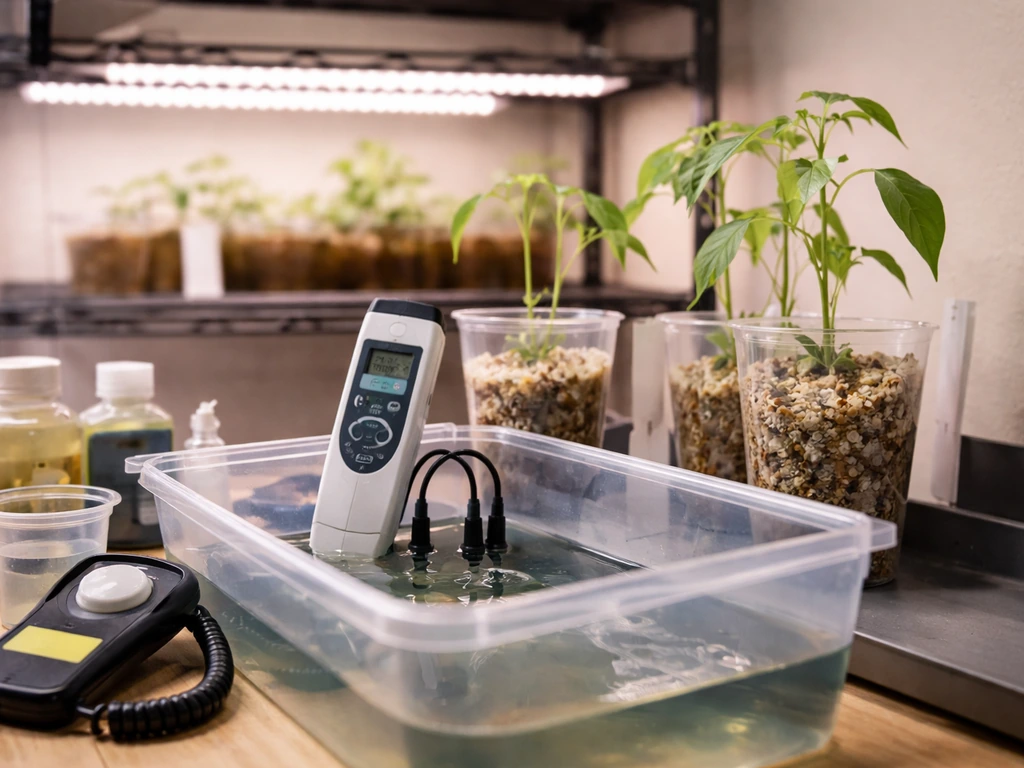
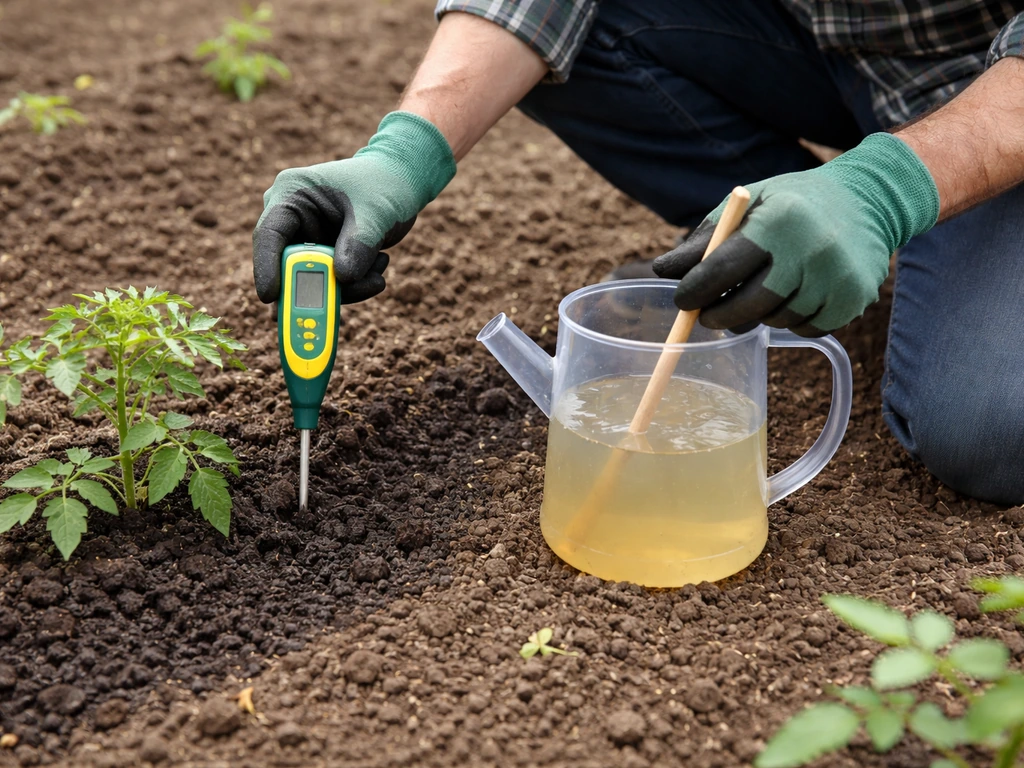
A useful check: measure the EC and pH of your runoff water after watering. Runoff EC significantly higher than your input EC means salt is accumulating. Runoff pH lower than 6.0 means your soil is acidifying and lockout is likely already happening or imminent.
Soil vs outdoor hydroponics: what changes in pH, EC, and watering strategy
If you're running an outdoor hydroponic setup (deep water culture, NFT, or a container-based coco/perlite system outside) the feeding rules shift meaningfully. If you're in soil, skip to the checklist below.
In hydro and coco, pH should be kept tighter: 5.5–6.1 for coco and hydroponic systems, rather than the 6.0–7.0 soil range. The reason is that in hydro, nutrients are delivered directly in solution with no soil buffer, so small pH drifts have an outsized effect on availability. For outdoor hydro specifically, heat is a major factor: reservoir temperature above 72°F (22°C) promotes root pathogens and stresses plants, so shade your reservoir and consider reservoir chillers in hot climates.
EC targets in hydro are also different from soil. Vegetative EC typically runs 1.2–1.6 mS/cm, while flowering EC runs 1.6–2.0 mS/cm, with some growers pushing higher as buds swell. For cannabis in a hydroponic system, pH 5.6–6.4 with EC 1.4–2.4 covers the full growing range, with the lower end of pH during veg and the higher end tolerable during peak flower. Outdoor soil plants absorb through root-soil interaction and microbial breakdown, so EC and pH affect them differently and with more buffering. The comparison is worth understanding if you're planning to try both methods, and looking at the best fertilizer approach for indoor grows can help you understand how the controlled-environment nutrient logic differs from what works outdoors.
| Parameter | Outdoor Soil | Outdoor Hydro/Coco |
|---|---|---|
| Root-zone pH | 6.0–7.0 (ideal 6.0–6.5) | 5.5–6.1 |
| Veg EC target | Not typically measured by growers | 1.2–1.6 mS/cm |
| Flower EC target | Not typically measured by growers | 1.6–2.0 mS/cm |
| Watering frequency | As needed (weather-driven) | Frequent/continuous (system-driven) |
| Salt buildup risk | Moderate (rain helps flush) | High (no natural flush) |
| Nutrient form | Organic/slow-release or liquid | Liquid/soluble only |
| Rainfall impact | Can flush or supplement | Irrelevant (closed system) |
In hydro outdoors, you also feed at nearly every watering (which happens frequently or continuously), compared to the once-a-week liquid feed cadence typical in soil. This means EC management is critical and you need to test daily or every other day in hot outdoor conditions where evaporation concentrates your reservoir.
Practical product checklist and what to do next
Here's the actual decision framework when you're standing in a garden store or scrolling through products online. Use this to narrow down your choices fast.
- Start with your soil: test it or at minimum know if it's amended or not. Pre-amended organic soils (like 'super soils') need minimal added nutrients for the first 4–6 weeks. Cheap potting mix or native soil needs amending before or at transplant.
- Pick a nutrient system: a two-part or three-part liquid system (veg formula plus bloom formula, ideally with a cal-mag supplement) covers 90% of what you need without complexity. One organic option: fish meal and kelp for veg, bone meal and sulfate of potash for flower.
- Check the label for chelated micronutrients: look for 'chelated' next to Fe, Zn, Mn, and Cu. This matters most if your soil tends toward alkalinity or you've had micronutrient deficiencies before.
- Know your water source: soft water or RO water almost always needs cal-mag supplementation. Hard water may already supply enough calcium and magnesium.
- Plan your pH management: get a reliable pH meter (not strips) and pH up/down solutions. Check and adjust your feed water to 6.0–6.5 before applying. This single habit prevents more problems than any premium nutrient line.
- Set a feeding schedule: once-a-week liquid feeding alternated with plain water days. Track what you feed and when. If you adjust, change one variable at a time.
- Know when to flush: if runoff EC rises significantly above input EC, or if you see unexplained deficiency symptoms after weeks of good feeding, a plain water flush at proper pH is your first move, not adding more nutrients.
If you're still deciding on what to actually grow before you finalize your nutrient plan, strain selection matters for nutrient sensitivity too. Some genetics are heavy feeders; others do well in low-nutrient conditions. You can find guidance on choosing genetics that match your outdoor environment in this article on the best seeds for outdoor grows.
The bottom line: good outdoor nutrients are part selection, part timing, and part observation. The best product in the wrong ratio at the wrong stage, or at the wrong pH, will underperform a basic nutrient line used correctly. Start simple, document what you do, and adjust based on what your plants actually show you. That feedback loop, more than any specific brand or formula, is what separates good outdoor grows from great ones.
FAQ
How do I know if my issue is a nutrient problem or just weather and watering?
Look at timing and consistency. Sudden leaf issues right after a cold, cloudy stretch, or after a day of heavy rain, often reflect uptake slowdown or leaching rather than a true deficiency. If growth is stunted across multiple plants in the same bed while temperatures were low or soil stayed wet, treat pH and drainage first, then adjust feeding only after conditions stabilize.
What runoff test results should I trust when diagnosing salt buildup?
Use both values together. If runoff EC is clearly higher than what you fed, salts are accumulating and more fertilizer will usually worsen things. If runoff pH is drifting but EC is stable, focus on pH lockout rather than dose. Also note runoff volume, if you get only a dribble, readings can be misleading because salts are not fully flushed from the root zone.
Should I water before feeding or feed and then water?
For outdoor soil, it’s generally safer to water first if you’re close to label strength or if the soil is dry and the next watering will be your first wetting. Wet soil helps nutrients move evenly into the root zone. If you feed into very dry media, salts can concentrate around root tips and cause tip burn even when the overall dose was reasonable.
How do I handle nutrient during an expected heat wave or very hot afternoons?
Avoid heavy feeding during peak heat. Nutrients can concentrate as water evaporates, and plants already struggle with water stress. If you must feed, do it early in the day, use a reduced dose, and prioritize keeping the soil evenly moist rather than letting it dry and then overwatering to compensate.
Is foliar feeding worth it, and what should I watch for outdoors?
Foliar feeding is useful for quick correction of specific elements, especially when you suspect pH lockout or immobile deficiencies. Use diluted solutions and apply in the morning so leaves dry before sunset. Avoid foliar feeding during very sunny or windy conditions to reduce leaf scorch and spray drift, and do not treat it as a replacement for root-zone correction.
When should I stop feeding in late flowering?
Instead of a fixed calendar stop date, watch the plant’s trend and resin development. If you’re using synthetic nutrients, you may do a period of pH-adjusted plain water to reduce residual salts, but stop earlier if leaves show advanced decline or severe nutrient stress. With organics, many growers keep feeding lighter rather than fully stopping, unless runoff indicates salt and pH issues.
How should I adjust feeding if my soil is already very rich in compost or manure?
Start with a lower supplement level and extend the interval between additions. Overfeeding in rich beds often shows up as dark green leaves, fast vegetative growth, or clawing in nitrogen-heavy situations. You can often rely more on slow-release granules and top-dress smaller amounts later, then correct only if you see clear, consistent deficiency signs.
Can rain wash away nutrients too much, and what’s the practical workaround?
Yes, repeated rain can continuously leach soluble nutrients, particularly with synthetic salts, and can keep soil moisture high enough to slow uptake. After a heavy rain, wait for drainage and avoid immediate feeding. If rain is frequent for a week, consider a light foliar spray to bridge the gap, or switch to more release-tolerant forms like slow-release granules if your plan allows.
What’s the safest way to start nutrients for an outdoor grow that uses compost-heavy soil?
Delay until the plant has established active growth, then start at a fraction of label strength. Since compost can supply baseline nutrients, begin with half-dose or less and increase only if new growth responds positively. If you see immobile nutrient symptoms on new leaves, correct pH and consider targeted micronutrients rather than increasing total N-P-K.
Do photoperiod and autoflower feeding schedules really differ outdoors?
Autoflowers often need earlier, steadier support because their life cycle does not pause for seasonal timing. Photoperiod plants can ramp nitrogen during veg and then transition more predictably when day length shortens. With autos, avoid aggressive mid-cycle switches, keep dosing smoother, and prioritize consistent watering so the plant does not experience uptake swings during early flowering.
If I’m using chelated micronutrients, do I still need to worry about pH?
Yes. Chelation improves availability, but it does not fully eliminate lockout when the root zone pH is far outside the optimal range. Use chelated products to reduce micronutrient failure, then still manage pH drift and salt buildup by monitoring runoff and adjusting your feeding strength.
What EC and pH targets should I use if I’m moving from soil to an outdoor hydro or coco system?
Expect lower pH setpoints and more frequent checking. Outdoor hydro and coco lack the soil buffer, so pH swings affect nutrient availability quickly. In practice, keep your targets within the tighter hydro ranges described in the article, test often during hot weather, and adjust gradually, because a small change in concentrate can move EC and pH noticeably in the reservoir.