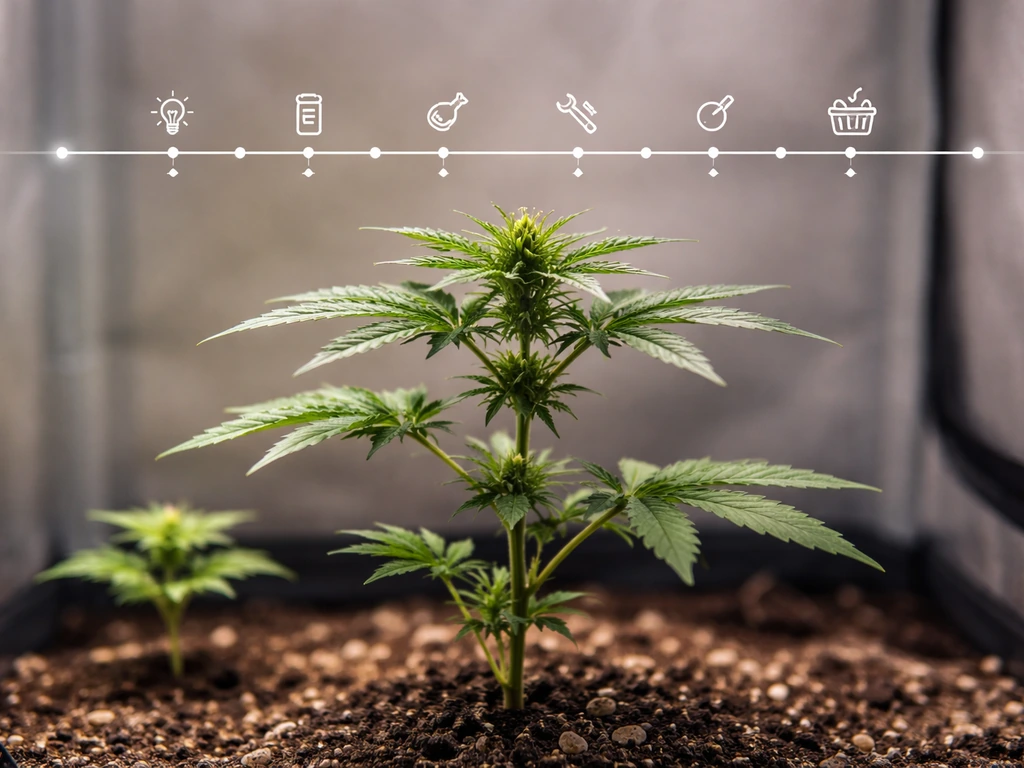
Grow Dots work beautifully for autoflowers if you set them up correctly at planting time. The entire system is built around one application that feeds your plant from seed to harvest, which makes it almost perfect for autos since you never transplant and you want minimal intervention. Here is exactly how to use them, what to watch for, and how to fix the most common problems that come up.
How to Use Grow Dots for Autoflowers Step by Step

Marcus Holloway
11 Apr 2026
What Grow Dots are and how the release actually works
Grow Dots are a programmed-release, single-application fertilizer made by Real Growers. Each dot is a salt-based nutrient pellet wrapped in a food-grade polymer coating. That coating is the whole trick: moisture and temperature cause the polymer to slowly diffuse nutrients into the surrounding medium over the course of a full grow. You put them in once at planting, and they keep releasing through veg and into flower without you touching them again.
The release profile is front-loaded on purpose. Real Growers designed Grow Dots so that roughly 75% of the nitrogen releases during the vegetative cycle, tapering off as the plant transitions toward flower. For autoflowers that makes a lot of sense: autos push hard through veg, stretch fast, and then spend the back half of their life building buds rather than leaves. The nutrient curve actually matches the plant's natural demand.
One thing worth knowing upfront: Grow Dots are designed for potting mixes, soil, and soilless media like coco coir or peat. They are not made for deep water culture. If you are running autoflowers in DWC, this product is not the right tool. For everything else, read on.
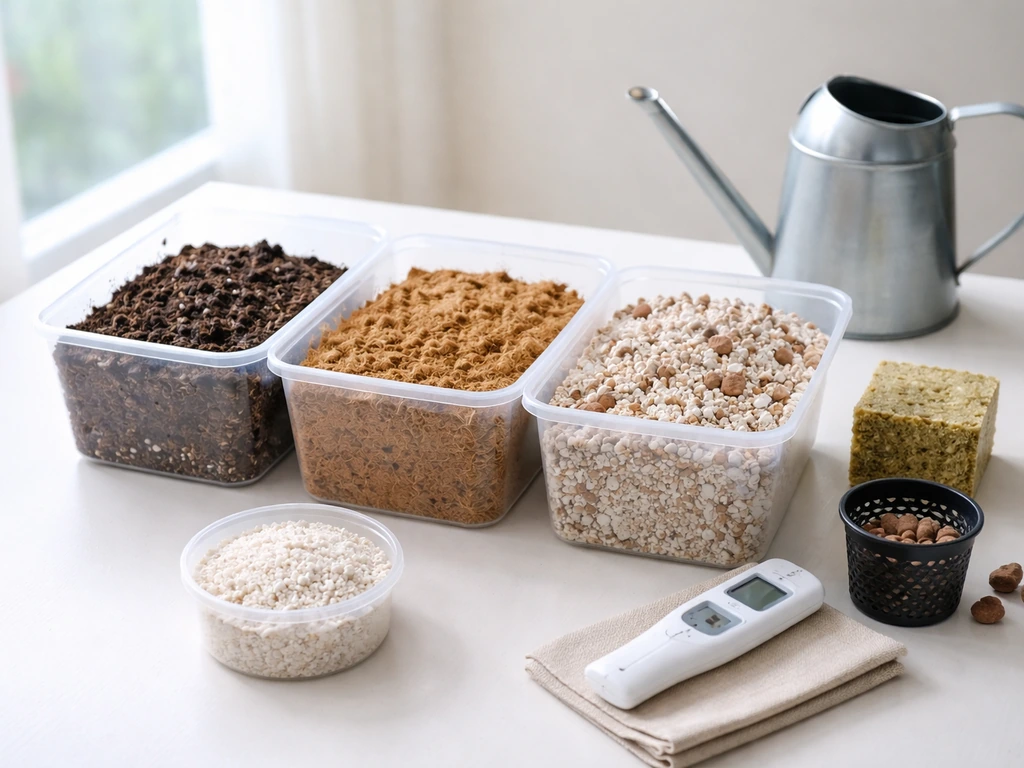
Soil vs. soilless: which setup works best with Grow Dots
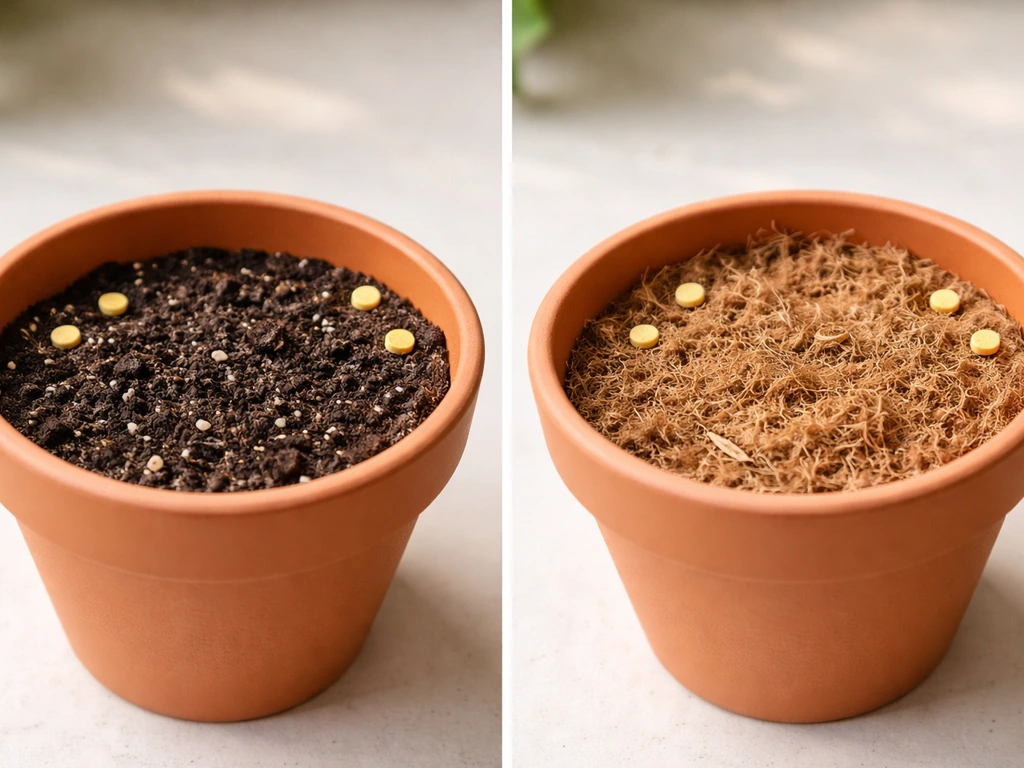
Grow Dots perform well in both soil and soilless media, but they behave a little differently in each. Choosing the right medium matters more than most people think, and it directly affects how you dose and manage the rest of your inputs. If you want a deeper breakdown of your options, the guide on the best grow medium for autoflowers covers this in detail, but here is the short version for pairing with Grow Dots.
| Factor | Soil | Coco Coir / Soilless |
|---|---|---|
| Buffer capacity | High – soil holds nutrients and pH swings more gently | Low – mistakes show up faster |
| Watering frequency | Less frequent, let medium dry between waterings | More frequent, keep slightly moist to drive release |
| Starting nutrients in medium | Often pre-loaded with nutrients (check your mix) | Inert – Grow Dots carry all the nutrition |
| pH target range | 6.2–6.8 | 5.8–6.3 |
| Supplementation needed | Usually none beyond the dots | May need a small Cal-Mag supplement |
| Risk of overfeeding | Lower – medium buffers excess | Higher – faster uptake, less forgiveness |
| Best for beginners? | Yes – more forgiving overall | Yes if you follow watering discipline |
If you are in coco, the inert nature of the medium means Grow Dots are carrying the full nutritional load. Keep the coco consistently moist (not waterlogged) to maintain steady release, and watch for calcium and magnesium deficiency since coco tends to bind Cal-Mag. A light Cal-Mag supplement in your water at half-dose is a reasonable precaution from week 3 onward.
If you are using a pre-amended soil or a living organic mix, check what nutrients are already in it before you dose Grow Dots. Some premium potting soils have 30 to 90 days of built-in feeding. Stacking Grow Dots on top of that can push nitrogen too high in early veg. A plain peat-based or lightly amended potting mix is the ideal pairing.
Planting schedule: when and how to place Grow Dots
The single most important rule: place your Grow Dots at potting time, before you germinate or transplant into the final container. Because autoflowers should go directly into their final pot from the start (no transplanting), this means you are setting up the dots before the seed ever goes in the ground. Getting this right from day one sets the tone for the entire grow.
How many dots to use
Real Growers recommends dosing by container size, not by plant count. The standard starting rate is 1 tablespoon of Grow Dots per gallon of medium. So a 3-gallon pot gets 3 tablespoons, a 5-gallon pot gets 5 tablespoons. For autoflowers, most growers run 3 to 5-gallon containers, so you are typically working with 3 to 5 tablespoons per plant. Do not eyeball it. Measure accurately because the programmed release is calibrated to that volume of medium.
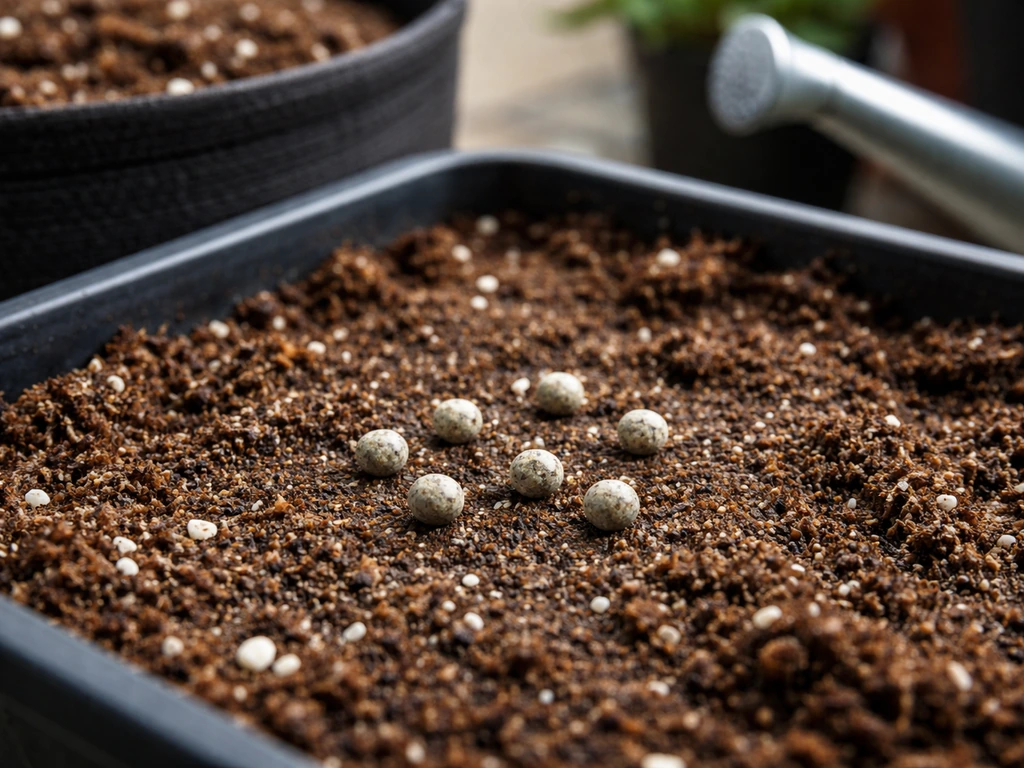
Where to place the dots in the container
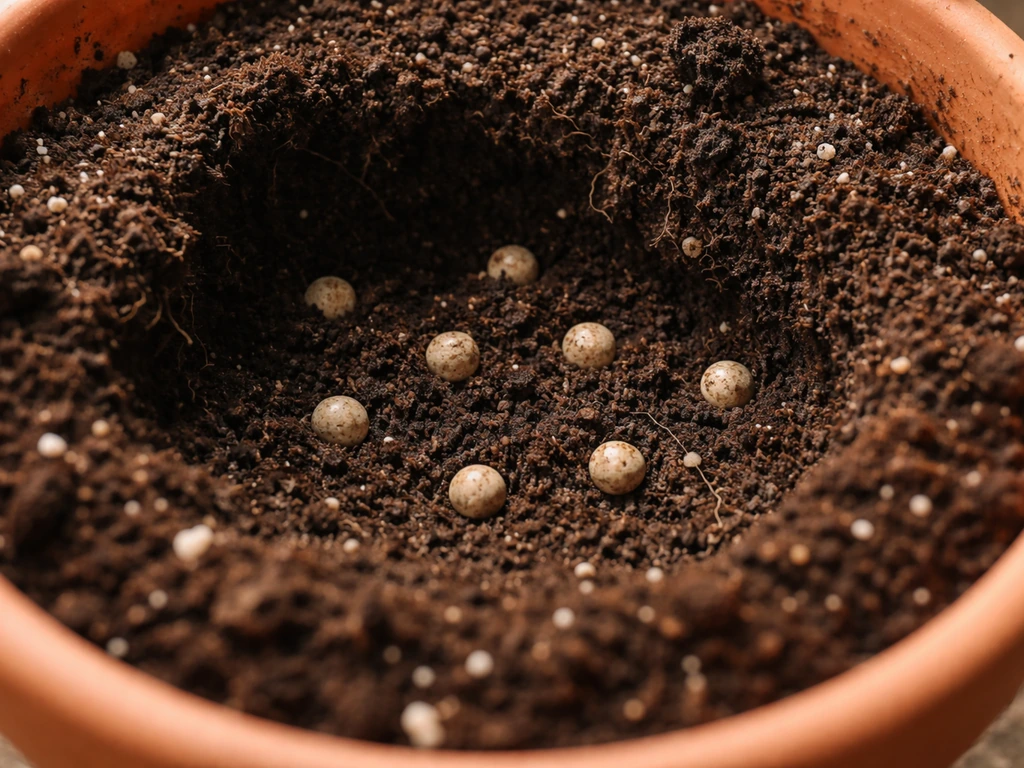
Do not dump all the dots at the bottom of the pot or mix them uniformly from top to bottom. The best method is to place them roughly 2 to 3 inches below the surface and spread them evenly through the middle third of the medium. This keeps the dots away from the seedling's early root zone while still being accessible as roots develop and grow down. You want roots to grow into the nutrient zone, not germinate sitting directly on top of concentrated fertilizer.
Here is a step-by-step planting approach that works well:
- Fill the bottom third of your container with pre-moistened medium and tamp lightly.
- Spread your measured dose of Grow Dots evenly across this layer.
- Cover the dots with another 2 to 3 inches of medium (the middle zone).
- Plant your germinated seed or seedling into the top layer.
- Water in lightly with plain, pH-adjusted water to activate the medium and begin the release process.
If you are tracking your grow week by week, you can align this planting step to Day 0 or germination day. From that point forward, the dots handle the baseline nutrition autonomously.
Light, watering, and environment while the dots are feeding
Grow Dots release nutrients through a combination of moisture and temperature. If either variable is off, the release slows or spikes unexpectedly. This is where a lot of growers run into trouble without realizing the dots are the cause.
Temperature
The polymer coating releases faster at higher temperatures and slower when it is cold. Keep your grow space between 68°F and 82°F (20°C to 28°C). Below 65°F, nutrient release slows significantly and your plant will look underfed even though the dots are there. Above 85°F, release can accelerate and push nutrient levels higher than the plant can use. Consistent temperature is more important than the specific number within that range.
Watering
Watering technique directly drives how fast or slow the dots release. In soil, let the top inch or two dry out between waterings (the classic lift-the-pot method works well here). In coco, water more frequently to keep moisture levels consistent and drive steady nutrient diffusion. Never let coco go bone dry since that pauses release and can cause a nutrient surge when you water again. Always water with pH-adjusted water: 6. Growers commonly target a pH range of about 5.8 to 6.3 in coco coir for optimal nutrient availability pH-adjusted water. 2 to 6.8 in soil, 5.8 to 6.3 in coco.
Light
Grow Dots do not interact directly with light, but your lighting schedule affects how hard the plant is feeding. Autoflowers typically run at 18 to 20 hours of light per day, which means they are photosynthesizing aggressively and pulling nutrients at a high rate through veg. This actually pairs well with the front-loaded nitrogen release profile. Keep your light intensity appropriate for the growth stage: ramp up gradually from seedling (around 200 to 300 PPFD) through veg (600 to 900 PPFD) into flower (900 to 1,100 PPFD). If you are trying to grow bigger autoflowers, optimizing your DLI alongside the Grow Dots program will make the biggest difference in final yield.
Nutrient management: what to add, what to skip, and when to stop
The philosophy behind Grow Dots is simplicity: one application, minimal intervention. But that does not mean you never touch another nutrient. Here is how to think about stacking.
Weeks 1 to 3 (seedling to early veg): water only
During the first two to three weeks, use plain pH-adjusted water. The dots are already releasing and seedling roots are small and sensitive. Adding any liquid nutrients at this stage risks burning the seedling from both directions: the dots below and your liquid feed from above. Let the Grow Dots do their job.
Weeks 3 to 6 (veg to pre-flower): optional light supplements
If your plant looks healthy, stick to water only. If you are in coco and seeing early signs of calcium or magnesium deficiency (interveinal yellowing, upward leaf curl), add a half-dose Cal-Mag supplement to your water once or twice a week. That is the only supplement most growers need. Do not add nitrogen-heavy liquid feeds during this phase since the dots are already releasing the bulk of their nitrogen load and you will overshoot quickly.
Weeks 6 to harvest (flower): consider a PK boost
As the plant transitions into full flower, the dots are tapering off on nitrogen. This is intentional: you do not want high nitrogen in flower. However, phosphorus and potassium demand increases during bud development, and some growers find Grow Dots slightly light on PK in the late flowering stage. A light PK booster (something like a 0-5-4 or similar ratio) added once a week from week 6 to week 9 can improve bud density and resin production without conflicting with the dots. Keep it at half the recommended dose on the label.
Pre-harvest flush
Run plain, pH-adjusted water for the final 7 to 10 days before harvest. This lets the plant use up residual nutrients and can improve the final taste and smoothness of your product. If you are pursuing a fully organic-style finish, this aligns well with the principles behind growing autoflowers organically, where clean inputs and a clean finish matter equally.
Comparing Grow Dots to other single-amendment approaches
If you have looked into other slow-release or organic nutrient programs, like the approach used when growing autoflowers with Dr. Earth, you will notice the core philosophy is similar: pre-amend and step back. The main difference is that Grow Dots use a polymer-coated salt-based formula while Dr. Earth relies on organic matter and microbial activity for release. Grow Dots are more predictable in terms of release timing, which is an advantage for growers who want precision over a purely organic system.
Troubleshooting: when your plants aren't responding the way you expected
Most problems with Grow Dots fall into three categories: the plant is not getting enough, the plant is getting too much, or pH is blocking uptake. Here is how to diagnose and fix each one.
Signs of underfeeding
Yellowing of older (lower) leaves starting in weeks 2 to 4, slow growth, and pale overall coloring usually mean nitrogen is not reaching the roots. Common causes: the medium is too cold (slowing polymer release), the medium is too dry (same problem), or you used too few dots at planting. Check your room temperature first. If it is below 68°F, warm the space and give it a few days. If temperature is fine, increase watering frequency slightly to keep moisture consistent around the dot layer. If you just flat out used too few dots, you can top-dress the surface with additional Grow Dots and water them in. They will take 7 to 14 days to start contributing meaningfully.
Signs of overfeeding or nutrient burn
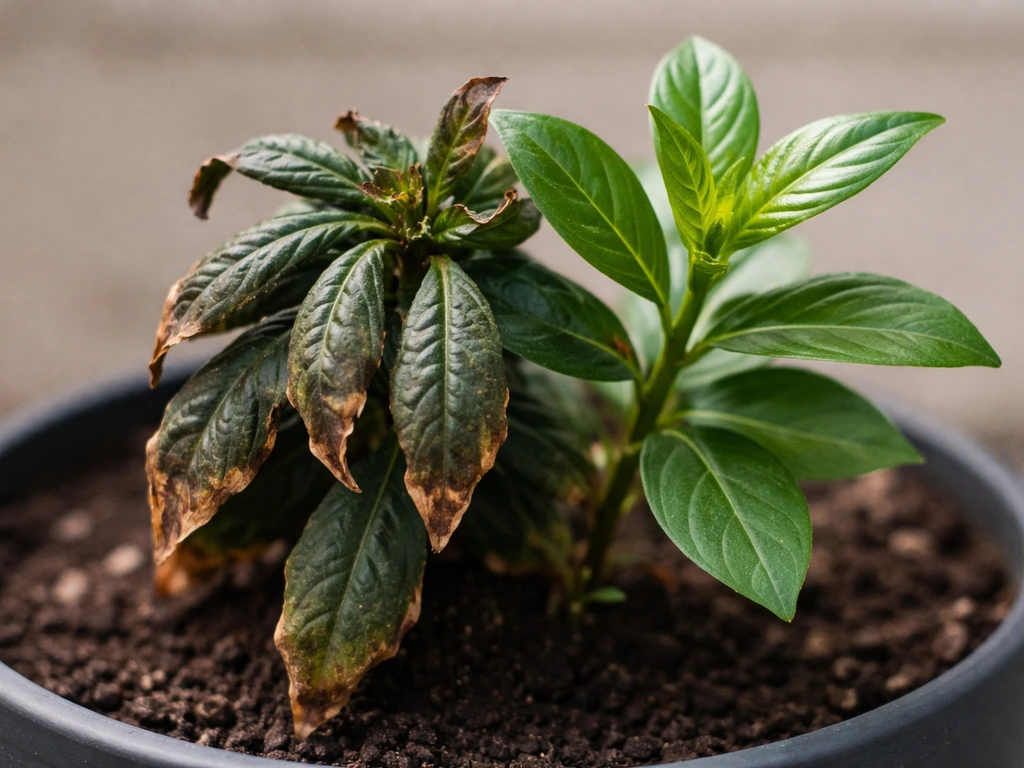
Burnt, crispy leaf tips, dark green leaves that curl downward (clawing), and stunted new growth in early veg usually mean too much nitrogen. This happens when you overdosed the dots, placed them too close to the root zone, or stacked liquid nitrogen feeds on top of an already active dot layer. Stop any liquid feeds immediately. Flush with a double-volume of plain pH-adjusted water to dilute the salt concentration around the roots. Going forward, water less frequently in soil to slow the release rate, or remove any dot clusters that ended up too close to the surface.
pH lockout and nutrient deficiency despite correct dosing
If your dosing looks right but you are seeing mid-cycle deficiencies (purple stems, interveinal chlorosis, spotting), pH is usually the culprit. Grow Dots are salt-based, and accumulated salts can drift pH in both directions over time. Test your runoff water pH after every few waterings. If runoff is outside 6.0 to 6.8 in soil or 5.8 to 6.3 in coco, flush with pH-correct water at 1.5 times your container volume and then resume normal watering. Do not add more nutrients to fix a lockout problem. Fix the pH first, then reassess in 5 to 7 days.
Slow growth that isn't nutrient-related
Autoflowers are not forgiving of root stress. If you transplanted into a final container after roots were already established (even a small transplant), you may see slow growth that looks like underfeeding but is actually recovery from root disturbance. This is why planting directly into the final container from germination is so important with autos. The famous Gorilla Glue auto is a good example: growers who dial in their setup from day one, as covered in the guide on how to grow autoflower Gorilla Glue, consistently outperform those who transplant or adjust mid-grow.
Quick-reference troubleshooting guide
| Symptom | Most Likely Cause | Fix |
|---|---|---|
| Yellowing lower leaves (weeks 2–4) | Slow release due to cold or dry medium | Warm room to 68°F+, increase watering frequency |
| Burnt leaf tips, dark clawing leaves | Overdose or stacked liquid nitrogen | Flush with plain water, stop liquid feeds |
| Pale color, slow growth despite correct dose | pH lockout from salt accumulation | Check and correct runoff pH, flush if needed |
| Interveinal yellowing in coco (mid-cycle) | Calcium/magnesium deficiency | Add half-dose Cal-Mag to waterings |
| General slow growth, no nutrient signs | Root disturbance from transplanting | Avoid transplanting; water consistently and wait |
| Deficiency appearing in week 7–9 flower | Dots tapering off, PK demand high | Add light PK booster at half dose through flush |
Your next steps before you plant
Before you drop a seed, get three things in order: your container size (3 to 5 gallons for most autos), your correct dose of Grow Dots measured by the tablespoon-per-gallon method, and your room temperature dialed into the 68 to 82°F range. Those three variables control the success of the entire program more than anything else.
Pick your medium based on your experience level and watering habits. Soil is more forgiving and gives you more buffer when the dots are releasing actively. Coco is faster and more responsive but requires consistent watering and likely some Cal-Mag support. Either works well with Grow Dots as long as you set them correctly at planting and resist the urge to add heavy liquid nutrients on top of an already active system.
Once you are set up, trust the system through the first three weeks. The most common mistake is panicking at slow early growth and dumping liquid feeds on top of the dots. The polymer release takes a few days to get going, and seedlings grow slowly regardless of nutrition in week one. Give it time, keep your environment stable, and the dots will carry you through to a clean, uncomplicated harvest.
FAQ
Can I put Grow Dots in the pot after the seed has already germinated?
It is not ideal for autoflowers because you want the release zone ready before the seedling roots start exploring. If you must, place the dots deeper than you would at planting, spread them through the middle third, and expect a delay of about 1 to 2 weeks before you see meaningful nutrient contribution.
How close should I place Grow Dots to the stem or seedling?
Keep them away from the earliest root zone. A practical target is 2 to 3 inches below the surface and spread evenly so no single cluster sits directly under the seed. If you see early tip burn or clawing, the dots were likely too close.
Should I mix Grow Dots into the whole medium or just place them in the middle?
Do not fully mix them top to bottom. Instead, place them around the middle third and keep the seed area relatively free of concentrated fertilizer so the seedling is not forced into salts while it is still establishing.
What do I do if my seedlings look pale for the first 7 to 10 days?
Early slow growth is common even with correct dosing because release timing and root development take time. Avoid adding liquid nitrogen during this window, focus on stable temperature and moisture, and reassess after the first week of active growth.
How do I know whether I’m seeing underfeeding, overfeeding, or a pH problem?
Use the pattern. Older leaves yellowing early often points to underfeeding. Dark green, clawing, or crispy tips suggest too much nitrogen or salts near roots. If deficiencies are mid-cycle with odd colors despite correct dosing, test runoff pH and correct before adding more nutrients.
How often should I check runoff pH with Grow Dots?
Test runoff after every few waterings, especially if you are using coco or your tap water is variable. If runoff is outside the target ranges, flush with pH-correct water first, then resume normal watering without adding extra nutrients.
Can I use Grow Dots with coco and still avoid Cal-Mag?
You can try plain pH-adjusted water, but coco often needs Cal-Mag support because it can bind calcium and magnesium. Watch for interveinal yellowing or upward leaf curl, if it appears start a half-dose Cal-Mag supplement once or twice weekly rather than adding nitrogen.
What should I do if my space runs colder than 68°F or hotter than 85°F?
Lower temperatures slow polymer diffusion and can look like underfeeding, higher temperatures can accelerate release and cause nutrient stress. Fix the environment first, then give the plant a few days to catch up. Do not compensate immediately by dumping extra fertilizer or liquid feeds.
Is it safe to flush or double-flush with Grow Dots if something goes wrong?
Yes for salt or nitrogen stress. The article’s approach is to flush with about double the container volume of plain pH-adjusted water to dilute salts around roots, but avoid repeat flushes daily because you can also disrupt uptake and slow recovery.
Can I top-dress more Grow Dots mid-grow if I underdosed?
You can, but it is not instant. If you used too few at planting, top-dressing and watering them in can take 7 to 14 days to contribute meaningfully. After adding, do not stack extra liquid nitrogen during the adjustment period.
What happens if I keep watering on a schedule that lets coco go bone dry?
Bone-dry coco pauses diffusion and can cause a nutrient surge when you water again. Keep coco consistently moist, and for stable release aim to avoid long dry gaps rather than increasing fertilizer to “catch up.”
Can I run a different light schedule than 18 to 20 hours for autos?
You can, but it will change how fast the plant pulls nutrients. If you shorten the photoperiod, nutrient demand drops, so the front-loaded nitrogen may be less forgiving. If you extend light, keep intensity and DLI appropriate to prevent stress and nutrient lock-like symptoms.
Should I stop using Grow Dots before harvest or keep watering normally until the end?
Do not remove dots. Instead, run plain pH-adjusted water for the final 7 to 10 days so the plant can use residual nutrients already released. Continue watering in a way that keeps the medium from drying out excessively near the finish.
Can I combine Grow Dots with a liquid PK booster during flower?
Some growers do at half dose once weekly from roughly week 6 to week 9, but only if you are otherwise stable. If leaves show nitrogen stress or darkening issues that resemble overfeeding, skip boosters and confirm pH first.
Will Grow Dots work in deep water culture (DWC)?
No. Grow Dots are meant for potting mixes, soil, and soilless media, not deep water culture. In DWC the release behavior and salt distribution are not designed to be predictable, so you risk lockout or inconsistent feeding.