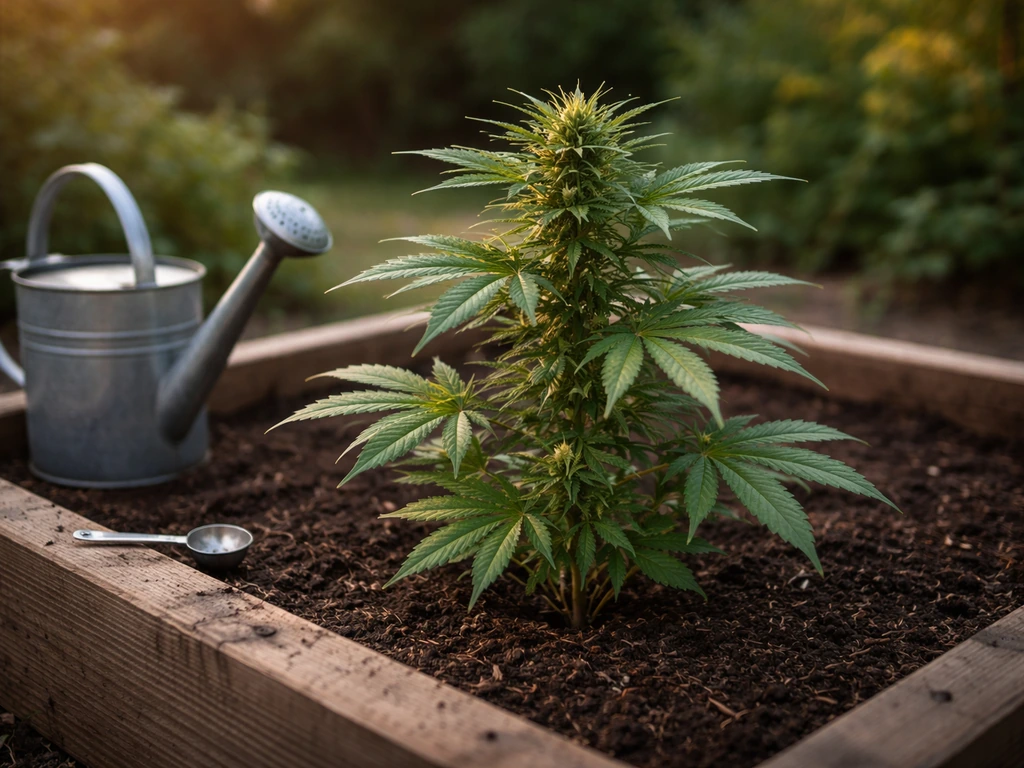
Do-Si-Dos is absolutely worth growing outdoors if you have a warm climate, a south-facing spot with at least 6–8 hours of direct sun, and enough space for a plant that can push 8 feet tall. Photoperiod feminized plants can yield 19–21 oz per plant outdoors, and even the autoflowering version puts out a respectable 3–5 oz in a much tighter timeframe. The strain finishes in early October in most temperate climates, with a flowering window of roughly 8–10 weeks for photoperiod plants and just 50–55 days for autos. Plan your timeline around that, get your soil dialed in, and this strain is surprisingly manageable outdoors once you understand its quirks.
Do Si Dos Outdoor Grow: Step-by-Step Guide for Home Growers

Marcus Holloway
4 May 2026

Is Do-Si-Dos a Good Match for Outdoor Growing?
Do-Si-Dos is an indica-dominant hybrid bred from Girl Scout Cookies and Face Off OG. That lineage means dense, resinous buds with a sweet, earthy aroma that hits the nose hard (Rythm's strain notes describe it as almost stinging the nostrils, which is accurate when a plant is at full ripeness). Dense buds are great for yield but they do create one real outdoor challenge: bud rot. If you live somewhere with late-season rain or humidity spikes in September, this strain will test your mold management. That said, growers in hot, dry climates with long summers consistently pull monster harvests from it.
The photoperiod version is the heavy hitter here. Because cannabis is a short-day plant that starts flowering as nights get longer, Do-Si-Dos photoperiod plants spend the full spring and summer in vegetative growth, then flip naturally into flower as summer winds down, targeting an early October harvest. The auto version flowers automatically based on age regardless of light schedule, usually kicking into flower around week 3–4. That makes autos ideal if your season is short or you want a fast, low-stress run. Both versions are worth considering depending on your goals.
Timing, Location, and Planting Setup
When to start based on your climate
For photoperiod Do-Si-Dos in temperate Northern Hemisphere climates, start seeds indoors 4–6 weeks before your last frost date, then transplant outdoors after the last frost has passed and nights are consistently above 50°F. Most of the US and European growing regions put that between late April and late May. You want to be outdoors by late May at the latest to maximize the vegetative window before the plant flips in mid-to-late summer. For autoflowering Do-Si-Dos, time your start date so harvest falls about 12 weeks before your first expected fall frost. Autos can be direct-seeded outdoors once nighttime temps stay above 50°F, or started indoors a couple of weeks earlier and transplanted.
A quick milestone calendar for a temperate climate (last frost: May 1, first frost: October 15) looks like this:
| Timeline | Photoperiod Do-Si-Dos | Auto Do-Si-Dos |
|---|---|---|
| Start seeds indoors | Mid to late March | Mid to late June (for fall run) |
| Transplant outdoors | After May 1 last frost | After May 1 last frost |
| Vegetative stage outdoors | May through July | Weeks 1–3 after germination |
| Flowering begins | Late July to mid-August (natural) | Week 3–4 automatically |
| Expected harvest | Early to mid-October | ~70–75 days from seed |
Picking the right spot
Do-Si-Dos is a sun hog. Put it somewhere that gets direct sun from morning through mid-afternoon at minimum. South-facing slopes or walls that radiate warmth overnight are ideal. Avoid low-lying areas that trap cold air or moisture, both of which invite mold. Wind protection matters too: a light breeze is great for stem strength and airflow, but strong gusts will snap branches once the plant is loaded with buds in October. A fence line or windbreak hedge on the north or west side is worth planning around.
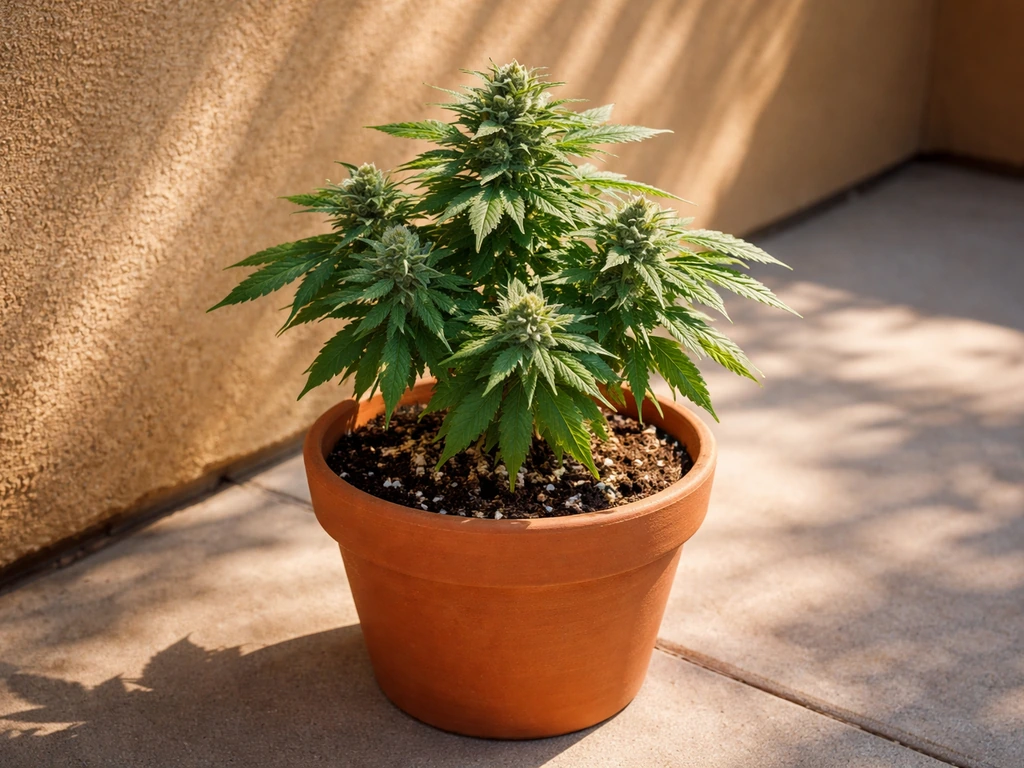
Containers vs. in-ground: which is better for Do-Si-Dos outdoors?
Both work, but they involve real trade-offs. In-ground plants have access to a much larger soil volume and tend to grow bigger, which suits the photoperiod version's potential to reach 250 cm. Containers give you control over soil quality, drainage, and the ability to move the plant during extreme weather or to chase sun. For Do-Si-Dos, if you're growing photoperiod and want maximum yield, in-ground or a very large container (25–30 gallons) is the move. For autos, which stay under 3–5 feet with LST, a 10–15 gallon fabric pot is plenty.
| Factor | In-Ground | Container (fabric pot) |
|---|---|---|
| Max plant size | Unrestricted (up to 8+ ft) | Limited by pot volume |
| Soil control | Must amend existing soil | Full control from day one |
| Drainage | Depends on native soil | Excellent with fabric pots |
| Mobility | None | Can move to shelter rain/frost |
| Watering frequency | Less frequent | More frequent (dries faster) |
| Best for | Photoperiod, max yield | Autos, cooler climates, beginners |
If you go containers, fabric pots in the 10–30 gallon range are the standard for outdoor grows. Fabric pots air-prune roots and drain exceptionally well, which directly reduces the risk of root rot and overwatering. A 30-gallon cloth pot is a common choice for full-season photoperiod plants.
Soil, pH, and Outdoor Watering
Soil setup that actually works
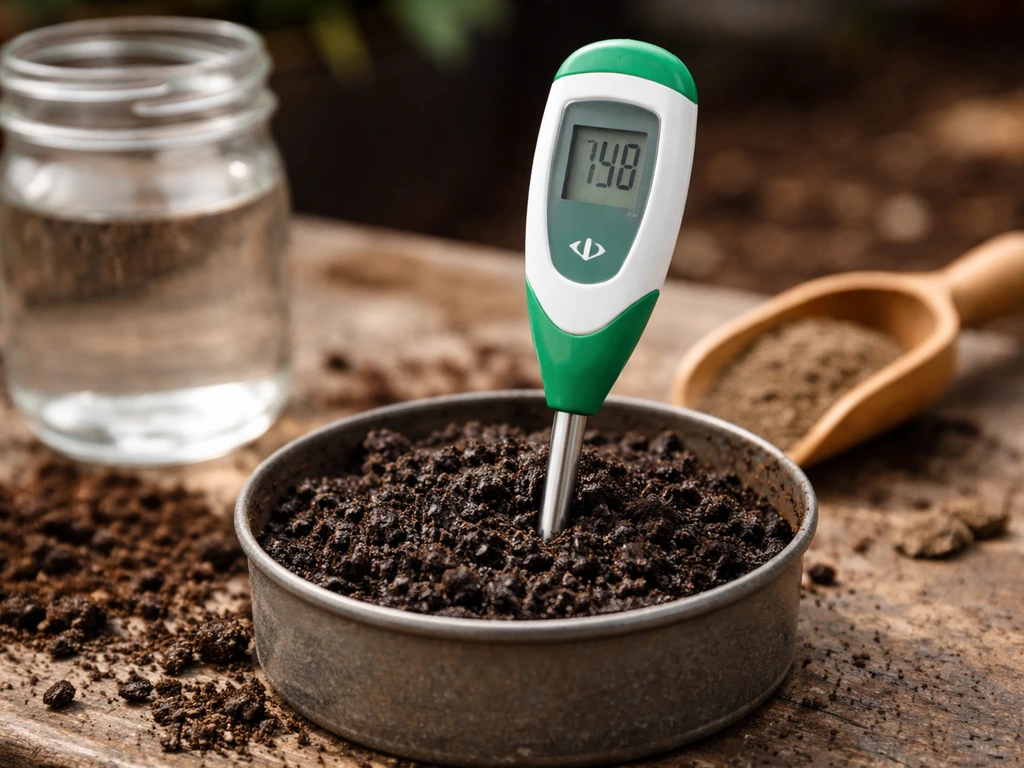
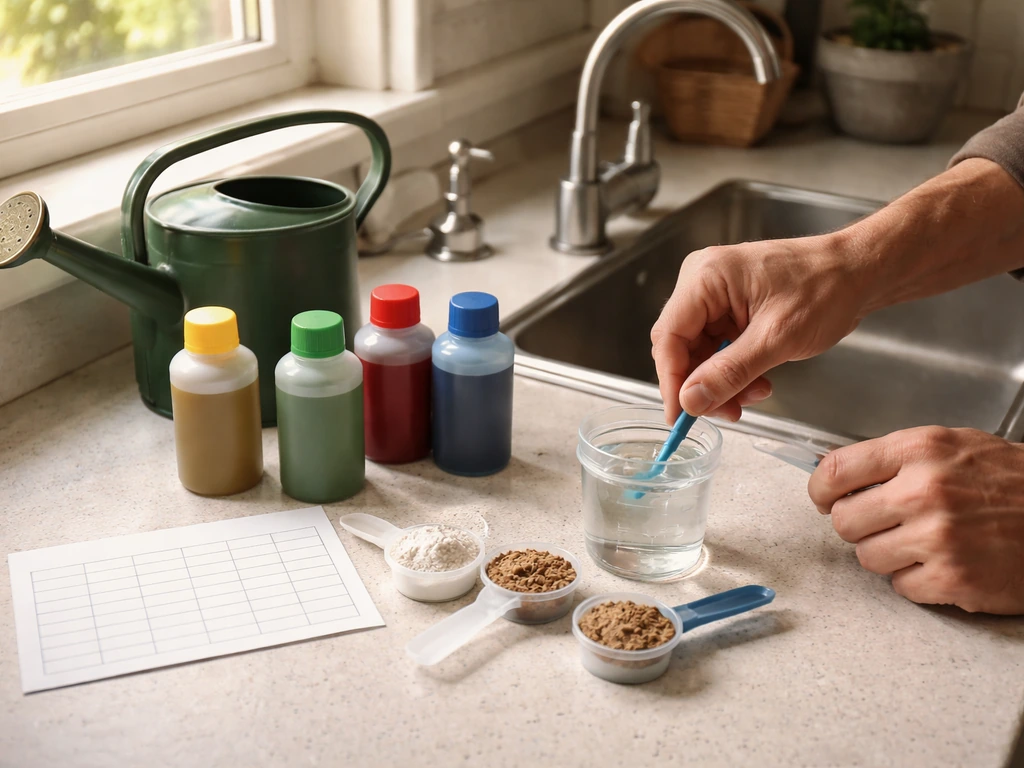
For containers, a quality potting mix like Fox Farm Ocean Forest is a proven starting point. It comes pre-amended with nutrients that will carry your plant through the first 4–6 weeks without needing to add much. Mix in 20–30% perlite by volume to improve drainage and aeration, which Do-Si-Dos roots will thank you for. Target pH in containers between 6.0 and 6.5. For in-ground growing, test your native soil pH before planting. Amend with compost and perlite, and aim for a pH between 6.0 and 7.0, with most growers targeting 6.2–6.8 for optimal nutrient availability.
pH matters more than most beginners expect. The scale is logarithmic: a pH of 5.0 is 10 times more acidic than 6.0 and 100 times more acidic than 7.0. Even a half-point swing outside your target range can lock out phosphorus, calcium, or magnesium, which shows up as deficiency symptoms even when nutrients are present in the soil. Get a reliable pH meter and test your water and runoff regularly. For Do-Si-Dos Auto specifically, Royal Queen Seeds recommends watering at pH 6.5, which sits right in the middle of the optimal range.
Watering schedule outdoors
Outdoor watering frequency varies a lot with your climate, container size, and time of season. The basic rule is to water when the top inch or two of soil is dry, or when a container feels noticeably lighter. In hot summer months, large plants in containers may need water every 1–2 days. In-ground plants in loamy soil might go 3–4 days between watering. When you do water, water deeply and aim for about 10–20% runoff from the bottom of containers. This flushes built-up salts and ensures the entire root zone gets wet. Avoid light, frequent watering that keeps only the top layer moist and encourages shallow roots.
Feeding Schedule from Veg Through Late Flower
Do-Si-Dos is a moderate-to-heavy feeder. If you started in a pre-amended soil like Ocean Forest, hold off on additional nutrients for the first 3–5 weeks. After that, introduce a veg-focused nutrient with higher nitrogen to support the stretch of vegetative growth you'll get through May, June, and July. Here's a simplified milestone-based feeding guide for the full outdoor season:
| Growth Stage | Timing (Photoperiod) | Nutrient Focus | Notes |
|---|---|---|---|
| Early veg (weeks 1–4 outdoors) | May | Let amended soil carry plant | No extra feeding if using Ocean Forest |
| Active veg (weeks 5–10 outdoors) | June–July | High nitrogen, moderate P/K | Increase feeding gradually as plant size grows |
| Pre-flower / stretch (weeks 11–13) | Late July–early August | Reduce nitrogen, raise P/K | Plant is stretching; transition nutrients now |
| Early flower (weeks 1–4 of flower) | August | High phosphorus/potassium, low nitrogen | Switch to bloom formula after stretch begins |
| Mid to late flower (weeks 5–8 of flower) | September | Continue high P/K, add Cal-Mag as needed | Watch for deficiencies as plant pushes buds |
| Final 2 weeks before harvest | Late September–early October | Plain water only | Flush to clear residual salts before chop |
The transition from grow to bloom nutrients is one of the most common points where outdoor growers either nail it or stall their plant's potential. The switch should happen when you see the first signs of the pre-flower stretch and early pistil development, not when you flip a timer (there is no timer outdoors). Watch the plant. When internode spacing starts increasing rapidly and the first white hairs appear at bud sites, that is your cue to start dialing back nitrogen and ramping up phosphorus and potassium. If you do need to change nutrients mid grow, aim to do it gradually and keep an eye on leaves for early deficiency or burn signals. Continuing to push nitrogen into flower leads to foxtailing, poor bud density, and harsh smoke.
For the final two weeks, stop feeding and use plain pH-adjusted water only. This is a standard pre-harvest flush that clears salt buildup from the root zone and the medium. Cannapot's outdoor growing guidance specifically recommends this two-week clean-water window before harvest, and it makes a real difference in final product quality.
Training and Managing Plant Size Outdoors
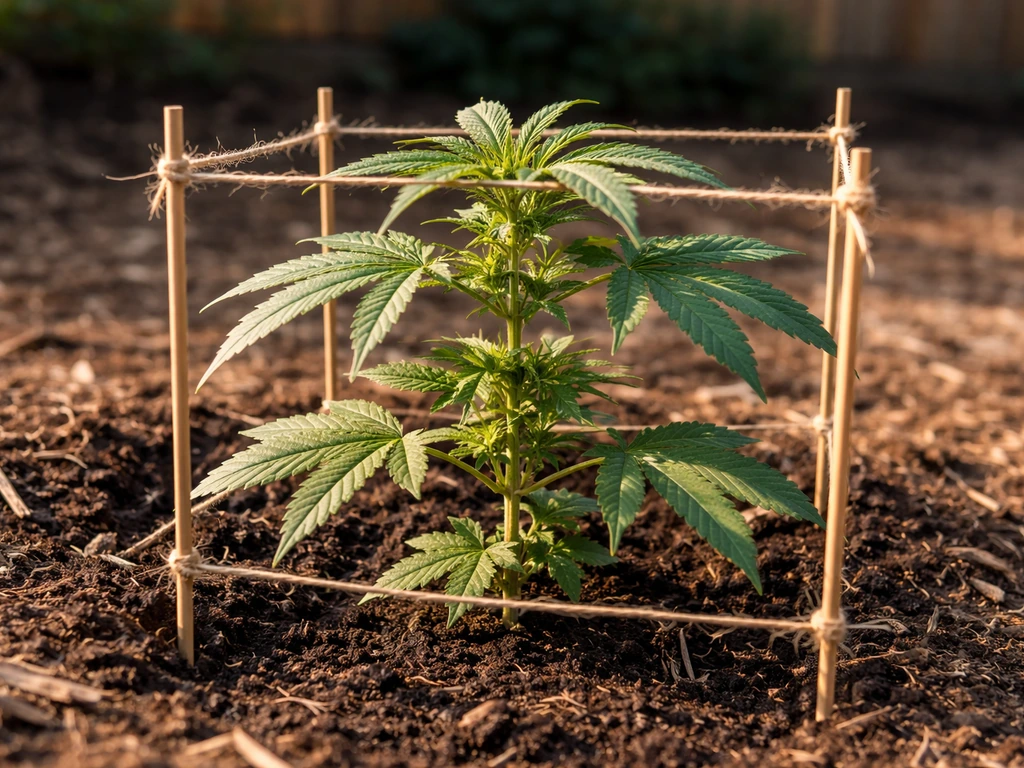
Left untrained, a photoperiod Do-Si-Dos can reach 250 cm (about 8 feet) tall outdoors. That is not necessarily a problem if you have the space and want maximum yield, but it does create canopy management and mold risk issues. Training early is almost always worth it. Here are the main techniques that work well for this strain outdoors:
- Topping: Cut the main stem above the 4th or 5th node during early veg (when the plant has 5–6 nodes). This creates two main colas instead of one and encourages a bushier, more even canopy. Topping twice creates 4 main colas. Do this in late May or June for photoperiod plants to give the plant time to recover before flowering.
- LST (Low-Stress Training): Bend and tie branches down and outward during veg to spread the canopy horizontally. This keeps height manageable and exposes more bud sites to light. For autos, LST is the preferred technique since topping can stress short-cycle plants too much. Royal Queen Seeds specifically recommends LST to keep Do-Si-Dos Auto around 80 cm.
- SCROG (Screen of Green): Set a screen about 12 inches above the canopy and weave branches through it as they grow. This creates a flat, even canopy, maximizes light penetration, and significantly improves airflow which is critical for mold prevention. Start scrogging in early veg and fill the screen before flowering begins.
- Lollipopping: In early flowering (weeks 1–3), remove lower branches and fan leaves that receive no direct light. This redirects energy to top colas and improves airflow through the lower canopy, which directly reduces bud rot risk in late flowering.
Stop any major training once flowering begins in earnest. Stressing the plant during flower slows bud development. Minor defoliation and lollipopping in early flower is fine, but stop removing leaves after week 4–5 of flowering. The plant needs every remaining leaf to fuel bud production through ripening.
Pest and Disease Prevention for Outdoor Do-Si-Dos
The pests to watch for
Aphids and spider mites are the two most common outdoor cannabis pests, and both can establish quickly in warm weather. Aphids cluster on new growth and under leaves; spider mites leave tiny webbing and stippling on leaf surfaces. For both, a weekly preventive spray of diluted neem oil or insecticidal soap during veg is your best insurance. blank" rel="noopener noreferrer">Insecticidal soap works best when plant surfaces are thoroughly wet or saturated, and it is used commercially against aphids with documented activity against mites in pesticide-registration contexts. UC ANR IPM notes recommend insecticidal soap or oils, including neem, canola oil, and cottonseed oil, as spray options for controlling spider mites insecticidal soap or oils (including neem). Once in flower, stop neem sprays since they can affect bud flavor and leave residue. If you see pests in flower, switch to spinosad-based products or pyrethrins, applied carefully in the evening to avoid harming beneficial insects. Catch infestations early by checking under leaves weekly.
Mold: the real enemy for Do-Si-Dos outdoors
Bud rot (Botrytis cinerea) is the most serious threat to Do-Si-Dos outdoors, and dense indica buds are exactly what this fungus thrives in. It can destroy an infected bud within days and spread to adjacent buds rapidly. Prevention is everything because once a bud is infected, there is no cure: you cut it out and move on. The main prevention strategies are airflow, canopy management, and avoiding prolonged wet periods.
- Keep the canopy open through lollipopping and selective defoliation in early flower so air moves freely through bud sites.
- If rain is forecast for multiple days in a row in September, move container plants under a clear roof or temporary shelter if possible.
- After rain, shake or blow moisture off buds gently if they are soaked, and ensure airflow resumes quickly.
- Inspect the center of dense buds weekly from early September onward. Bud rot starts inside the bud where it is dark and moist, not on the outside where you can easily see it.
- If you find infected material, cut it out well below the affected tissue, dispose of it away from your grow, and sterilize your scissors.
Powdery mildew is a different mold problem and tends to appear earlier in the season, especially in cool, humid, cloudy conditions. Temperatures in the 41–72°F range with high humidity favor its development. It shows up as a white powder on leaf surfaces. Preventive sprays with a diluted potassium bicarbonate solution or commercial PM-targeted products help, and improving airflow is the most sustainable long-term fix. Unlike bud rot, powdery mildew caught early on leaves can be managed and stopped before it spreads to buds.
Harvest Timing, Curing Basics, and Final Week Troubleshooting
How to know when Do-Si-Dos is actually ready
Target harvest for outdoor Do-Si-Dos in most temperate climates is early October, based on the roughly 8–10 week flowering window from mid-August onset. To get the right results, you also need to time harvest based on trichome color and ripeness, not just the calendar when to harvest outdoor grow. But the real answer is in your trichomes, not the calendar. Get a jeweler's loupe (30–60x) or a digital microscope and look at the trichomes on the buds themselves, not the sugar leaves. Clear trichomes mean the plant is not ready. Milky/cloudy trichomes indicate peak THC production. Amber trichomes signal THC is degrading to CBN, which produces a heavier, more sedative effect.
For Do-Si-Dos, most growers aim for 70–90% milky trichomes with 10–30% amber for a balanced result that leans into the strain's relaxing indica character. If you want a more energetic, cleaner effect, harvest closer to 50–70% milky with minimal amber. Watch the pistils too: when 70–90% of the white hairs have turned orange or red and curled inward, that is a good secondary indicator that harvest is approaching.
Final week troubleshooting
The last two to three weeks of flowering are when problems tend to pile up. Here are the most common issues and what to do about them:
- Yellowing lower leaves: Normal in late flower as the plant mobilizes nitrogen from fan leaves into buds. If it stays on the lower half of the plant and progresses slowly, leave it alone. If yellowing is rapid and moving up the plant, it may be a deficiency worth addressing with a light dose of cal-mag or a flush.
- Bud rot appearing suddenly: Cut affected material out immediately with sterile scissors. If the infection is widespread, consider harvesting early rather than losing the whole plant.
- Buds not swelling: May be related to heavy rain or low light reducing photosynthesis in late season. Not much you can do at this stage except ensure the plant is not sitting in waterlogged soil.
- Trichomes all amber too quickly: If trichomes are turning amber faster than expected, harvest sooner rather than later. Delay causes THC degradation and a noticeably heavier, less pleasant effect.
- Purple or blue coloring on buds/leaves: This is often genetic expression triggered by cooler nights in fall. It is normal for Do-Si-Dos and is not a problem. Do not mistake it for a nutrient deficiency.
Drying and curing after harvest
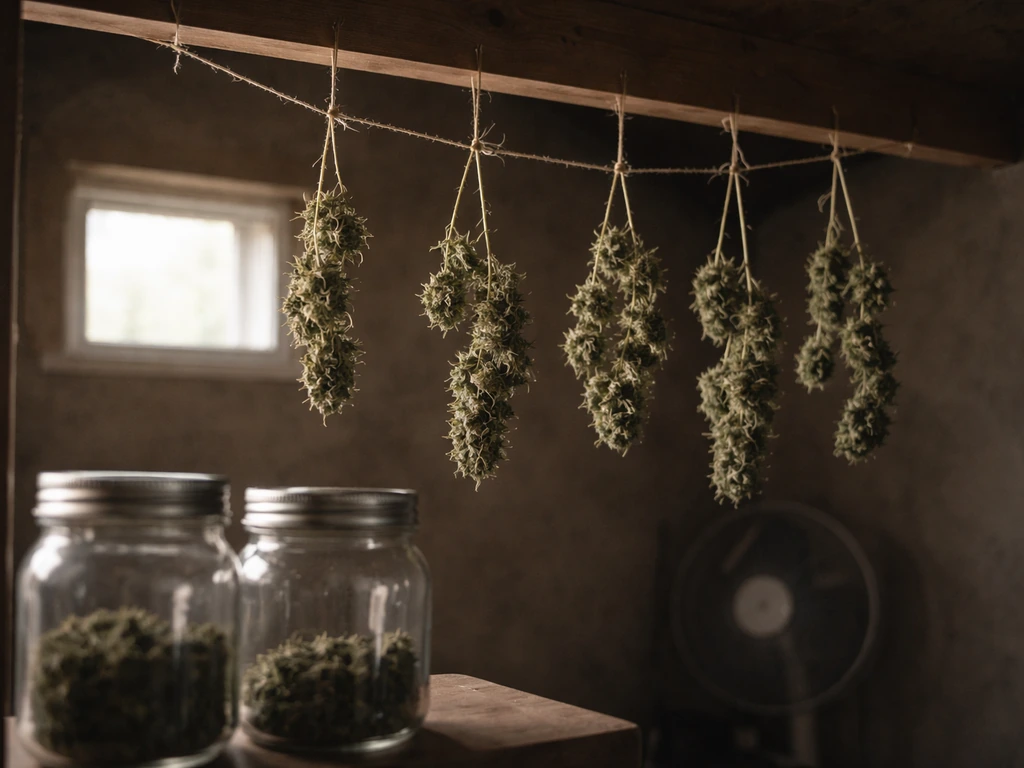
After harvest, hang whole branches or individual buds in a dark room with good airflow. The target environment for drying follows the 60/60 rule: around 60°F (15°C) and 60% relative humidity. At these conditions, a proper dry takes 10–14 days. Do not rush drying with fans aimed directly at buds or high heat, both of which degrade terpenes and trichomes fast. The buds are ready to move to jars when the small stems snap rather than bend.
Once dried, move to airtight glass jars and cure at 55–62% relative humidity in a cool, dark place. Open the jars once or twice daily for the first two weeks to burp them and release moisture. After that, burp every few days. A proper cure takes a minimum of 2–4 weeks but Do-Si-Dos benefits noticeably from 6–8 weeks, when the sweet, earthy terpene profile fully develops. This strain is worth being patient with post-harvest.
Your Quick-Reference Outdoor Grow Milestones
Here is a condensed week-by-week milestone guide pulling everything together for a photoperiod Do-Si-Dos in a standard temperate Northern Hemisphere climate. Adjust the dates forward or back based on your specific last and first frost dates.
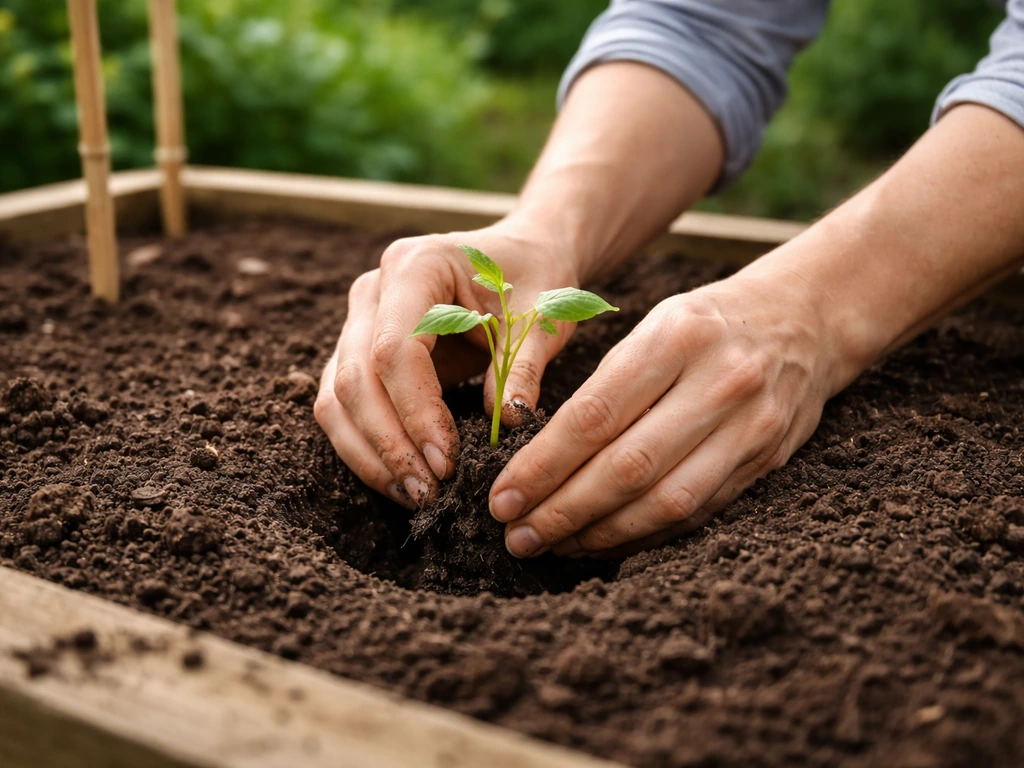
- March (weeks 1–6 indoors): Germinate seeds, grow under lights indoors, transplant to 1-gallon containers. Use a veg nutrient formula lightly if soil is not pre-amended.
- Late April to early May (transplant outdoors): Harden off seedlings for 7–10 days by increasing outdoor sun exposure gradually. Transplant into final container (15–30 gallon fabric pot) or in-ground bed after last frost. Confirm soil pH is 6.0–7.0.
- May to early July (active veg): Plant is building mass. Top once or twice in May. Begin LST or SCROG setup. Ramp up nitrogen-focused nutrients gradually. Water when top 1–2 inches of soil dry out.
- July (late veg / pre-flower): Internode spacing increases. First white pistils appear at bud sites. This is your cue to transition to bloom nutrients: reduce nitrogen, increase phosphorus and potassium.
- August (early to mid flower): Buds form and swell. Continue bloom nutrients. Do early lollipopping and light defoliation. Stop all neem sprays. Monitor for pests and early bud rot.
- September (mid to late flower): Buds are fattening. Increase inspection frequency for bud rot, especially after rain. Watch trichomes weekly with a loupe. Stop feeding at the 2-week-before-harvest mark and water with plain pH-adjusted water only.
- Early October (harvest): Trichomes are 70–90% milky with 10–30% amber. Most pistils are orange and curled. Harvest in the morning for best terpene preservation. Begin drying immediately.
- October–November (dry and cure): Dry for 10–14 days at 60°F/60% RH. Move to airtight jars at 55–62% RH. Burp daily for first two weeks. Cure for a minimum of 4 weeks, ideally 6–8 weeks for full flavor development.
FAQ
How can I reduce the risk of bud rot for Do-Si-Dos if my area has late-season humidity or rain?
If your site gets rain in September or fogy mornings, prioritize bud-rot prevention before you worry about anything else. Choose the sunniest spot you have, keep plants off the ground (even in-ground), and manage canopy so air can move through. If rain is frequent, consider using a temporary bud-protection cover during storms (supported so it does not touch the buds) and remove cover promptly when dry.
Should I harvest Do-Si-Dos strictly by the early October calendar or only by trichome color?
Timing harvest by trichomes still matters, but you can use the calendar as a planning tool. In practice, start checking trichomes on the earliest buds about 1 to 2 weeks before your expected early-October window, then decide when to harvest based on the trichome mix you want (more milky for energy, more amber for heavier effects).
Can I move my Do-Si-Dos plants during the season to protect them from cold snaps or storms?
Not always. If nights are consistently above 50°F and you have stable weather, you can keep the plant outside continuously. But if you get cold snaps or prolonged drizzle, moving container plants under a roof (or using a supported cover) can prevent soaking of dense buds. For in-ground grows, you can’t move the plant, so double down on airflow and canopy management instead.
Is it okay to do late training or topping if my Do-Si-Dos is getting too tall outdoors?
Yes, but do it intentionally. For photoperiod plants, avoid heavy training after flowering is well underway, and for autos, keep stress minimal since they have a fixed clock. If you need to adjust height, light, early LST in veg is safer than major re-shaping late, because late stress can slow bud development.
How much defoliation is reasonable for outdoor Do-Si-Dos without hurting yield?
For dense indica flowers, a common mistake is removing too many leaves too late. A safer approach is early, selective defoliation (mainly to open airflow in the middle) and lollipopping early in flower if needed. Once flowering is established (around week 4 to 5), stop removing leaves so the plant can finish building the buds.
How do I know the exact moment to transition from veg to bloom feeding for Do-Si-Dos outdoors?
Use the plant as the guide. Instead of switching when a timeline date hits, start reducing nitrogen when pre-flower stretch and early pistils show up, then ramp toward bloom nutrients as internode spacing increases. If leaves start yellowing early in flower, you likely switched too aggressively, so back off and correct gradually.
What’s the best watering approach for Do-Si-Dos in containers during peak summer heat?
Two common errors are overwatering and watering too shallow. In containers, water deeply until you get 10 to 20% runoff, then let the pot dry enough that the top layer dries and the container lightens. In hot weather, check daily during peak sun, but only water when the medium is actually drying.
If aphids or spider mites show up in flowering, what should I do differently than in veg?
Neem and insecticidal soap can still be an issue in flower if you apply too late or too frequently. A practical rule is to stop neem once you see flowering, and if pests show up in flower, choose quick-acting options and apply carefully in the evening to reduce exposure to beneficial insects. Keep inspections weekly under leaves so you catch outbreaks early.
What should I do if powdery mildew appears on leaves before it reaches the buds?
Yes. If you see powdery mildew as a white film on leaves, you can improve the outcome by increasing airflow and reducing leaf wetness, then using a mildew-targeted treatment that fits your local rules and the product label. Early leaf-stage mildew is often manageable, but once it spreads to buds, control becomes far harder.
How do I avoid mold during the cure phase for Do-Si-Dos?
For jar storage, aim for stable humidity and avoid wide swings. After drying, curing at roughly 55 to 62% relative humidity is typical, and burp schedules should match how quickly moisture equalizes. If jars stay too humid for days, burp more frequently or confirm you are not over-drying, because excess humidity increases mold risk during curing.
How often should I test pH and should I test runoff too?
Routine pH testing should include both input water and runoff (especially in containers), since the medium can buffer or shift pH over time. If runoff repeatedly sits outside the target range, flush lightly with properly pH’d water, then adjust your feeding and watering schedule rather than changing multiple variables at once.
What should I do when I find bud rot on a few flowers, and can it spread fast?
If your plants have dense buds and you are seeing early rot-prone areas, remove only the clearly affected material and nearby loose debris, then improve airflow immediately. There is no reliable “save” once botrytis infects a bud, so focus on preventing spread, sanitize tools, and inspect surrounding buds the next day.