Holland Secret Grow is a liquid base nutrient made by Future Harvest, with an NPK of 2-1-7, designed specifically for the vegetative growth phase. It is part of a 3-part system alongside Holland Secret Micro and Holland Secret Bloom, and it works in soil, coco coir, and hydroponic setups. If you have a bottle with that label and those numbers, you are in the right place. Use Grow during the vegetative stage, transition to Bloom when you flip to flower, and always run all three parts together for a complete nutrient profile.
Holland Secret Grow How to Use: Step-by-Step Guide

Marcus Holloway
3 May 2026
What 'Holland Secret' Actually Is (and How to Confirm What You Have)
The phrase 'Holland Secret Grow' trips people up because it sounds like it could be a seed strain, a cloning product, or a branded grow kit. It is none of those. Holland Secret is a nutrient line from Future Harvest, a Canadian fertilizer company. The 'Grow' in the name refers to the growth-stage bottle in the 3-part series, not growing in general. Each bottle has a distinct role: Micro covers chelated micronutrients and calcium, Grow delivers nitrogen-heavy nutrition for vegetative expansion, and Bloom shifts the ratio toward phosphorus and potassium for flowering.
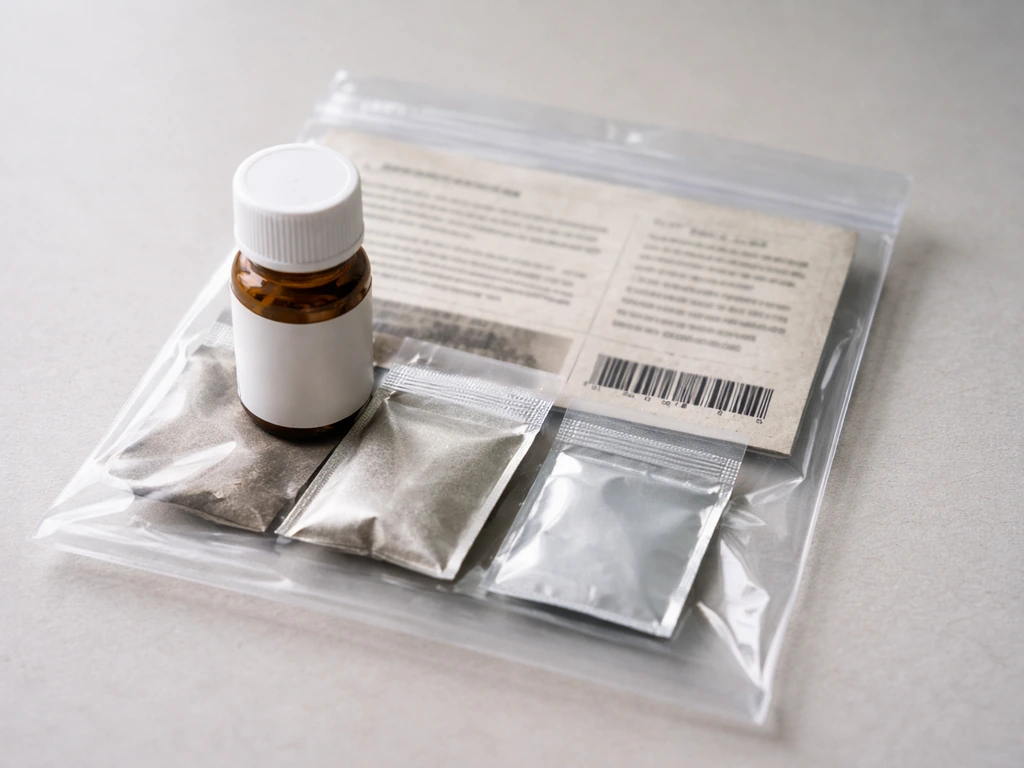
To confirm exactly what you have, check the label. Holland Secret Grow reads 2-1-7 (N-P-K). If your bottle says something different, you may have Micro (it has a higher calcium and micronutrient load) or Bloom (which will have a lower N and higher P-K ratio). Future Harvest publishes downloadable SDS, PDS, label, and COA documents plus complete 8-week feed schedules for both soil and hydro on their official downloads page, and those documents are the authoritative reference for mixing ratios and usage order.
One thing worth noting upfront: Holland Secret Grow is sediment-free, urea-free, and pH-buffered from the factory. That matters because it means the nutrient solution is cleaner in hydro lines, won't contribute to ammonia spikes from urea breakdown, and is slightly forgiving on pH stability compared to some generic nutrient blends. The product SDS lists an inherent pH range of 4.5 to 5.5 for the concentrate itself, but your mixed reservoir will land in a different range once diluted, which is covered in the feeding section below.
Setting Up Your Grow: Indoor vs Outdoor, Soil vs Hydro
Indoor Setup
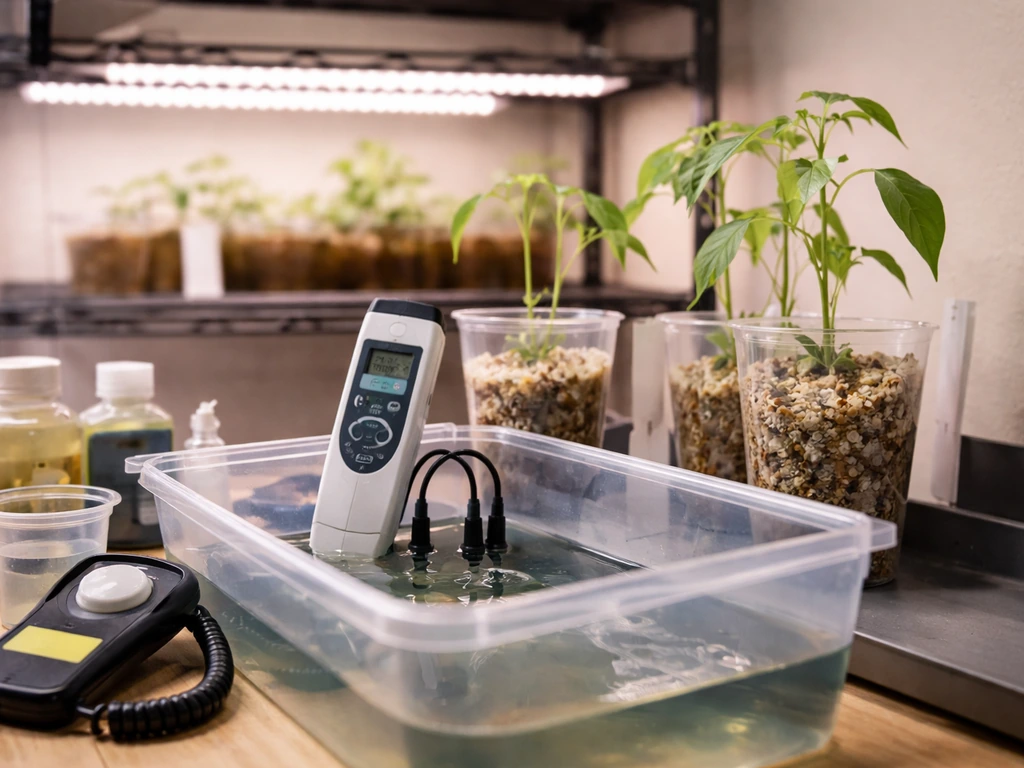
Indoor gives you full control over environment, which is where Holland Secret performs most predictably. You need a grow tent or dedicated room, a grow light suited to your canopy size (LED, HID, or CMH all work), inline fan with carbon filter, a thermometer and hygrometer, and a pH and EC meter. To dial in your feeding properly, you also need to understand how much to dose per gallon and how that relates to EC pH and EC meter. For hydro you will also need a reservoir, air pump, and either a DWC bucket, NFT channel, or flood-and-drain tray. Start with at least a 4x4 tent and a 600W to 800W LED equivalent if you want meaningful yield from multiple plants.
Outdoor Setup
Outdoors, Holland Secret Grow is used the same way but your feeding schedule aligns to natural photoperiod rather than a timer flip. Plants stay in vegetative growth through late spring and early summer (typically May through July in the Northern Hemisphere), then naturally begin to flower as day length drops below around 12 hours in late summer. Apply the Grow formula during that long-day vegetative window, then switch to Bloom as pre-flowers appear. Container growing outdoors gives you more control over medium and drainage than in-ground planting, and makes it easier to move plants if weather turns.
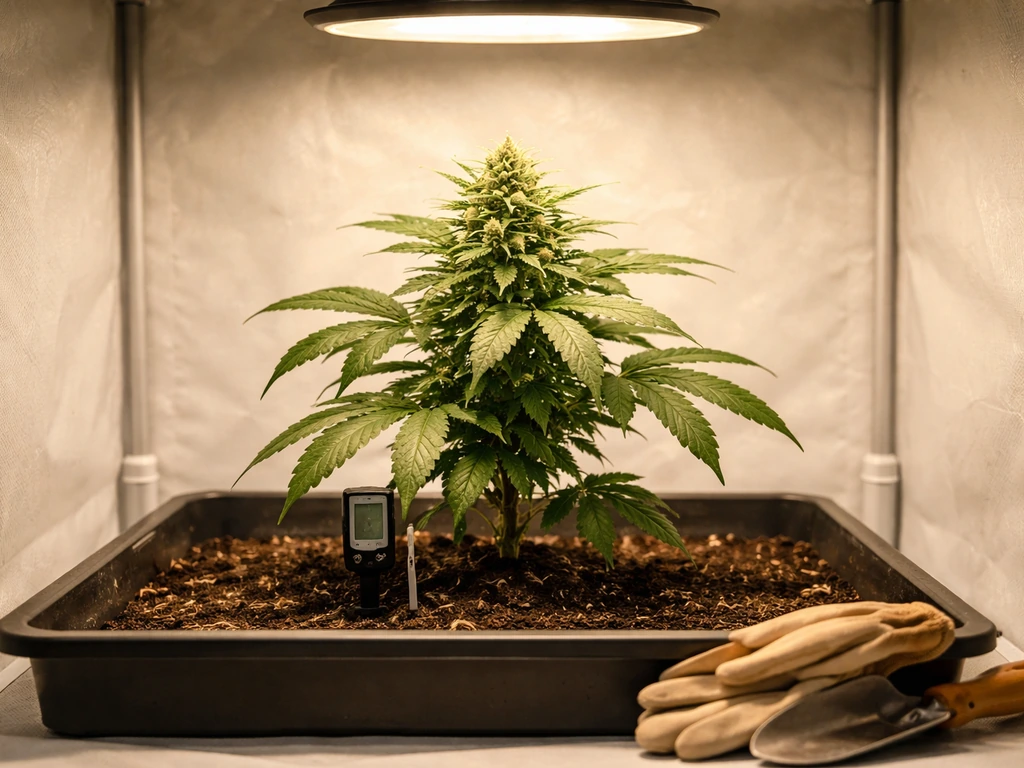
Soil vs Hydro: Which Setup Is Right for You
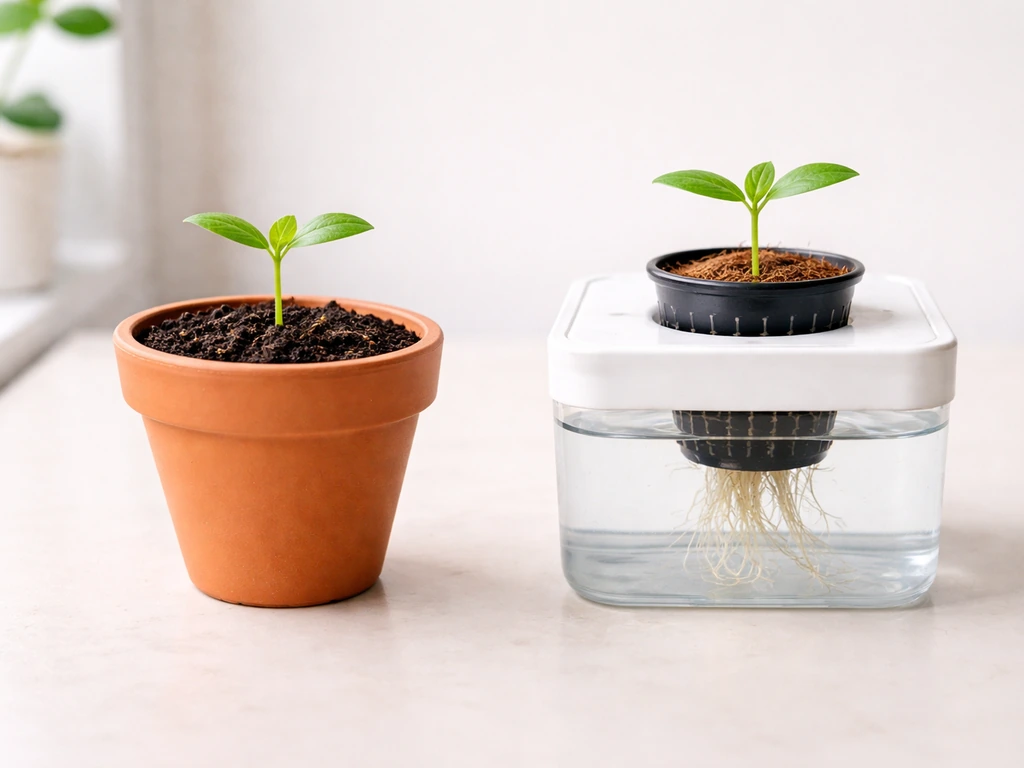
Holland Secret is explicitly designed for all three main media: soil, coco coir, and hydro. The product data sheet confirms this, which is useful because it means you are not buying a hydro-only formula and hoping it works in pots. Here is how the two primary paths compare:
| Factor | Soil | Hydroponics (DWC/Coco) |
|---|---|---|
| Complexity | Lower, more forgiving | Higher, more precise |
| pH target (mixed solution) | 6.0 to 6.8 | 5.5 to 6.2 |
| EC management | Less critical, buffer from soil | Critical, check daily |
| Watering frequency | Every 2 to 4 days depending on pot size | Continuous or timed cycles |
| Speed to harvest | Moderate | Faster by 1 to 2 weeks typically |
| Risk of overfeeding | Lower (soil buffers) | Higher (direct root exposure) |
| Best for | Beginners and first-time growers | Experienced growers chasing yield and speed |
If this is your first grow, start in soil. You will make mistakes with pH and feeding amounts, and soil gives you a buffer that hydro simply does not. Once you have one or two soil grows under your belt and understand how the plants respond to Holland Secret at each stage, moving to coco or DWC will be a much smoother transition.
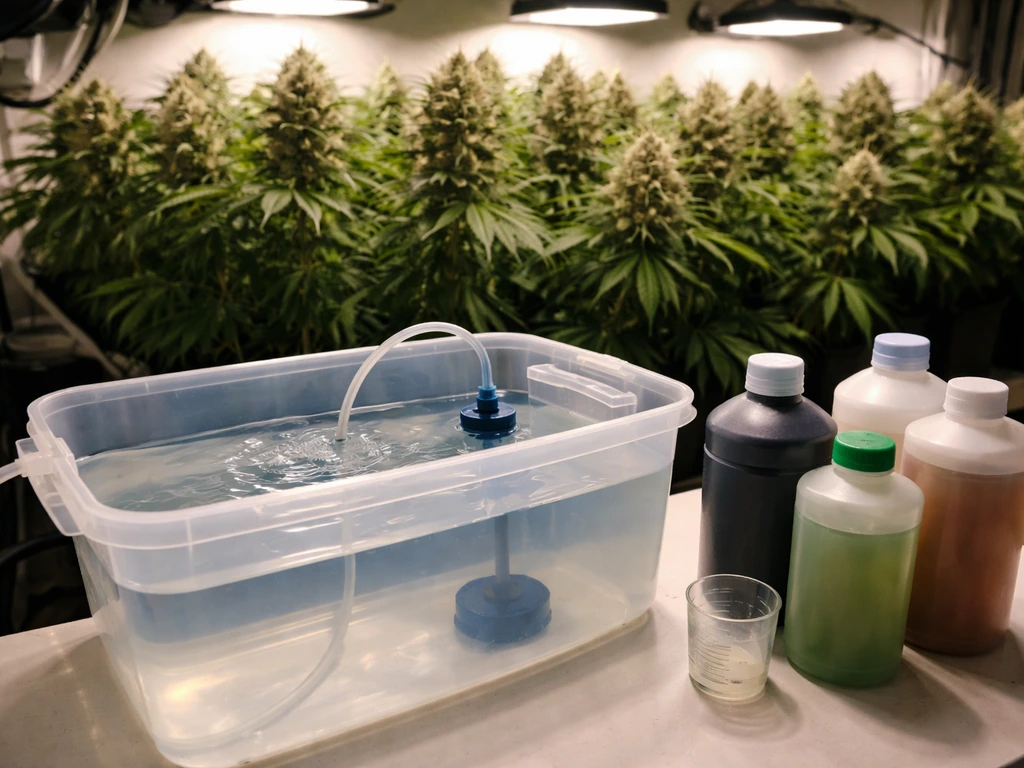
Nutrients and Feeding Schedule: What to Use, When, and How Much
Holland Secret Grow does not work alone. It is a 3-part system, and all three bottles (Micro, Grow, and Bloom) contribute different nutrients. During the vegetative phase, Grow takes the lead because it delivers the high nitrogen the plant needs to build leaves, stems, and roots. Micro runs alongside it in every mix throughout the entire cycle. In hydroponics, you can use General Hydroponics Flora series as your base nutrients by following the same basic veg-to-flower feeding logic and mixing order how to use general hydroponics flora grow. Bloom replaces Grow when you switch to the flowering phase.
Future Harvest blank" rel="noopener noreferrer">publishes specific 8-week feed schedules for both soil and hydro, which you should download from their official site and use as your baseline. General guidance for a vegetative week in soil looks like this: start at roughly half the recommended dose in the first week after transplant, then ramp to full dose by weeks two to three as the plant establishes. For soil grows, follow the specific Holland Secret Grow feeding schedule in the guide so you know exactly how to use it in your medium. In hydro, start similarly conservative and watch your EC meter rather than guessing by volume.
Mix order matters in a 3-part system. Always add Micro to your water first, stir, then add Grow (or Bloom), stir again, and check pH last. Adding nutrients in the wrong order can cause them to lock out or precipitate, meaning they fall out of solution and become unavailable to the plant. Never mix concentrates together before adding to water.
Preventing Overfeeding
Overfeeding is the most common mistake with any 3-part liquid nutrient system. Signs include leaf tips that brown and curl (nutrient burn), dark green leaves that look almost waxy, and stunted new growth. If you see tip burn, cut your dose by 25 to 30 percent immediately and flush with plain pH-corrected water for one watering. For hydro, drain your reservoir, refill with fresh water, and remix at a lower EC. Your EC target during vegetative growth should generally sit between 1.2 and 1.8 mS/cm for most strains, rising toward 1.8 to 2.2 during peak flower. Always start on the low end with a new strain or in a new setup.
pH Is More Important Than Nutrient Brand
Even a perfectly mixed Holland Secret solution will fail if your pH is off. Nutrient lockout from pH problems looks identical to deficiency, so always pH your water after adding nutrients. For soil, target 6.2 to 6.8. For coco and hydro, target 5.5 to 6.1. Invest in a decent digital pH pen (not strips) and calibrate it with fresh buffer solution every two to three weeks. This single habit will solve more problems than any premium nutrient additive.
Environmental Targets by Growth Stage
Holland Secret Grow delivers nutrients, but the environment determines whether the plant can actually use them. Temperature, humidity, light intensity, and airflow all interact with nutrient uptake, and getting these targets right dramatically improves results.
| Stage | Light (photoperiod) | Temp (day/night) | Humidity (RH) | VPD Target |
|---|---|---|---|---|
| Seedling (weeks 1-2) | 18/6 or 20/4 | 72-78°F / 65-72°F | 65-75% | 0.4-0.8 kPa |
| Vegetative (weeks 3-8) | 18/6 | 72-82°F / 65-75°F | 50-70% | 0.8-1.2 kPa |
| Early Flower (weeks 1-3 flower) | 12/12 | 68-80°F / 62-72°F | 45-55% | 1.0-1.5 kPa |
| Late Flower (weeks 4-8+ flower) | 12/12 | 65-78°F / 60-68°F | 35-45% | 1.2-1.6 kPa |
| Final Week / Flush | 12/12 | 65-75°F | 35-40% | 1.4-1.6 kPa |
Airflow deserves its own mention. Good air circulation from an oscillating fan prevents hotspots, strengthens stems, and dramatically reduces the risk of mold and powdery mildew in late flower when humidity can spike. Aim for gentle but consistent movement across the canopy at all times. Your inline exhaust fan should exchange the full volume of air in your tent every one to three minutes.
Transplanting timing also matters. Move seedlings from starter cubes or small pots to their final containers once roots begin to circle the bottom or poke through drainage holes. For soil, a good final container for a single plant in a 60 to 90 day grow is 3 to 5 gallons. For hydro or coco, container size matters less because nutrition comes from the reservoir, but root space still affects how big the plant can get.
Week-by-Week Grow Timeline: Germination to Harvest
This is a general timeline for a photoperiod strain in an indoor environment using Holland Secret. Autoflowering strains will compress this timeline by four to six weeks and do not require a light flip to initiate flowering. Adjust the schedule based on your specific strain's known flowering time.
- Week 1 (Germination): Germinate seeds in a damp paper towel or directly in a moistened starter cube. Keep temperature around 75-80°F and humidity above 70%. No nutrients yet. Tap root emerges in 24 to 96 hours for healthy seeds.
- Week 2 (Seedling): First true leaves appear. Move into a small container (1 liter or solo cup) with lightly aerated seedling mix. Water with plain pH-adjusted water or a very light nutrient solution (10-25% of full dose). Light at 18/6.
- Week 3-4 (Early Veg): Plant establishes its root system. Begin applying Holland Secret Micro and Grow at 50% recommended dose. Water when the top inch of soil is dry. Watch for first signs of rapid node stacking.
- Week 5-6 (Mid Veg): Ramp nutrients to full vegetative dose following the published 8-week soil or hydro schedule. Top or train plants if desired. This is when LST, topping, or scrogging produces the biggest impact on final yield.
- Week 7-8 (Late Veg): Plant is at target size and structure. Begin reducing Grow ratios and check Future Harvest's schedule for the transition mix. Flip lights to 12/12 when the plant is roughly half your desired final canopy height, as it will stretch 50-100% more during early flower.
- Flower Weeks 1-3 (Stretch and Pre-Flower): Transition from Holland Secret Grow to Holland Secret Bloom in your mix. Pre-flowers appear and pistils emerge. Reduce humidity to 50-55%. Watch for signs of phosphorus and potassium demand increasing.
- Flower Weeks 4-6 (Bud Development): Buds swell rapidly. Maintain full Bloom dose per schedule. Keep RH at 45-50% to prevent mold. Add a bud-swell additive if desired, but the 3-part system alone is sufficient for good results.
- Flower Weeks 7-8+ (Ripening): Trichomes shift from clear to cloudy to amber. Begin checking with a jeweler's loupe or microscope. Flush with plain pH-adjusted water for the final 5 to 7 days in soil, or 1 to 3 days in hydro, to clear residual salts.
- Harvest: Cut when 70-90% of trichomes are milky white with a small percentage of amber, depending on the effect you prefer. More amber means a heavier, more sedative result. Cloudy with minimal amber means a brighter, more energetic effect.
Common Mistakes and How to Fix Them
Slow or Stunted Growth
Slow growth during veg is almost always one of four things: pH out of range locking out nutrients, underfeeding during a high-demand phase, root problems restricting uptake, or insufficient light intensity. Check pH first (it is the most common culprit), then check your EC to confirm nutrients are actually reaching target levels. If roots look brown and slimy in hydro, you likely have root rot, covered below.
Nutrient Deficiencies vs Toxicity
Yellowing that starts on older lower leaves and moves upward is typically a mobile nutrient deficiency (nitrogen, phosphorus, magnesium). Yellowing that starts on new upper growth usually points to an immobile nutrient issue (calcium, iron, manganese) or a pH problem preventing uptake. Tip burn and clawing point to toxicity or overfeeding. Before adding more nutrients to fix a deficiency, always check and correct pH first. Half of all 'deficiencies' clear up within a few days once pH is dialed in.
pH and EC Problems in Hydro
In hydro, pH can drift significantly within 12 to 24 hours, especially as the plant draws nutrients unevenly. Check your reservoir pH at least once daily during vegetative growth and twice daily during peak flower. EC creeping up while pH stays stable usually means the plant is consuming water faster than nutrients, which is common in hot weather. Top off with plain water to bring EC back down rather than adding more nutrient solution.
Root Problems (Root Rot)
Root rot in DWC systems shows up as brown, slimy roots with a foul smell, combined with rapid wilting even when the reservoir is full. It is caused by pathogens, usually pythium, thriving in warm water. Keep reservoir temperature below 68°F (use a water chiller if needed), add beneficial bacteria like Hydroguard to compete with pathogens, and ensure your air pump is delivering sufficient dissolved oxygen. Dark reservoirs (light deprivation) prevent algae growth that feeds pythium. Affected roots can recover if you treat early and bring temps down.
Pests
Spider mites, fungus gnats, thrips, and aphids are the most common indoor pests. Fungus gnats, the most frequent soil-grow pest, lay eggs in moist topsoil. Let the top 2 inches of soil dry out between waterings, use yellow sticky traps to monitor populations, and treat with beneficial nematodes or Bacillus thuringiensis var. israelensis (BTi) for larvae. Spider mites appear as tiny dots on leaf undersides with fine webbing; treat with neem oil or spinosad-based sprays in early veg. Never spray flowering plants with oil-based products as it contaminates the final product.
Mold and Powdery Mildew
Botrytis (bud rot) and powdery mildew (PM) are environmental problems, not nutrient problems. Botrytis thrives in humid, stagnant air in dense buds during late flower. PM shows as white powder on leaves and loves high humidity with poor airflow. Both are controlled through the same mechanism: keep RH below 45% in late flower, run constant airflow through the canopy and over buds, and remove any affected plant material immediately with a bag over the scissors to avoid spreading spores. Potassium bicarbonate sprays work on early PM in veg but use them before flower only.
Harvest, Drying, Curing, and What Good Results Actually Look Like
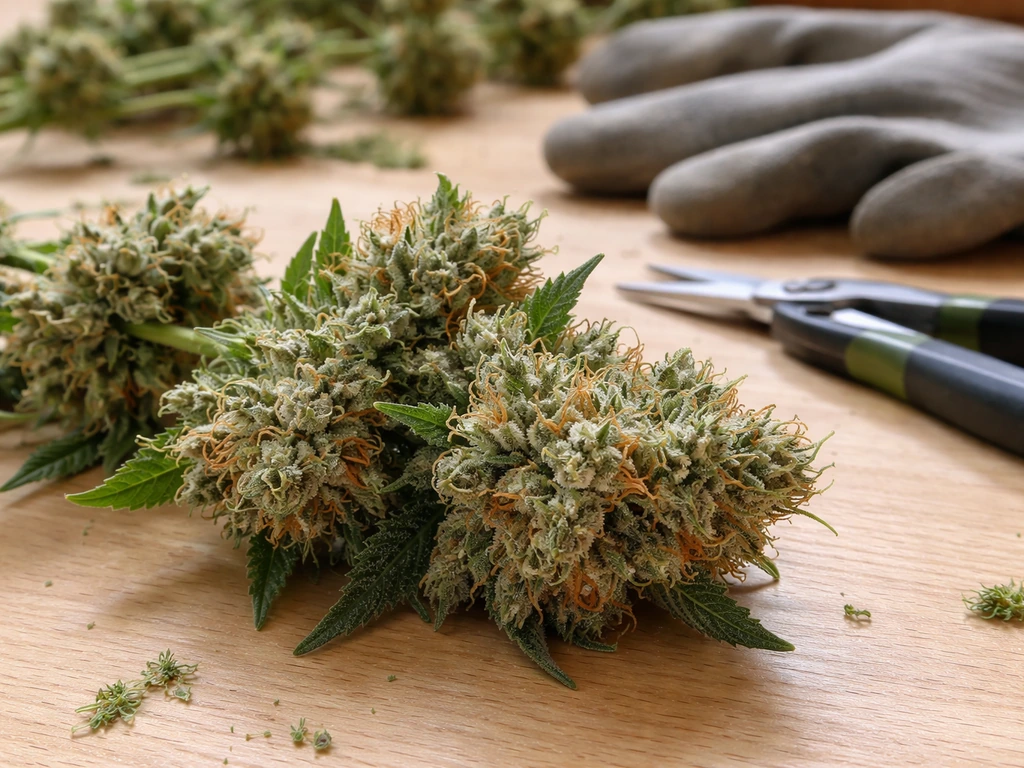
Harvest timing is probably the single biggest lever on quality that most growers underestimate. A plant harvested two weeks early loses a significant portion of its potency and aroma profile, even if it looks visually ready. Get a 60x loupe or a cheap digital microscope and check trichomes on the actual buds (not the sugar leaves, which mature faster). Aim for mostly cloudy with a small amber percentage, around 10 to 20 percent, as a reliable all-around target.
After cutting, hang whole branches or individual buds in a dark room at 60 to 65°F and 55 to 60% RH with slow airflow. Dry for 7 to 14 days until small stems snap rather than bend. Rushing the dry is one of the most common quality killers. Fast-dried material at high temps loses terpenes and tastes harsh.
Once dry, cure in sealed glass jars at room temperature. Open the jars (burp) for 15 minutes twice daily for the first two weeks to release moisture and CO2, then once daily for the next two weeks. After 30 days you have a properly cured product. After 60 days, the quality improvement is noticeable and the smoothness difference versus a rushed product is significant.
Yield Expectations
Yield is driven far more by light intensity, canopy management, and grow experience than by nutrient brand. Holland Secret is a solid 3-part system, not a magic multiplier. A realistic first indoor grow in soil with one plant under a 600W LED equivalent might yield 1 to 2 ounces per plant. An experienced grower with a trained canopy, dialed-in environment, and full 4x4 footprint can push 4 to 8 ounces per plant or more. Hydro setups consistently run 15 to 30 percent higher yields than equivalent soil grows when managed correctly, which is the main reason experienced growers make the switch.
If you want to improve your results on the next run, keep a grow journal. Record your pH and EC at every watering, note any deficiencies or pest issues and when they appeared, and track environmental readings daily. Patterns in that data will tell you exactly where your grow is losing efficiency. Dialing in your nutrient timing with Holland Secret Grow for veg and transitioning cleanly to Bloom is a process that genuinely improves over multiple cycles, and growers who track their grows consistently outperform those who go by feel alone. When you learn flora grow how to use correctly for your veg phase, you will be able to fine-tune nutrient timing and improve consistency across cycles Holland Secret Grow.
If you have used or are comparing other 3-part liquid nutrient systems such as General Hydroponics Flora Series alongside Holland Secret, the feeding principles (mix order, pH management, EC monitoring, stage-based formula switching) are directly transferable, which makes it easier to cross-reference guides covering how to use flora grow in soil or how to calculate how much flora grow per gallon when troubleshooting overlap situations.
FAQ
How do I know if my pH drift is from the nutrient mix or from my setup?
Use a calibrated pH pen, then measure pH after mixing and again after a short settle period (10 to 20 minutes). If pH keeps drifting fast, your dosing order or water chemistry is usually the cause, not the plant, and you should also confirm the reservoir is being aerated (hydro) or the runoff pH is stable (soil/coco).
What should I do if I mixed Holland Secret bottles in the wrong order?
If you accidentally mixed concentrates together (or added Grow before Micro), discard or at least spot-check by looking for cloudiness/precipitate. Then re-mix using the correct order (Micro first, stir, then Grow/Bloom, stir, pH last). In hydro, precipitation can keep forming and clog lines, so it is safer to replace the reservoir.
What is the best first-week starting dose so I do not overfeed?
For the first week, aim low and rely on EC trend, not only volume. A practical approach is to start near the guide’s “half dose” level, then adjust only after you see how your EC responds over 24 hours (soil and coco) or over the daily reservoir checks (hydro).
Can I top off with plain water instead of adding more nutrients when EC rises?
Yes, but use it strategically. For soil and coco, top-ups with plain pH-corrected water help prevent EC creep, but you still need occasional run-off or drainage to avoid salt buildup. In hydro, top-off with plain water is more effective for EC control, but you must still correct pH and fully refresh the reservoir on schedule to avoid nutrient imbalance.
How should I adjust nutrients if EC changes but pH seems stable?
Do not use EC as a single “good enough” number if pH is changing or if leaves show symptoms. Calibrate meters, check pH immediately after mixing, then confirm EC drift direction. In hydro, if EC rises while pH stays stable, the plant is consuming water faster than nutrients, which usually calls for plain-water top-offs rather than increasing dose.
What are common reasons only one plant shows nutrient burn in the same reservoir or tent?
If only some plants look burnt while others are fine, it often points to uneven canopy uptake, inconsistent dosing, or runoff differences, not a wrong product. Re-check meter calibration, confirm each container got the same mix, and verify your airflow and light intensity are even across the canopy.
My leaves are yellowing, how do I tell if it is deficiency or pH lockout?
If lower leaves yellow while new growth is okay, check pH first because lockout can mimic deficiency. Then check medium and watering frequency, because root stress from poor oxygen or oversaturation can also cause mobile nutrient symptoms. Only after pH is corrected should you adjust Grow dose.
When is flushing actually helpful with Holland Secret, and when is it better to just remix?
On soil and coco, some salt buildup can hide behind “looks fine” until plants suddenly slow down. Run a light flush only after you confirm pH is correct and you are seeing consistent burn or persistent lockout signs. In hydro, instead of flushing, you usually drain, refill with fresh water, and remix at a lower EC.
Can I treat pests in late flower if I am using Holland Secret?
Most pesticide or oil-based treatments should be avoided late in flowering to prevent contamination of the final product, especially with products that leave residues. If pests show up during flower, switch to options appropriate for that stage, remove heavily damaged plant parts, and prioritize environmental controls (RH, airflow) to prevent outbreaks like botrytis.
What should I do if I suspect toxicity but my EC readings are not extreme?
If plants look “dark and clawed,” start by verifying pH and checking that Grow dose was not too high. Then confirm EC is in the vegetative target range, and in hydro confirm reservoir temperature is not running warm, since warm, low-oxygen conditions can amplify uptake problems that resemble toxicity.
Is it okay to mix Holland Secret with another brand’s Micro/Grow/Bloom?
Yes, you can, but you should treat it like a different chemistry problem. Only add nutrients that match a compatible stage and mixing protocol, and never assume “same NPK” equals “same dose.” When in doubt, stick to Holland Secret’s three-part schedule rather than blending systems, then adjust based on EC and pH response.
What changes when I use Holland Secret in coco coir instead of soil?
In coco, you usually will see faster EC and pH movement than in soil because coco has less buffering. Check runoff pH/EC when possible, keep consistent watering cycles, and do not keep “chasing” EC with constant nutrient increases if pH is drifting out of range.
How do I choose harvest time if some buds mature faster than others?
Use a trichome check on the buds at the actual harvest sites, then decide based on desired effects. If most are cloudy with a small amber portion, that is a common all-around target; if you want more sedative effects, extend until amber increases slightly. Avoid harvesting based on sugar-leaf appearance.
How can I tell if my buds were jarred at the right dryness level?
Once dry, curing progress is mostly about humidity control and time. If jars are too humid and condensation keeps forming, open more often and ensure drying was complete before jarring. If jars stay dry and buds feel crispy quickly, you likely over-dried and may need smaller jar sizes or more frequent burping adjustments.
What should I record in my grow journal beyond pH and EC?
Yes. Track not just pH and EC, also record reservoir or pot temperature, watering volume, and any runoff EC/pH (when you have it). These details help distinguish “nutrient problem” from “environment problem,” especially when hydro pH swings overnight.