Yes, you can repot a Click & Grow plant, and plenty of gardeners do it successfully. The key is understanding what you're actually working with inside those pods, how the Smart Soil behaves when you pull it out, and what the plant needs in the first 7 to 10 days after the move. Do it right and you'll see continued growth. Rush it or handle the roots carelessly and you'll spend two weeks watching your plant sulk before it recovers, if it recovers at all.
Can You Repot Click and Grow Plants? Step-by-Step Guide
Marcus Holloway
17 Apr 2026
What 'repot' actually means here, and what Click & Grow can and can't do
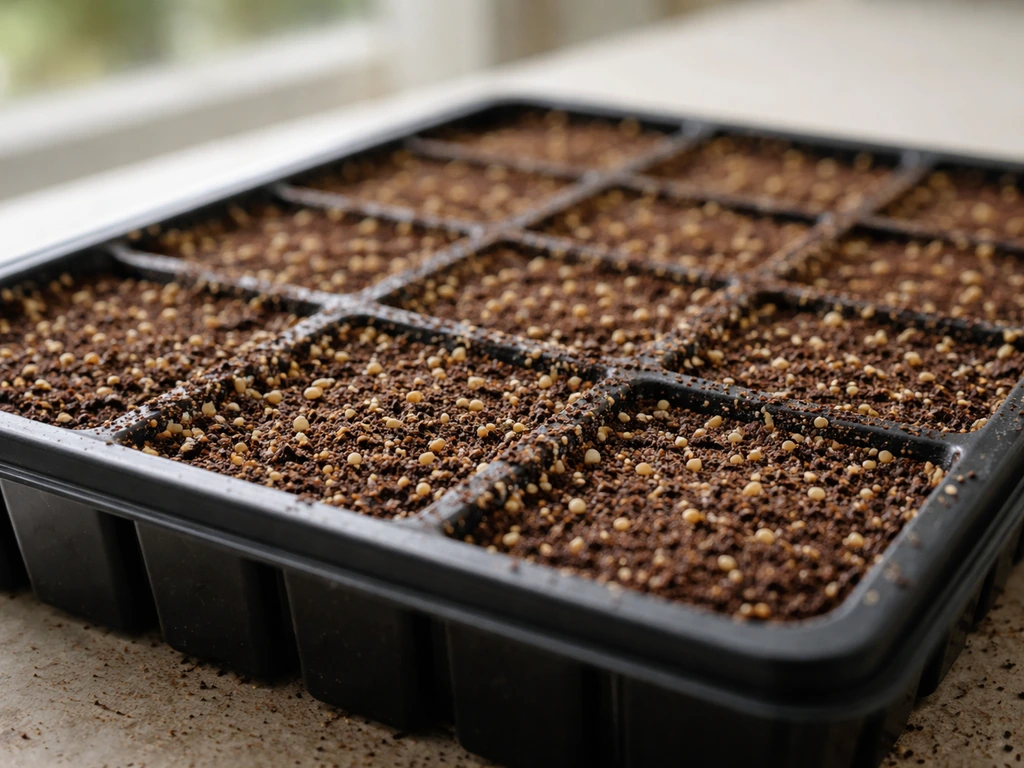
Click & Grow is an indoor self-watering smart garden system. Plants grow from proprietary pre-seeded plant pods filled with what the company calls 'Smart Soil,' a specially formulated growing medium embedded with nutrients and a precise structure for moisture retention. The pods sit in cup holders inside the garden unit, which handles sub-irrigation automatically through a water reservoir and runs built-in LED lighting on a timer. So when someone asks about 'repotting,' they're really asking one of two different things: moving a plant that has already grown and matured inside the Click & Grow system into a new container or medium outside the system, or upgrading to a larger cup (like Click & Grow's Pro Plant Cups) within the system to give roots more space.
Both are valid, and both are genuinely possible. What you cannot do is treat a Click & Grow pod the same way you'd transplant a seedling from a standard tray. The Smart Soil holds together differently than potting mix, the pod casing affects how you extract the root ball, and if you've been curious about whether Click & Grow operates more like a hydroponic system, that matters here too, because the roots may have adapted to sub-irrigation conditions rather than top-watered soil.
Click & Grow officially supports moving plants out of the system. Their own Pro Plant Cups are designed with perforations and slits so roots can grow into the surrounding water and get extra space, essentially extending the plant's life and yield within the system. The company also provides transplanting tips for moving plants into external containers with soil. What they don't support is moving plants into random media without understanding the transition requirements, and that's exactly what causes most repotting failures.
Step-by-step: how to repot a Click & Grow plant without stalling growth
Before you touch the plant, gather everything you need so the root ball is exposed for as little time as possible. Every extra minute of air exposure to bare roots increases stress.
- Choose your new container first. For herbs and most greens, a 4 to 6 inch pot is usually sufficient. For fruiting plants like tomatoes or peppers that started in a Click & Grow pod, go at least 8 to 12 inches to give roots room to establish properly.
- Pre-moisten your growing medium before transplanting. Dry soil or dry coco coir pulled around stressed roots creates an air gap that desiccates fine root hairs immediately.
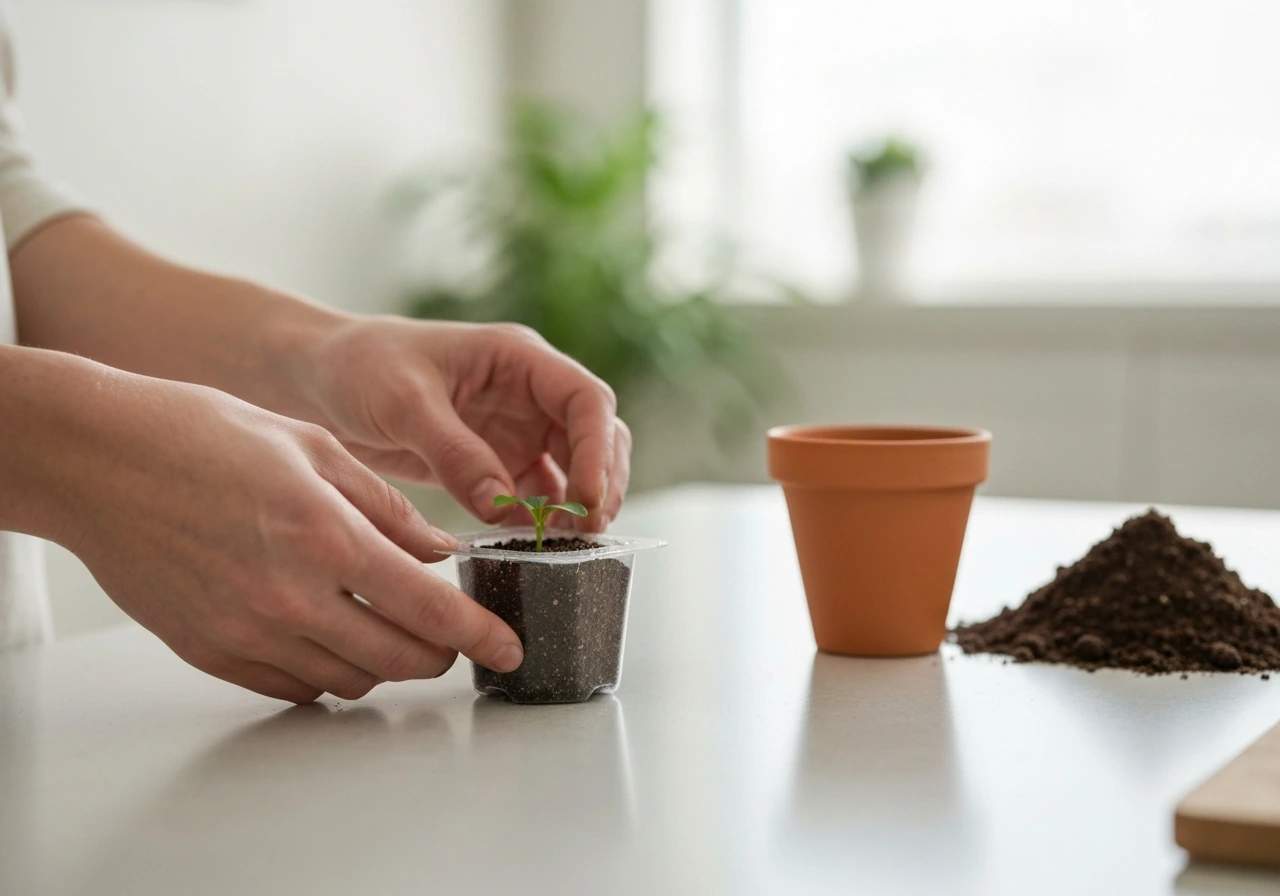
- Remove the plant pod from the Click & Grow cup holder gently, without pulling on the stem. Tip the pod sideways or use a thin implement to push from the bottom.
- If the pod casing is still intact, peel it away carefully from the bottom up. Try to keep the Smart Soil root ball as a single cohesive unit rather than crumbling it apart.
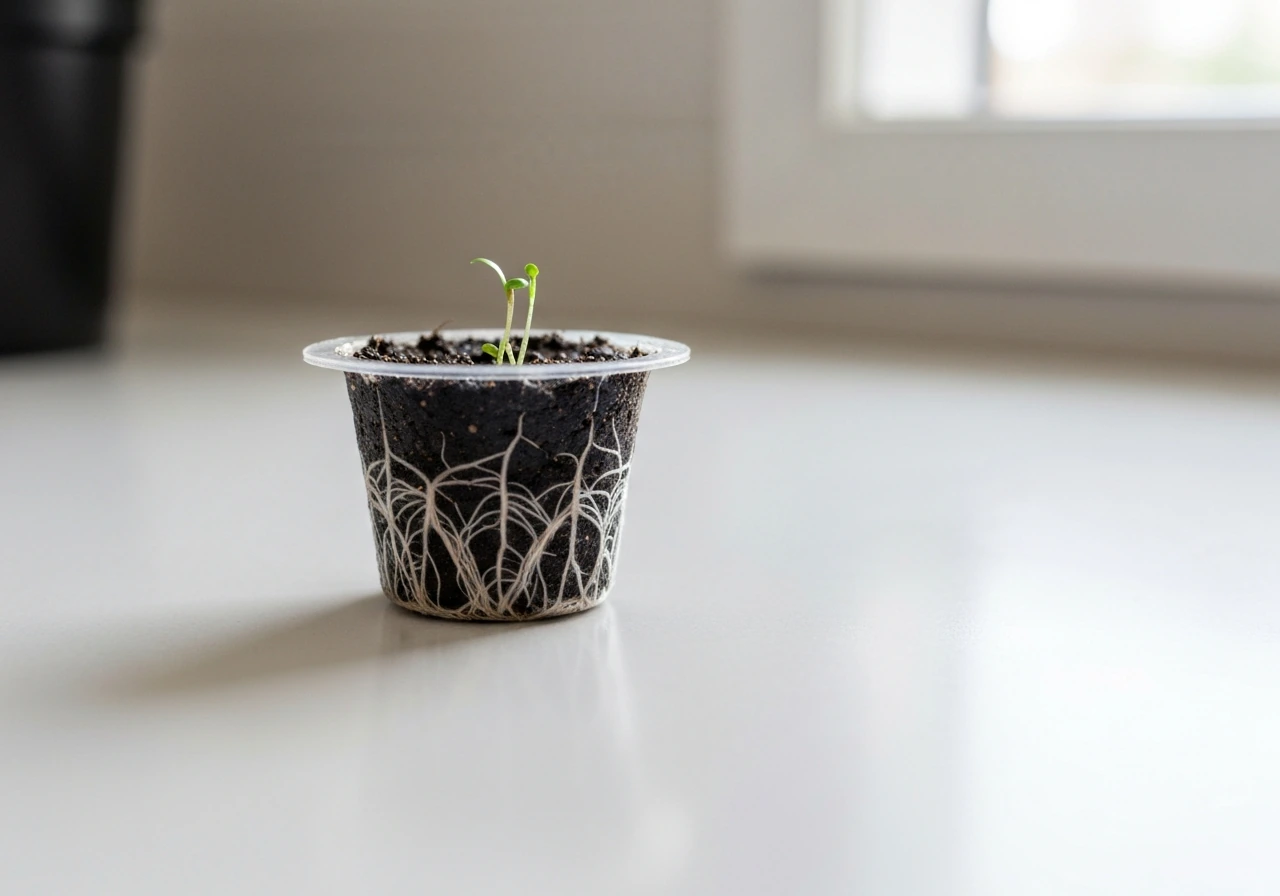
- Inspect the roots briefly. Healthy roots are white or light tan. Brown, mushy, or foul-smelling roots indicate rot. Trim any clearly dead or rotted roots with clean scissors before placing in the new medium.
- Create a hole in your new medium that is slightly larger than the root ball. Lower the plant in so the base of the stem sits at the same depth it was in the pod, not deeper.
- Firm the medium around the root ball gently, just enough to eliminate air pockets. Do not compact aggressively.
- Water in lightly with plain, pH-balanced water (6.0 to 6.5 for soil, 5.5 to 6.0 for hydro or coco). Hold off on nutrients for the first 3 to 5 days to avoid burning stressed roots.
- Place the plant back under grow light or in indirect natural light, not direct intense sun, for the first week.
One thing worth knowing before you start: if you've been wondering whether you can transplant a Click & Grow plant into an entirely different growing system, the answer depends heavily on root health at the time of the move and the medium you're moving into. A plant with well-developed, undamaged roots and a carefully preserved root ball will transition far more smoothly than one that's been growing for weeks in waterlogged conditions.
Repotting vs. propagation: when to move the plant and when to take cuttings instead
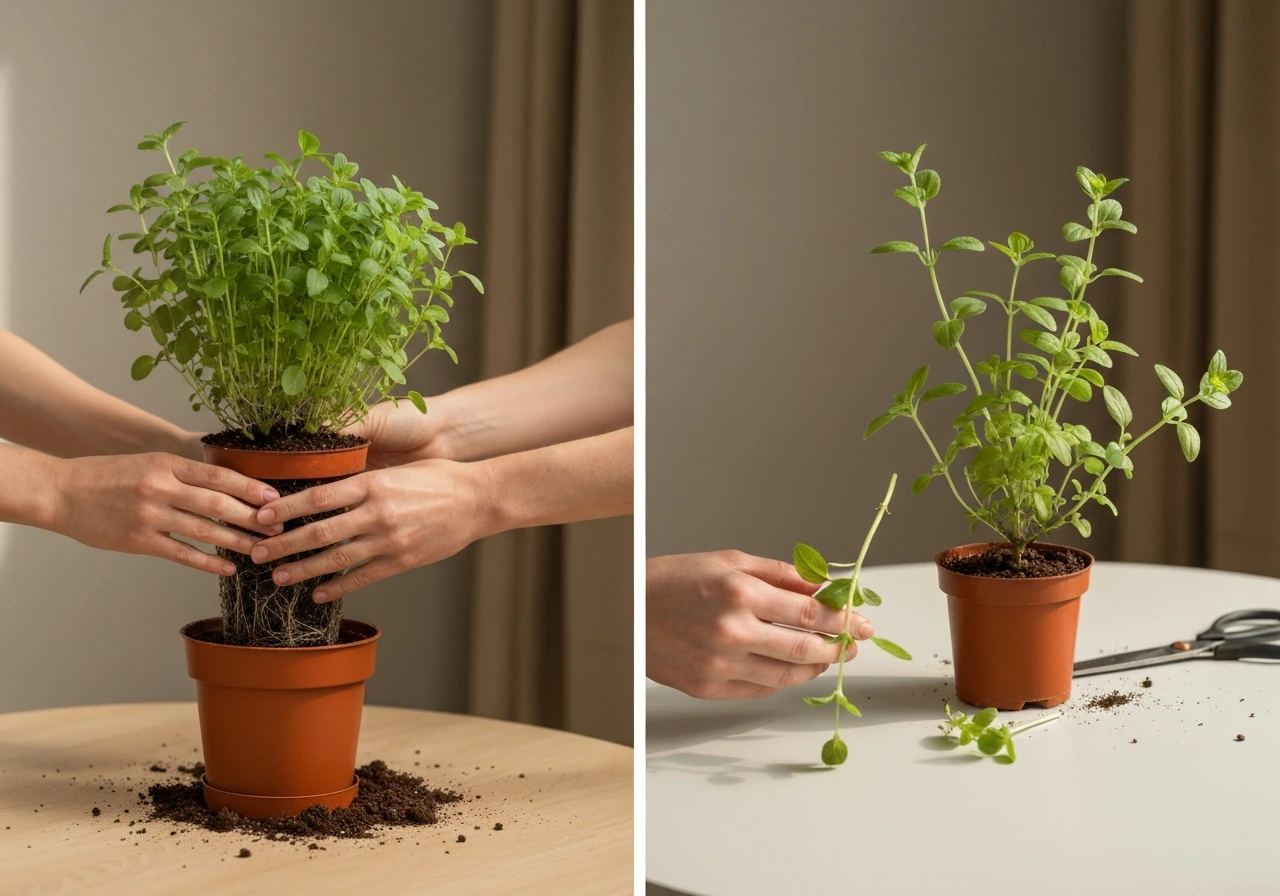
Repotting makes sense when you have a healthy, established plant that's starting to run out of space or you want to continue growing it outside the Click & Grow system. You're preserving the original plant, root system and all, and giving it a bigger environment to work with. This is the right move for slow-growing herbs like basil, mint, or chives that have put on good vegetative growth and aren't showing signs of root stress.
Propagation via cuttings is a better call when the plant is already stressed, root-bound to the point of heavy matting, showing yellowing or disease symptoms, or when you simply want to multiply a particularly vigorous specimen without risking the whole plant on one transplant attempt. Taking a 3 to 5 inch cutting from a healthy stem, stripping the lower leaves, and rooting it in water or a propagation medium gives you a genetically identical plant with zero root disturbance trauma. For fruiting plants like mini tomatoes, this is sometimes the smarter play since you can root several cuttings while keeping the mother plant alive.
The deciding question is: is the existing root system worth preserving? If yes, repot. If the roots are compromised, the plant is past its peak, or you want to scale up production, propagate instead. This also connects directly to how long Click & Grow plants actually last, because some varieties hit a natural ceiling inside the pod system, and repotting is specifically how you push past that ceiling rather than starting over from a new seed pod.
Soil vs. hydro after repotting: picking the right medium and setting it up correctly
This is where most guides skip over the details you actually need. Choosing a medium isn't just about what you have on hand. It's about matching the plant's existing root environment as closely as possible during the transition, then gradually adjusting.
| Medium | Best for | pH target | Watering approach | Nutrient start time |
|---|---|---|---|---|
| Quality potting soil | Herbs, greens, most vegetables | 6.0 to 6.5 | Water when top inch is dry | Week 2 after transplant, half-strength |
| Coco coir | Faster-growing herbs, fruiting plants | 5.8 to 6.2 | Daily or every 2 days, lower volume | Day 4 to 5 at quarter-strength |
| Perlite/coco blend (70/30) | Plants needing high drainage and aeration | 5.8 to 6.2 | Every 1 to 2 days | Day 4 to 5 at quarter-strength |
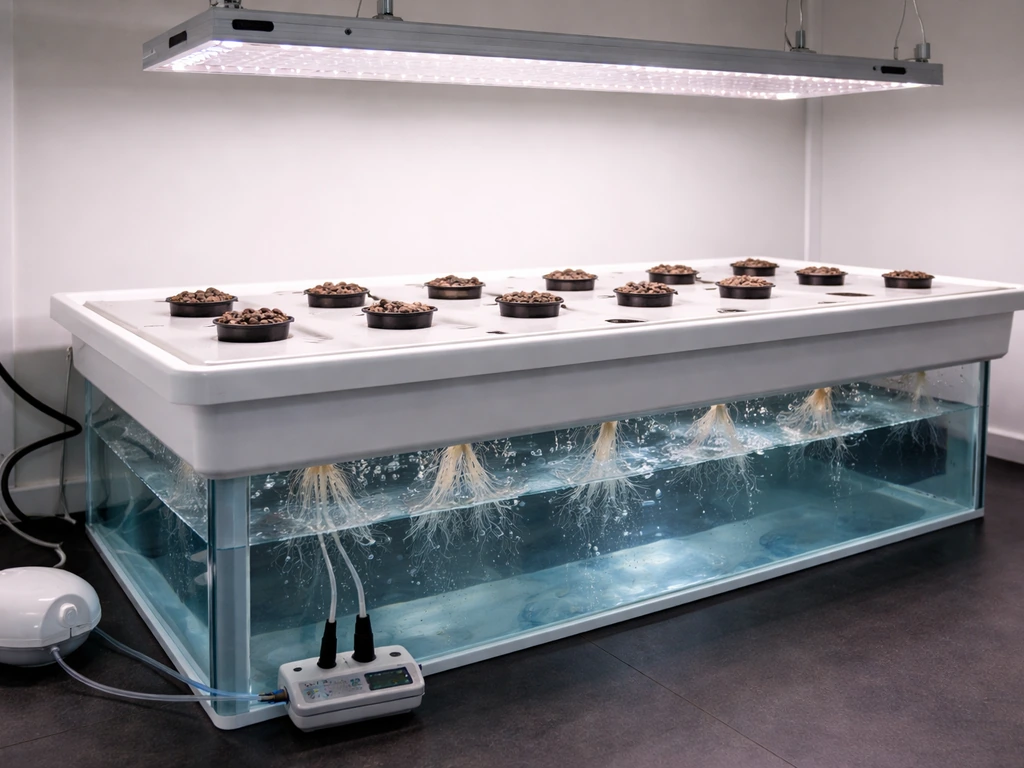
| Deep water culture hydro | Experienced growers, larger plants | 5.5 to 6.0 | Reservoir-based, continuous | From day 1 at quarter-strength |
| Kratky (passive hydro) | Herbs, small greens | 5.5 to 6.0 | Reservoir-based, passive | From day 1 at quarter-strength |
If you're moving a Click & Grow plant into soil, standard quality potting mix is the most forgiving option. Avoid mixes with excessive slow-release fertilizer pellets since the plant needs a couple of days to recover before it can process heavy nutrients. If you're moving into a hydroponic setup, you need to rinse the Smart Soil off the roots carefully under lukewarm water before placing them into net pots or a reservoir. Soil particles clogging a hydro system will cause pH swings and potential root rot. Moving from a hydro-adapted Click & Grow environment into a soil setup requires the opposite consideration: the roots may not be accustomed to seeking out moisture through dry pockets of medium, so keep the soil consistently moist (not wet) for the first two weeks.
If you're curious about experimenting further with your own seeds in a Click & Grow-style setup, it's worth knowing that using your own seeds in Click & Grow is a whole separate consideration with its own rules around pod preparation and germination rates.
Timing, plant stage, and conditions that give you the best shot at recovery
Timing the repot correctly gives the plant its best chance. The ideal window is when the plant has a visible, established root system but hasn't become tightly root-bound. For most Click & Grow herbs and greens, this is around 4 to 6 weeks after germination. For fruiting plants, wait until after germination and early vegetative growth but before the plant sets flower buds, because repotting during flowering causes significant fruit drop and delays.
Avoid repotting during a heat wave or when your growing space is unusually warm. High temperatures accelerate water loss through leaves (transpiration) while the compromised root system can't keep up. Ideal repotting conditions are room temperature between 65 and 72 degrees Fahrenheit, relative humidity between 50 and 65 percent, and stable light conditions. Do the actual transplant in the evening or under reduced light if possible, giving the plant overnight to start recovering before full light exposure resumes.
Plant stage matters more than most people think. Seedlings in the first two weeks are fragile but also resilient because they haven't built complex root architecture yet. Mature plants with dense root networks are harder to extract cleanly but will draw on larger nutrient reserves during recovery. The middle stage, 3 to 6 weeks in, is actually the sweet spot: roots are developed enough to anchor the soil ball but not so extensive that extraction becomes destructive.
Aftercare: watering, light, nutrients, and fixing transplant shock when it hits
Watering in the first two weeks
After transplanting, the plant's water uptake capacity is temporarily reduced because fine root hairs get damaged during the move. This means overwatering is a serious risk even if the medium doesn't feel wet. For soil and coco, water lightly on transplant day, then wait until the medium is nearly dry in the top inch before watering again. For hydro setups, start with a lower reservoir level so the roots have to reach slightly downward rather than sitting submerged, which encourages root elongation and reduces rot risk.
Light adjustments
Reduce light intensity or duration by about 20 to 30 percent for the first 5 to 7 days. If you're using the Click & Grow's built-in LED, consider running the light cycle at 14 hours instead of the standard 16 hours temporarily. If moving under natural light or a separate grow light, keep the plant about 6 to 8 inches further from the source than normal for the first week. Wilting under strong light when roots can't replace water fast enough accelerates stress significantly.
Nutrient timing
Hold off on any nutrients for the first 3 to 5 days in soil (which already contains some nutrition) and start at 25 percent of the recommended dose from day 4 or 5 in coco or hydro. A week after the transplant, check for signs of new growth (new leaf tips unfurling, slight stem elongation) and that's your green light to begin increasing nutrients toward normal dose. Don't rush this. Feeding a stressed plant too early causes nutrient burn on already compromised roots, which compounds the problem.
Identifying and responding to transplant shock
Mild wilt in the first 24 to 48 hours is completely normal and usually resolves on its own. Persistent wilt after 72 hours, yellowing of lower leaves, or leaf drop are signs of more serious stress. Check root health first by gently lifting the plant from the medium to look for rot. Check for overwatering by weighing the pot (a heavy pot means too much moisture). Adjust accordingly. Most cases of transplant shock resolve within 7 to 14 days as long as you avoid compounding the problem with nutrient overload, excessive light, or more water.
Common mistakes that derail repotted Click & Grow plants
- Breaking up the Smart Soil root ball aggressively: The Smart Soil structure helps hold moisture around the roots during transition. Crumbling it completely removes this buffer and exposes fine root hairs to immediate air stress. Keep the ball as intact as possible.
- Planting too deep: Burying the stem beyond its original soil line encourages stem rot, especially in the first week when you're watering consistently. Match the original planting depth.
- Using a container that's too large: A massive pot holds too much moisture for a small root system, creating a perpetually wet zone around roots. Size up gradually, not dramatically.
- Skipping the acclimation period for light: Moving directly from the Click & Grow's gentle LED to full natural sunlight or a high-intensity grow light causes immediate light stress on top of root stress. Acclimate over 5 to 7 days.
- Submerging perforated Pro Cups too deeply: Click & Grow specifically warns that if the perforations on Pro Plant Cups are submerged, the soil gets overwatered and seeds can rot. Keep perforations above the waterline.
- Adding nutrients too soon in a hydro reservoir: A fresh transplant in hydro needs time to acclimate. Starting at full nutrient strength immediately causes osmotic stress that looks identical to drought symptoms, leading growers to add even more nutrients and make things worse.
- Not sterilizing tools before cutting or trimming roots: Bacteria and fungi transferred from unclean scissors can infect stressed root tissue very quickly. Wipe tools with isopropyl alcohol before use.
Repotting a Click & Grow plant is genuinely worth doing if you want to extend its productive life beyond what the pod system alone offers. The process is straightforward as long as you respect the root system, give the plant time to recover at reduced stress levels, and match your new medium to what the plant has been experiencing. Get those fundamentals right and you'll have a plant that outperforms what it would have done staying in the original pod indefinitely.
FAQ
Can you repot a Click and Grow plant into a different pot size or material (plastic vs terra cotta) without killing it?
You generally can, but only if you keep the root environment consistent enough for recovery. If the plant is healthy and you are moving it within a similar moisture pattern (for example, from Click & Grow to regular potting mix in a similarly sized container), expect about 7 to 14 days for shock to settle. If you are switching from sub-irrigation to a fast-draining mix or radically changing watering style, the risk of rot or drought stress goes up, so adjust medium and your first two-week watering routine accordingly.
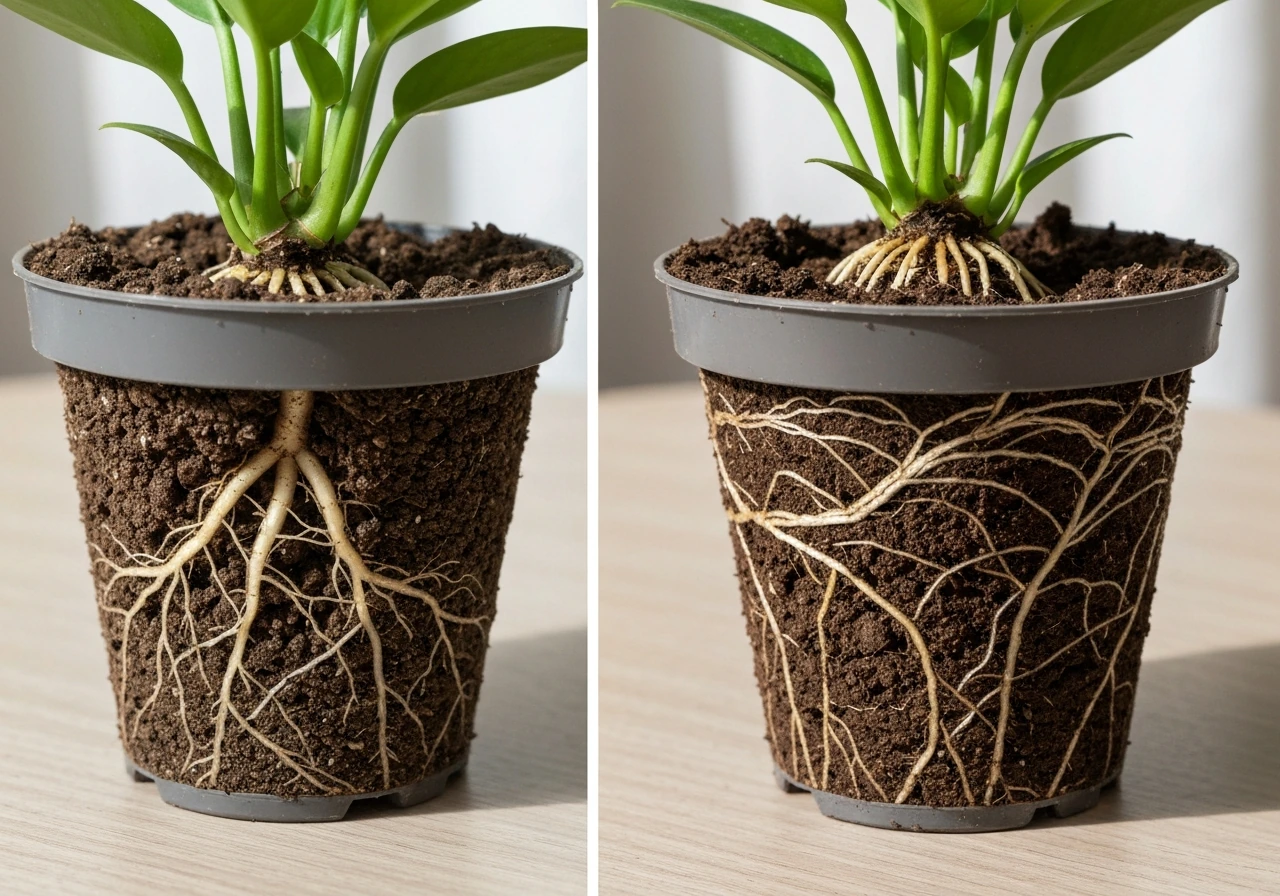
How can I tell if my Click & Grow plant’s roots are healthy enough to repot?
Before you repot, look for dense, pale-to-light colored roots with minimal browning or mushiness. If you see heavy matting, a sour odor, or roots that feel slimy, treat it like compromised root health and consider propagation instead of repotting. Repotting works best when the root ball can be preserved with minimal breakage.
What potting mix should I avoid when repotting Click and Grow plants?
Avoid it. Fertilizer pellets, high-salt blends, and “hot” mixes can overwhelm damaged root hairs right after transplant. A safer approach is to use a standard, relatively gentle potting mix and hold off on nutrients for 3 to 5 days after repotting, then start at a reduced dose only after you see new growth.
My plant drooped after repotting. Is that transplant shock or overwatering?
If it wilts mildly for 24 to 48 hours, that’s common, but if it continues past 72 hours, check moisture and roots. Overwatering can look like “wilting” because roots can’t take up oxygen. Weigh the pot to confirm, let the top inch dry before watering again, and inspect roots for rot before you add any fertilizer or switch to more frequent watering.
Do I need to remove all Smart Soil when repotting, or can I keep it on the roots?
It depends on what you mean by “bare roots.” If you must rinse off Smart Soil for hydroponics, do it gently under lukewarm water and keep handling time short. For soil repots, preserve as much of the original root ball as possible, and do not pick individual roots apart. Longer exposure to air increases stress and slows recovery.
If I want to repot into a much larger container, when should I do it?
Yes, but reduce risk by choosing the right “scale-up” moment. Repot when roots are established but not tightly matting, commonly around 4 to 6 weeks for many herbs and greens. If you wait until it becomes severely root-bound, extraction becomes destructive and the recovery window can extend beyond two weeks.
Should I change the light schedule after repotting a Click and Grow plant?
You can keep using the Click & Grow LED temporarily if you reduce intensity or duration for the first week (about 20 to 30 percent). Keep the plant slightly farther from the light if you see rapid wilting. Also aim for stable temperature and humidity during recovery, because heat and dry air accelerate water loss.
When can I start feeding my repotted Click and Grow plant?
Don’t add nutrients immediately after repotting. In soil, wait 3 to 5 days, then start around 25 percent of the recommended dose. If the plant already shows leaf yellowing, persistent wilt beyond 72 hours, or no new growth after a week, delay feeding until roots stabilize.
What warning signs mean I should stop trying to nurse it and check the roots?
Persistent symptoms matter more than the first few days. Mild droop in the first 1 to 2 days is usually normal, but watch for signs after 72 hours: continued wilt, significant leaf drop, or yellowing that progresses downward. The decision point is to inspect the roots for rot and adjust watering, not to keep increasing light or fertilizer.
If repotting seems risky, when is propagation by cuttings the better option?
A common workaround is to use propagation instead when the root system is compromised or you want multiple plants without risking one large transplant. Take cuttings from healthy stems, root them in water or a propagation medium, and keep the mother plant in better conditions to recover. This reduces the “one-shot” risk of repotting a stressed plant.
What’s different about repotting into hydroponics compared with soil?
If you repot into hydroponics, start with a lower reservoir level so roots can elongate without sitting fully submerged. For that transition, rinse Smart Soil off carefully to prevent clogging and pH swings. Then monitor closely for rot in the first week because fine root hairs are damaged during transplant and uptake is slower.
What are the most common mistakes that cause Click and Grow repotting failure?
Most transplant failures come from rushed timing, too much sun, or watering too soon. A practical checklist is: repot in a mild temperature window, preserve the root ball, minimize air exposure, reduce light for 5 to 7 days, and follow a conservative watering plan until the top inch dries (soil) or reservoir level encourages downward rooting (hydro).