Most Click & Grow pods last somewhere between 4 weeks and 21 weeks depending on what you're growing, but the number that actually matters is the 'lasts up to' date on your pod's packaging or app listing. Leafy greens like lettuce and arugula peak around 30 to 40 days. Herbs like basil and chives can go 8 to 12 weeks. Flowers such as petunias and busy lizzies run 12 to 18 weeks. Fruiting pods can stretch to about 21 weeks. After that window, the soil's nutrients are depleted, the root zone fills the pod completely, and the plant can no longer thrive regardless of what you do.
How Long Do Click and Grow Pods Last? Lifespan Guide

Marcus Holloway
27 Apr 2026
Typical Click & Grow pod lifespan by stage
Every pod goes through the same three phases: germination, productive growth, and decline. Knowing roughly where you are in that arc helps you harvest at the right time and avoid holding onto a spent pod too long.
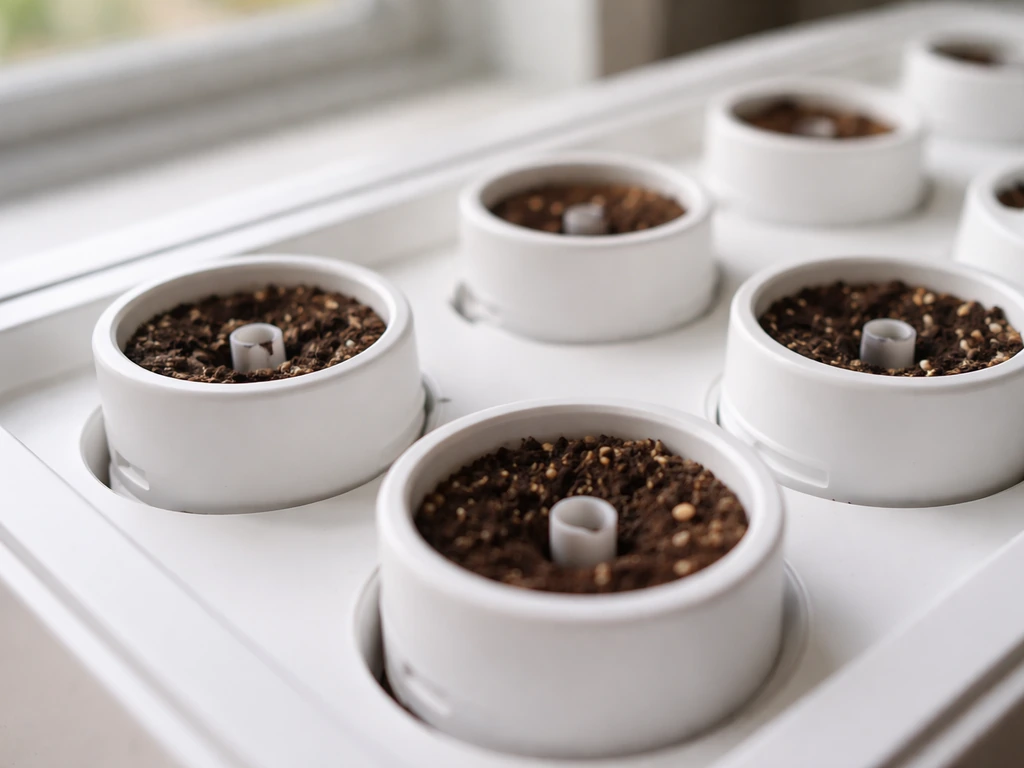
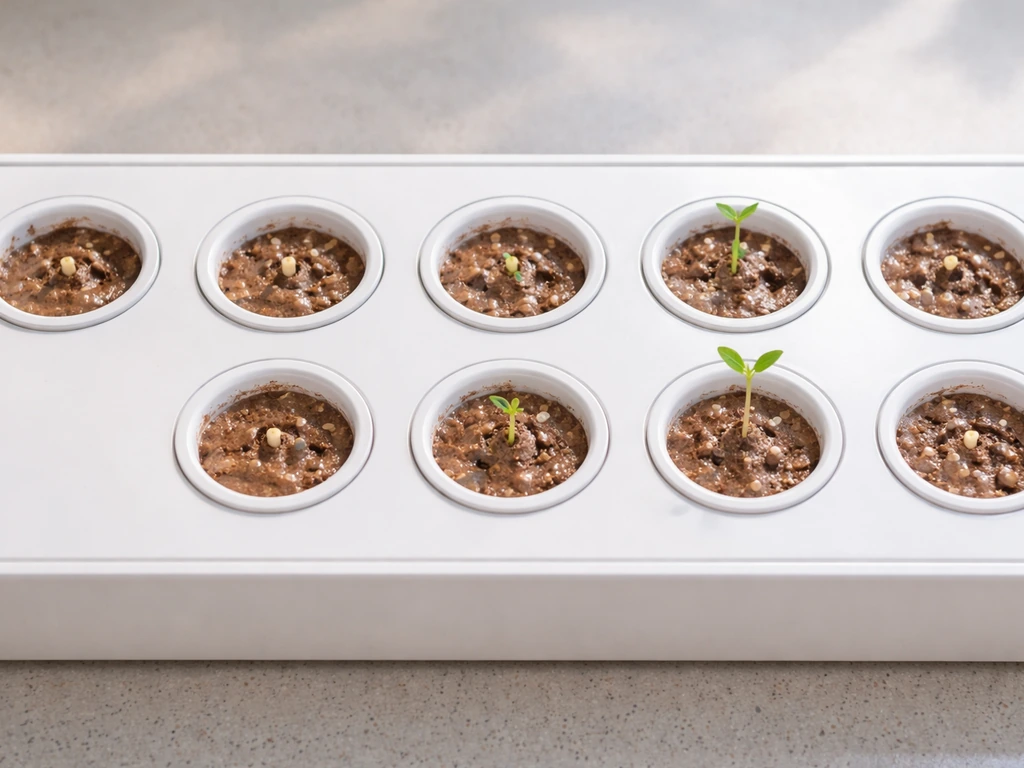
Phase 1: Germination (week 1 to 2, sometimes week 3)
Most seeds pop within 7 to 14 days at the recommended room temperature of 18 to 24°C (64 to 75°F). A few slower species can take up to three weeks. If nothing is showing by day 21 and conditions are right, the seed likely didn't take and replacement makes more sense than waiting.
Phase 2: Peak growth and harvest window
This is the productive stretch where you get your value from the pod. The window varies significantly by plant type:
| Plant Type | Start Harvesting | Peak Quality Window | Max Pod Age |
|---|---|---|---|
| Arugula / Leaf Mustard | ~25 days after planting | 30 to 35 days (whole pod) | ~35 to 40 days |
| Green Lettuce / Romaine | Gradual harvest after germination | 30 to 35 days (whole pod) | ~40 days |
| Red Kale | Gradual leaf harvest | ~1 month (whole plant) | ~2 months max |
| Pak Choi / Red Chard | Gradual harvest | Whole pod ~4 weeks | ~2 months max |
| Basil | ~1 month after planting | 1 to 3 months (with regular trimming) | ~12 weeks |
| Chives | Leaf-by-leaf ongoing | ~8 weeks (full growth) | ~12 weeks |
| Flowers (Petunia, Busy Lizzie, Cockscomb, Sweet Alyssum) | First flowers 40 to 50 days | Varies by species | 12 to 18 weeks (up to ~84 to 90 days for some) |
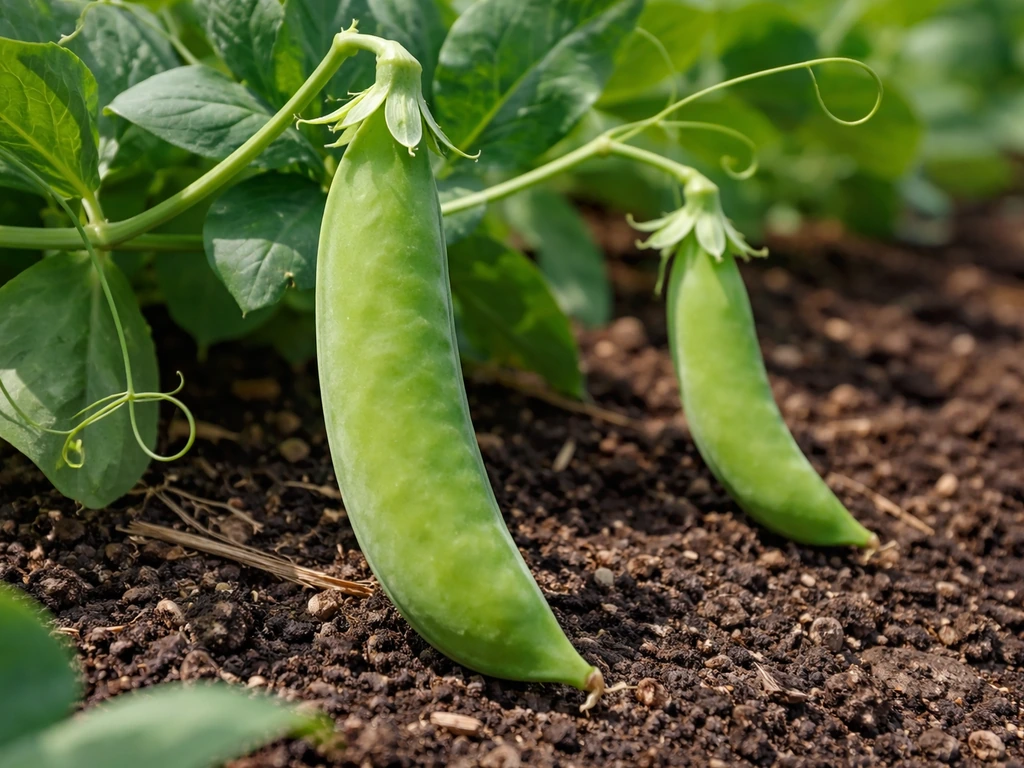
| Fruiting pods | Varies by species | Mid-cycle peak | Up to ~21 weeks |
Phase 3: Decline and end of pod life
Once the pod hits its 'lasts up to' date, the soil's nutrients and physical space are essentially exhausted. Roots will have expanded to fill the entire base of the pod, which physically disconnects the soil from the wick and cuts off water delivery. Growth slows to a crawl, leaves get thin and pale, and yields drop off sharply. At this point the pod is done, and no amount of care will restart healthy production. Click & Grow is clear on this: once a plant has been fully harvested and cannot regrow, replace the pod.
What changes pod life: plant type, light, temperature, and care
The 'lasts up to' number on the packaging is always a ceiling, not a guarantee. Several factors can shorten that window significantly or, with good habits, help you get close to the full advertised lifespan.
Plant type matters more than anything else
Leafy greens are mostly annuals with a short productive window. Most salad crops are done in 4 to 6 weeks. Herbs are slower to mature but offer a longer harvest window, especially when you trim frequently without cutting too much at once. Flowers and fruiting plants have the longest lifecycle but also require the most patience before the first flowers or fruit appear.
Temperature is the silent growth regulator
Room temperature between 18 and 24°C (64 to 75°F) is the sweet spot. Below 18°C, most seeds won't germinate well and growth slows dramatically throughout the pod's life. Above 24°C, lettuce and kale are particularly prone to bolting, which changes flavor, triggers premature seeding, and effectively ends the productive growth phase early. High heat compresses the useful harvest window, sometimes cutting weeks off an herb pod's lifespan.
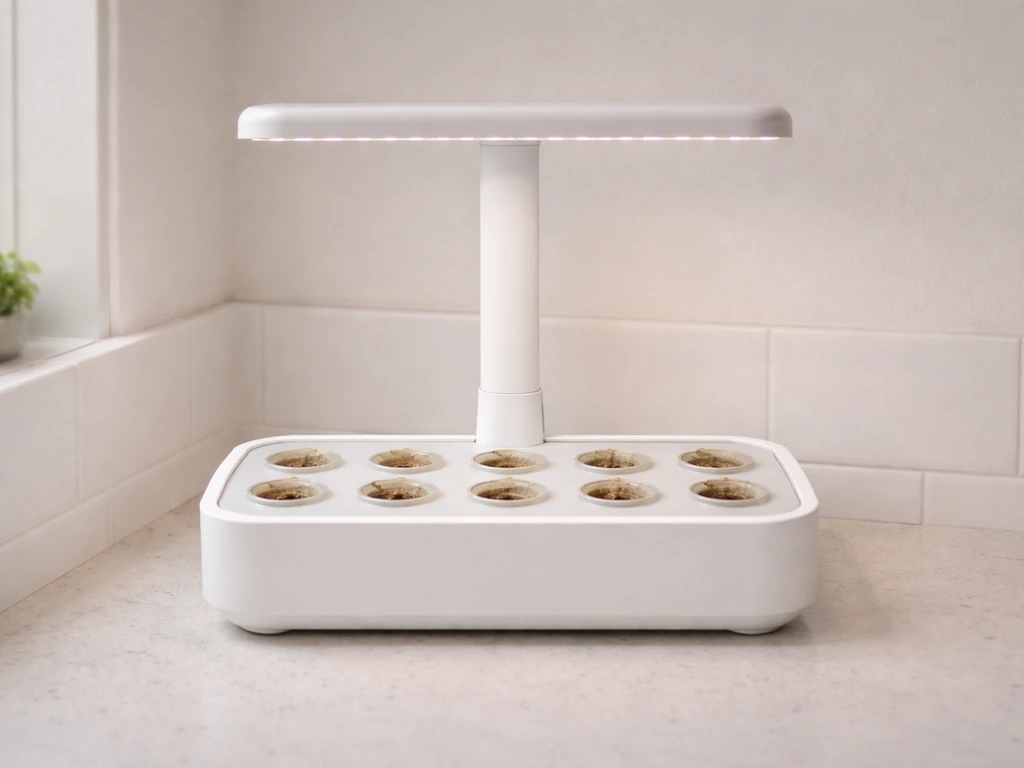
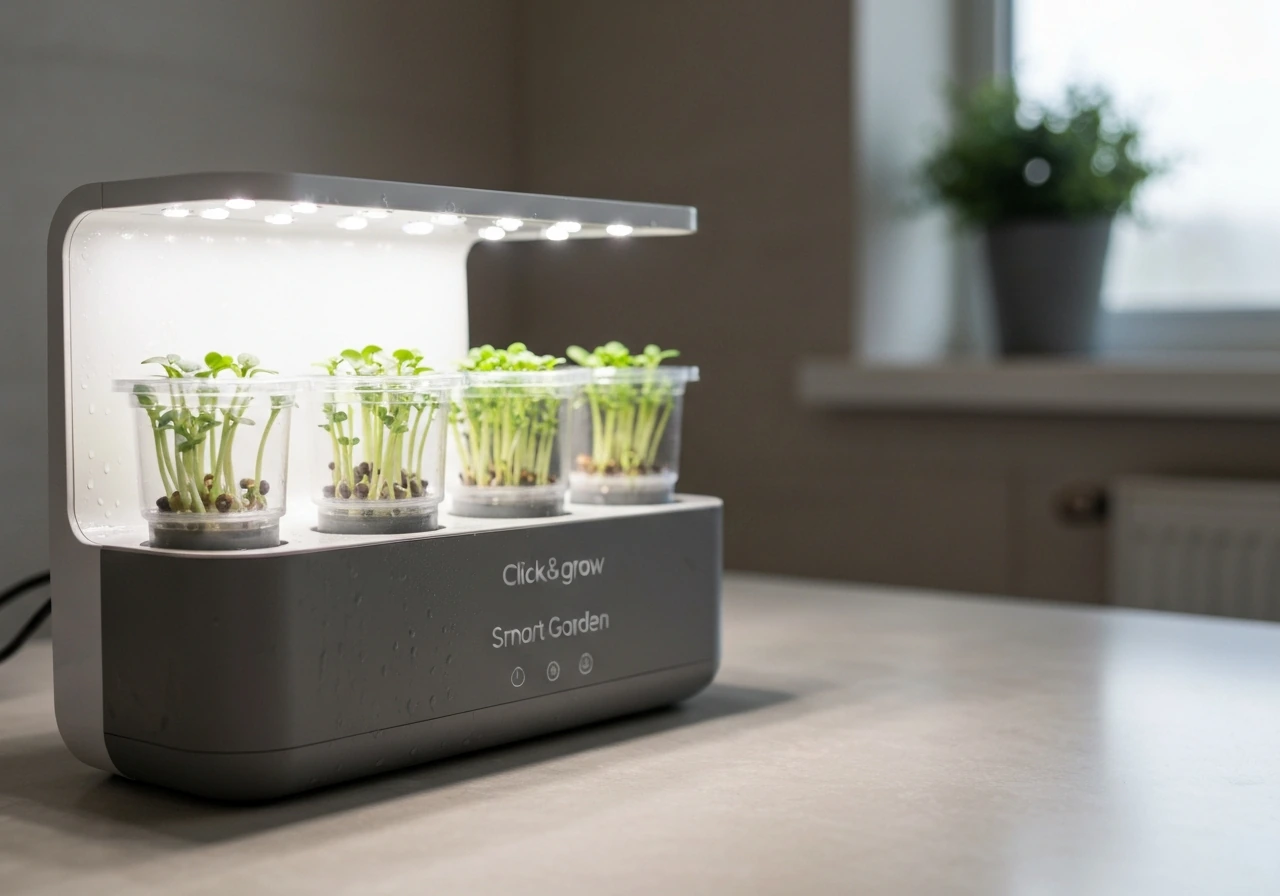
Light: the Smart Garden handles the schedule, but placement still matters
The built-in lamp runs automatically on a 16 hours on / 8 hours off timer, which Click & Grow has dialed in for their pod formulations. You don't need to adjust the timer, but you should make sure the lamp arm is at the right height for the plant stage and that nothing is blocking light from reaching the pod. A pod sitting in the shadow of a tall neighboring plant will underperform and may show decline symptoms even with weeks left in its natural lifespan.
How you harvest affects how long the pod stays productive
Herbs like basil genuinely benefit from regular trimming. Cutting back to just above a leaf node encourages bushier growth and delays bolting, effectively extending the productive period. For leafy greens, the opposite is often true: harvesting gradually can push past the peak quality window, giving you more volume but lower nutritional density and flavor. For most greens, Click & Grow actually recommends harvesting the whole pod at around 30 to 35 days rather than stretching it out.
Signs your pods are running out vs signs of a care problem

This is probably the most practically useful thing to understand: a lot of the symptoms of an aging pod look almost identical to symptoms of a fixable problem. Before you toss a pod, run through these distinctions.
Signs the pod is genuinely near end of life
- You're past or near the 'lasts up to' date for that pod variety
- Lifting the pod reveals roots covering the entire bottom surface of the soil
- Growth has slowed steadily over several weeks despite stable conditions
- The plant has already been fully harvested once and isn't regrowing at all
- Lower leaves are yellow and dropping, and new growth is sparse or absent
- Stems are woody, thin, or weak relative to where they were at peak
Signs of a fixable care problem (not pod aging)
- Pod soil feels completely dry despite water being in the reservoir: check wick placement first, then check for hard-water clogging in the wick, and check whether the float is stuck due to mineral buildup
- Pale or yellowing leaves appear suddenly mid-cycle: often a light positioning issue or a temperature spike causing stress
- Mold or algae visible on or around the pod: usually harmless and caused by excess moisture and light reaching the tank, not a sign the pod itself is dying
- Slow or no germination after 2 weeks: room temperature below 18°C is the most common culprit, not a defective pod
- Plants look healthy but are suddenly not drawing water: the float may be giving a false full reading due to hard-water scale buildup around it
The key test is the date and the roots. If you're well within the pod's expected lifespan and you see dry soil, a stuck float, or a displaced wick, fix the mechanical issue before assuming the pod is spent. If you're past the 'lasts up to' date and roots are packed into the bottom, no fix will help and replacement is the right call.
How to extend pod life with practical maintenance steps
You can't push a pod past its biological ceiling, but you can absolutely reach it more consistently with a few simple habits.
- Keep the water reservoir topped up consistently. Letting the tank run low stresses the plant and can dry out the wick, which clogs faster when it dries and re-wets repeatedly. The wick should always be at least halfway immersed.
- Don't leave empty pod cups in the garden. An empty cup exposes its wick to air, which speeds up clogging. If you've harvested one pod and haven't replaced it yet, remove the empty cup rather than leaving it in place.
- Cover the water tank. Light reaching the reservoir accelerates algae growth. Keep unused pod slots covered with the provided tray inserts and avoid positioning the device where strong side light hits the tank.
- Trim herbs regularly and correctly. For basil and similar herbs, cut just above a leaf pair, never more than a third of the plant at once. Frequent light trims extend productive life far better than occasional heavy cuts.
- Harvest greens at peak, not past it. For most lettuce, arugula, and similar greens, you'll get the best flavor and nutrition from a whole-pod harvest around 30 to 35 days. Leaving greens in past 40 to 45 days typically results in bitterness and lower yield.
- Maintain room temperature in the 18 to 24°C range. This one is simple but often overlooked. A pod placed near a heating vent, a sunny window, or an air conditioner draft will perform significantly worse than one in a stable environment.
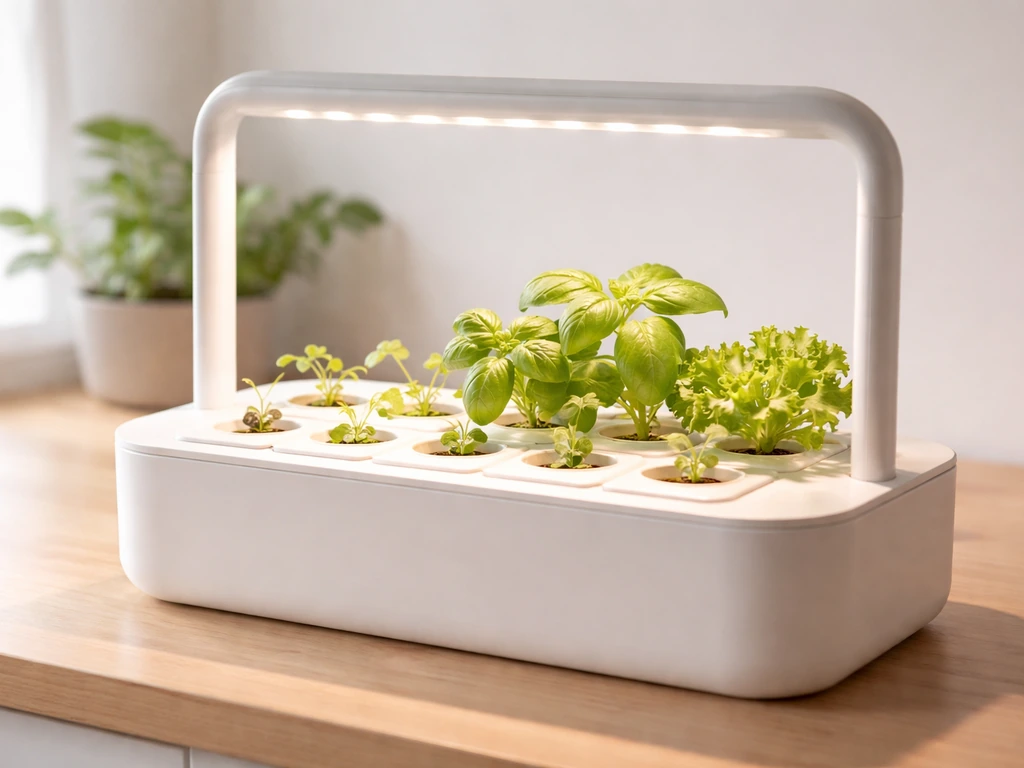
- Raise the lamp as the plant grows. The lamp height should track plant height. Leaving it too low on a fast-growing herb or flower creates heat stress at the canopy; too high reduces light intensity.
Troubleshooting when pods seem to stop growing
When growth stalls mid-cycle, it's almost always one of four things: water delivery failure, light or temperature stress, algae or mold affecting the root zone, or genuine end of pod life. If your aerogarden pods are not growing, work through water delivery, light and temperature first before assuming the pod is at end of life aerogarden pods did not grow. In other words, compatibility is usually about whether the pod fits and gets proper water delivery, not just about the brand name on the label aerogarden pods. Here's how to work through them quickly.
Pod is dry despite water in the tank
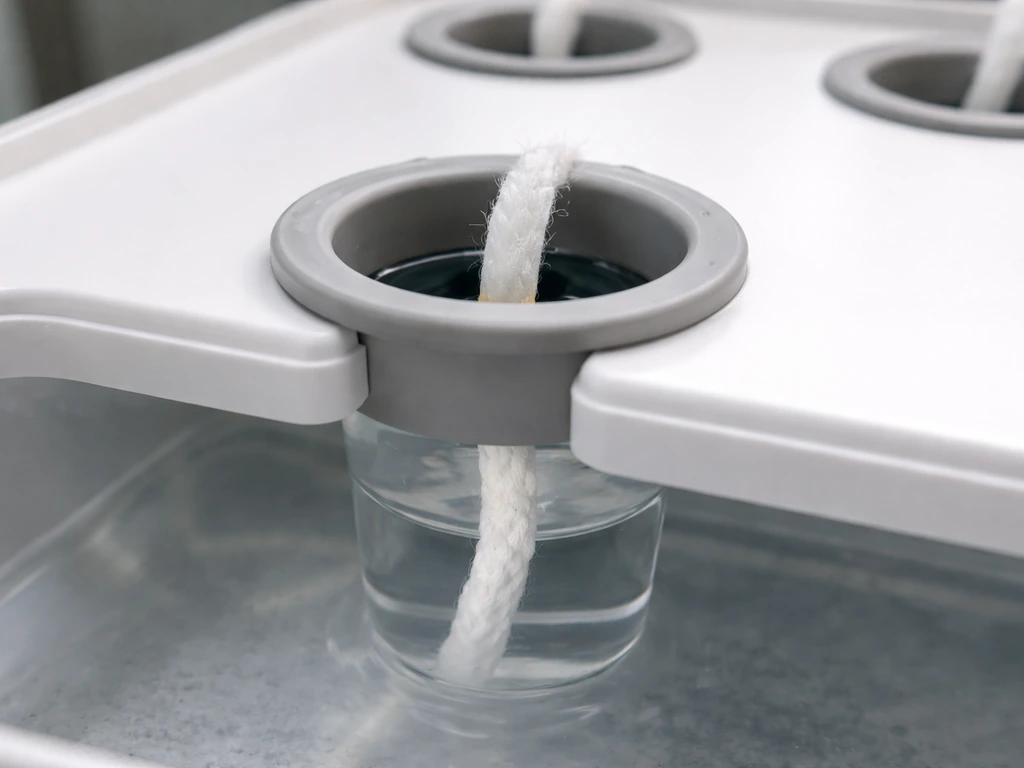
First, check that the wick is actually seated in the pod cup and reaches down into the water. Wicks can shift during planting or cleaning. If it's in place, check the float: hard water deposits can cause the float to stick in the 'full' position, giving you a false reading while the tank is actually low. Tap it gently or remove and clean the buildup around it. If neither of those is the issue and the wick has been in use for a year or more, hard-water scale or root matter may have clogged it, and replacement is the fix.
Plant looks stressed but water delivery seems fine
Check temperature and light position first. A room that dips below 18°C at night or spikes above 24°C during the day can cause visible stress that looks like nutrient deficiency or aging. Adjust placement before assuming the pod is failing. If the lamp arm is at the wrong height, raising or lowering it by a few centimeters can make a noticeable difference within a few days.
Mold or algae on or around the pod
Click & Grow is clear that surface mold and algae are generally harmless to the plant and can even indicate clean, organic soil. They're usually a sign that the tank is getting too much light or that airflow around the pods is low. Cover the tank, ensure good air circulation, and reduce surface moisture if possible. This is not a reason to throw out a pod that still has weeks of life left.
Roots are visible at the base of the pod
If you lift the pod and see roots covering the entire bottom surface, the plant has exhausted the soil space and nutrient supply. This is the clearest end-of-life signal. No maintenance step will reverse it. Plan to replace the pod in the next cycle.
When to replace pods and how to plan the next cycle
Replace a pod when any one of these conditions is met: the 'lasts up to' date has passed, the plant has been fully harvested and shows no new growth, or roots are covering the full base of the soil pod. If you're growing edible annuals like lettuce or basil, plan for this from day one. These plants give one productive cycle and that's it. They don't regenerate from the same pod the way a perennial in a garden bed might.
Before inserting a new pod, clean the device properly. Empty and rinse the water reservoir, clean the cups, and wipe down the tank interior. For limescale, a light rinse with diluted food-grade citric acid or white vinegar works well. Let everything dry before the new pod goes in. If you've had a pest infestation, Click & Grow recommends leaving the device empty for at least three weeks before replanting, which is worth taking seriously to avoid carrying over pests to the new pod.
Planning multiple pods in staggered cycles is one of the best strategies for consistent harvests. If you're growing three lettuce pods, plant them one week apart so you're not harvesting all three at 35 days simultaneously and then starting from zero. Stagger your cycles by a week or two and you'll always have something ready. The same logic applies to herb pods: when one basil pod hits 10 weeks and is clearly slowing down, have a fresh pod already a few weeks into germination in a second slot.
If you want to experiment beyond what the Click & Grow pod ecosystem offers, some growers repot plants from pods into larger containers once the pod nutrient substrate is nearly exhausted. Click & Grow does acknowledge this is possible for certain plants. That said, the pod format is really optimized for a single clean cycle: grow, harvest, replace. For genuinely long-term plant cultivation, a hydroponic system with a separate nutrient solution will always outperform a finite-substrate pod.
An aerogarden grow sponge alternative is another option if you want a hydroponic-style setup without relying on the original pod format hydroponic system with a separate nutrient solution. The pod format trades longevity for convenience, and understanding that trade-off is what helps you use the system correctly.
One final thing worth checking if you're buying pods: freshness matters. If you still need pods, check authorized Click & Grow retailers or the brand's official store listings to find them near you buy Click & Grow pods. If you're trying to decide on the best buy click and grow pods options near you, check those authorized retailers and official store listings first authorized Click & Grow retailers or the brand's official store listings.
Pods stored for a long time before planting may have lower germination rates. If you're planning ahead or stocking up, check the packaging date and store unused pods in a cool, dry place. A Reddit r/ClickAndGrow community discussion claims that Click & Grow pods have [a shelf life of 2 years in dark, cool, and dry conditions](https://www. reddit.
com/r/ClickAndGrow/comments/klk4qn), though you should verify that wording against official guidance. This is especially relevant if you're sourcing pods from third-party retailers where stock may have been sitting longer.
FAQ
Can I extend a pod’s life by cleaning the wick or changing the water?
Yes, but you should treat it as a “reset” for the next pod, not a way to revive an old one. Replace the pod only after the “lasts up to” date, or when roots have packed the bottom fully. For best results, empty and rinse the reservoir, clean the cups, and remove limescale from the float and wick area, then let everything dry before inserting the new pod.
What should I check first if my pod looks done but it is still before the “lasts up to” date?
If you are still within the pod’s expected lifespan, look for water delivery clues before assuming it is finished. Dry soil plus a stuck or displaced float, a wick that is not seated correctly, or visible algae growth concentrated at the surface can point to a fixable issue. Once roots cover the full bottom area, that physical space limit typically ends productive growth regardless of water changes.
If I harvest a little, will my lettuce or basil pod regrow for another round?
After harvesting leafy greens, don’t expect meaningful regrowth from the same pod. For most edible annual pods (like lettuce or basil), Click & Grow is designed for one productive cycle. If you want multiple harvests across time, stagger pod installation so you always have a fresh pod in the productive phase.
Why do some pods hit decline early even when I start them on schedule?
The “lasts up to” number is a ceiling, but you can also lose weeks if the room frequently dips below 18°C at night or stays above 24°C during the day. Those temperature swings can trigger bolting in greens and speed decline. Another common reducer is lamp placement, if the arm height is too low or if something blocks light.
My seeds are taking too long. When is it better to replace the pod instead of waiting?
If nothing has sprouted by day 21 and the conditions were within the recommended range, replacement usually makes more sense than waiting. Seeds that fail early rarely catch up in time to recover the productive window. When possible, start the new pod in a staggered schedule so you still have a plant ready to harvest on your timeline.
Is mold or algae on top a sign the pod is ruined?
Surface mold or algae is usually not a plant-killer. In practice, it points to excess surface moisture and low airflow around the pod or too much light striking the tank area. Cover the tank area where appropriate, improve airflow near the device, and reduce conditions that keep the surface continuously wet.
How can I tell the difference between nutrient issues and the pod being truly finished?
Yes, roots can sometimes slow you down in a way that looks like nutrient deficiency, even while the plant still appears green briefly. The clearest end-of-life signal is roots covering the full bottom surface, which indicates the root zone has physically filled the pod and water delivery through the wick is effectively compromised.
What should I do differently if my Click & Grow device had pests before?
Avoid cycling the device with the old pod if you suspect pests. If you had a pest infestation, the guidance is to leave the device empty for at least three weeks before putting in a new pod, so you do not carry over pests to the next plant.
What is the easiest way to plan staggered pod cycles for regular harvests?
For continuous harvests, install pods one week apart (or two for longer-maturing crops) and then harvest based on quality peak rather than trying to synchronize everything at the end. Staggering reduces the “all harvested at once” problem and keeps you from restarting with nothing productive.
Can I repot a pod plant to keep it going longer instead of replacing the pod?
Yes, you can transplant from pods into larger containers, but it is not guaranteed and it generally works best after the pod substrate is nearly exhausted rather than as a way to maintain the pod itself. If you want true long-term cultivation, hydroponics with an external nutrient solution is usually better because it is not limited to a finite pod substrate cycle.
How do I know if the pods I bought are fresh enough to germinate reliably?
Start with freshness. Check the packaging date, and if you are buying from third-party sellers, account for potential long storage that can reduce germination. Store unused pods in a cool, dry place and confirm the product listing is from an authorized retailer or the official store so you are less likely to receive old inventory.