If your AeroGarden pods did not grow, the fix is almost always one of four things: an expired or non-viable seed pod, a water or nutrient setup mistake, a light positioning error, or an environmental issue like temperature or algae. This guide walks you through each cause in the right order so you can stop guessing and either rescue your current cycle or restart cleanly with confidence.
Aerogarden Pod Did Not Grow: Troubleshooting and Fixes
Marcus Holloway
19 Apr 2026
Quick diagnosis: what 'did not grow' actually means
Before you start pulling pods, get specific about what you're actually seeing. 'Did not grow' covers several very different failure modes, and the fix depends on which one you're dealing with.
| What you see | What it likely means | Where to focus first |
|---|---|---|
| No sprout at all after 2+ weeks | Seed never germinated | Pod/seed viability, water level, light heat |
| Tiny sprout appeared then stalled | Germination happened but seedling starved or dried out | Nutrients, water level, light distance |
| Sprout is pale, yellow, or leggy | Light too far away or nutrient deficiency | Light positioning, nutrient dosing |
| Plant looks okay above, nothing below | Roots not forming or circulating | Reservoir level, pump function, pod placement |
| Green slime or algae in reservoir | Biological contamination blocking nutrient uptake | Full sanitation and restart |
The label on your seed pod kit should list the expected number of days until sprout. AeroGarden's own materials are clear that germination timing is pod-dependent, so check that number before assuming failure. If you're still within the window, slow down before making any changes.
Check pod and seed viability first
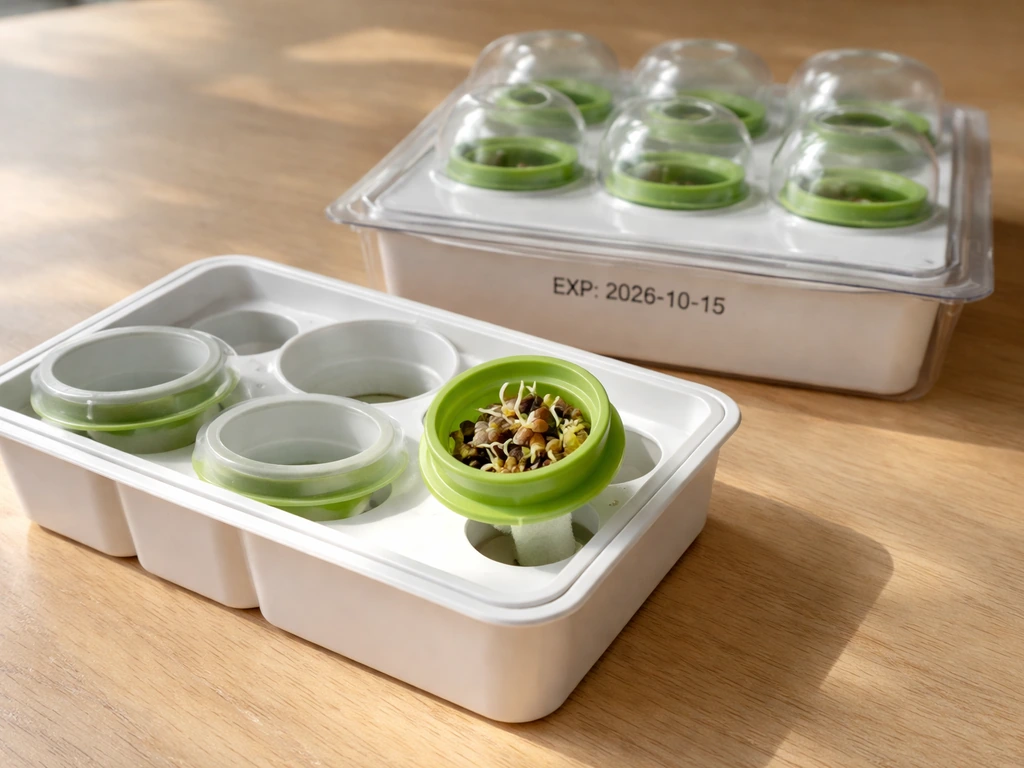
AeroGarden seed pod kits are tested for germination and expire one year after the test date stamped on the packaging. If your pod is past that date, the seeds inside may simply be dead. This is the single most overlooked cause of a failed grow, especially for anyone who bought a kit months ago and is just now planting it.
Check the expiration date printed on the pod or kit packaging. If it's expired, do not expect reliable germination regardless of how perfect your setup is. AeroGarden's Guarantee to Germinate program is also tied to that date window, meaning replacements are typically only honored when pods are planted within the guaranteed period.
Beyond expiration, look at how the pod was stored. Heat, humidity, and light all degrade seeds faster. A pod stored in a hot garage or a damp cabinet can fail well before its printed date. If you're using third-party or alternative sponge setups, compatibility matters too. AeroGarden's warranty explicitly notes that pods are not guaranteed to germinate when used in a different system, because it's not just physical fit that matters. The grow medium, moisture retention, and aeration all affect whether a seed actually wakes up.
Confirming germination actually happened
You can gently lift a pod from the grow deck to check what's happening inside the sponge. AeroGarden's FAQ recommends doing exactly this to check root development. If you see a small white root emerging from the bottom of the pod, germination occurred and you're dealing with a growth stall rather than a germination failure. If there's nothing at all, the seed likely never activated. In that case, the pod needs replacing, not adjusting.
Water, nutrients, and reservoir: get these right before anything else
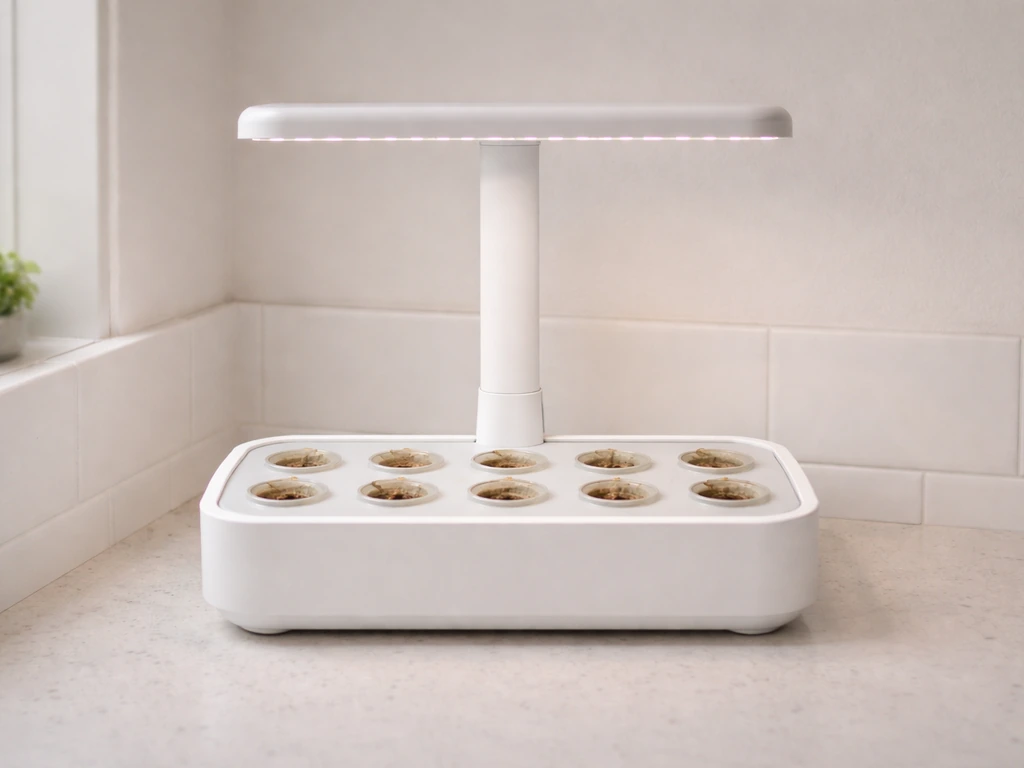
Hydroponic growing lives and dies by what's in the water. AeroGarden systems are simple by design, but there are still several ways to get the water setup wrong, and any of them can prevent germination or stall early growth.
Water level and water quality
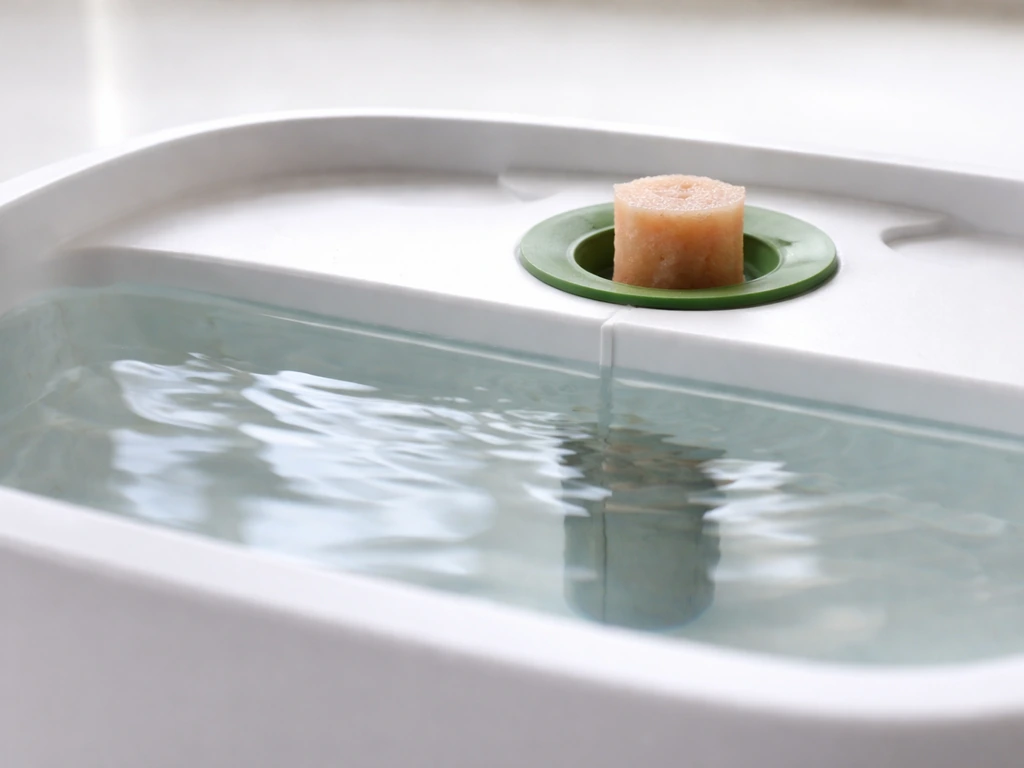
Fill the reservoir to the 'Fill To Here' line marked on the bowl. That's not a suggestion. The pod sponge needs to maintain contact with water to stay moist enough for germination, and the pump needs sufficient volume to circulate. AeroGarden units have a small float sensor inside the bowl that detects low water level, so watch for that alert and refill immediately when it triggers. Letting the reservoir run dry, even briefly during the first two weeks, can kill a germinating seed.
Water source matters more than most people expect. AeroGarden's Owner's Manual specifically states not to use well water or softened water. Both can contain mineral concentrations or sodium levels that interfere with germination and early root development. Use filtered tap water or bottled water if your tap water is heavily treated. If you're on city water with heavy chlorine, letting it sit uncovered for a few hours before filling can help, though this is less critical in a circulating system.
Nutrient dosing: follow the model-specific instructions
AeroGarden's liquid plant food should be added at startup and then every two weeks when the 'Add Plant Food' reminder flashes. The dosing is model-specific. For 6 and 7-pod models, the correct dose is 8 mL at startup and 8 mL every two weeks after that. Using more does not help. Over-dosing nutrients in a small reservoir raises the concentration of dissolved salts, which actually pulls moisture away from seeds rather than feeding them. Under-dosing leaves seedlings without the nitrogen and micronutrients they need to push through the sponge and develop their first true leaves.
Do not substitute a different brand's nutrient solution without checking compatibility. Hydroponic nutrient ratios vary widely, and a product designed for soil or for larger recirculating systems can deliver the wrong NPK balance and throw off the water chemistry in a small pod reservoir. Stick to AeroGarden's own liquid plant food during the germination and seedling phase unless you're comfortable measuring EC and adjusting independently.
Light distance, temperature, airflow, and where you put the unit
This is the section most people skip, and it's the second most common cause of failed pods after expired seeds.
Keep the light close at the start
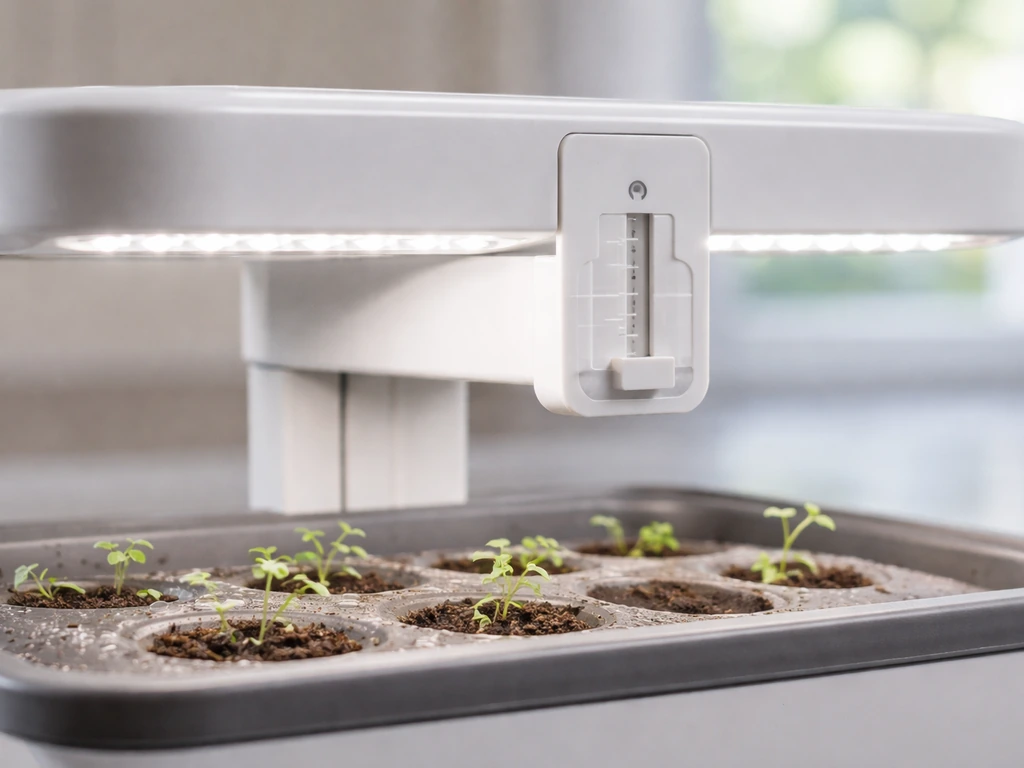
AeroGarden's FAQ is direct about this: keep the grow light at its lowest position during germination because seeds need the warmth the light generates to activate. If you've raised the lamp arm to accommodate future plant height and left it there from day one, you may have inadvertently created a cold, low-light germination zone that keeps seeds dormant. Lower the arm to its minimum height when you first plant, then raise it gradually as seedlings emerge.
The standard light schedule on AeroGarden units runs approximately 16 hours on and 8 hours off. This is built into the timer, and the system sets it automatically when you complete the startup sequence correctly. If you skipped the on-screen setup steps or reset the unit manually, double-check that the light is actually cycling. A light stuck in permanent off mode will absolutely prevent germination and growth.
Temperature and placement
Most seeds in AeroGarden pod kits germinate best in the 65 to 75 degrees Fahrenheit range. Place your unit away from cold drafts (near windows in winter), air conditioning vents, or heating vents that cause rapid temperature swings. Drafts also dry out the pod surface faster than the sponge can re-absorb moisture from the reservoir, which stalls early root development.
Airflow in the room matters too. Stagnant, humid air encourages mold on the pod surface, which can coat a seed before it sprouts. A gentle ambient airflow, like a ceiling fan on its lowest setting, keeps the canopy dry without stressing young seedlings. Avoid placing the unit in a closed cabinet or enclosed shelf with no air exchange.
Specific failure patterns and what to do about each
Seeds not germinating at all
If you're past the expected sprout window printed on the pod label with no sign of life, run through this checklist in order: check the expiration date, verify the water is at the fill line and is not well or softened water, confirm the light is in its lowest position and cycling on its 16/8 schedule, and make sure nutrients were added at startup. If all of those are correct and you're still seeing nothing, the pod is almost certainly non-viable. Contact AeroGarden support about replacement under the Guarantee to Germinate program.
Seedlings stalling after first sprout
A sprout that appears and then stops growing is usually a nutrient issue, a light distance issue, or a water level issue. Refill the reservoir to the fill line, check that the pump is running (you should hear it and see slight water movement), confirm your nutrient dose was correct for your model size, and lower the light arm if it's been raised prematurely. Seedlings in a hydroponic system need their roots to reach the water quickly after germination. If the reservoir is even slightly low, the roots can dry out before they establish.
Yellow, pale, or leggy plants
Yellowing leaves on young seedlings typically signal one of three things: the light is too far away causing the plant to stretch and deplete stored energy chasing it, nutrient deficiency because the dose was missed or under-measured, or in rare cases over-dosing causing a salt-stress lockout that prevents the plant from absorbing available nutrients. Leggy, stretched growth almost always comes down to light distance. Lower the arm. Yellow color paired with slow growth often means nutrients. Check your dosing log and whether the 'Add Plant Food' reminder was acted on.
Roots not forming or not reaching the water
Gently lift the pod and look at the underside. Healthy roots should be white or cream-colored and hanging down into the reservoir by week two or three in most pod varieties. Brown, slimy, or absent roots are a red flag. Brown slimy roots usually mean root rot caused by algae or bacterial contamination in the reservoir. Absent roots, where the pod is just sitting dry with no downward growth, typically mean the seed never truly germinated or the reservoir level was too low to wick moisture up into the sponge.
Algae and biological contamination
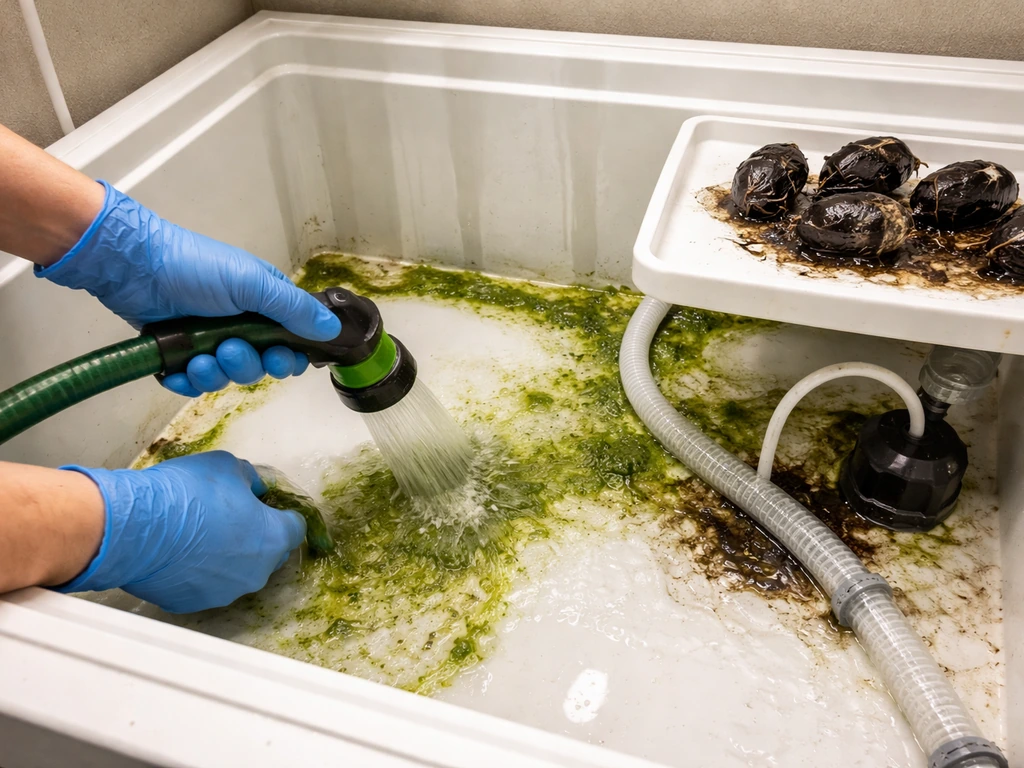
Green slime in the reservoir is one of the messier problems and it needs a full sanitation reset rather than a spot fix. Algae thrive when light reaches the water, which happens most often when pod holes are left uncovered (empty slots without pod covers), or when the bowl is exposed to direct sunlight. AeroGarden's own manuals call for a bleach-based cleaning: approximately a quarter cup (59 mL) of chlorine bleach added to water, used to fill and soak the bowl, then circulated through the pump system before rinsing thoroughly. This is not optional if you're seeing visible algae. Trying to plant fresh pods into a contaminated reservoir will just repeat the failure.
How to reset and rerun a failed pod cycle
If your current cycle has clearly failed and you want a clean restart, do this in order. Do not just pull the old pods and drop in new ones without cleaning.
- Remove all pods, pod labels, and the grow deck. Discard failed pods, especially if they show mold or discoloration.
- Empty the reservoir completely and rinse with clean water to remove any nutrient buildup or organic material.
- Prepare a cleaning solution using about a quarter cup of plain chlorine bleach in a full bowl of water. Let it soak for 5 to 10 minutes, then run the pump for a few minutes to clean the pump and tubing. Drain, then rinse twice with fresh water.
- Allow all components to air dry or wipe dry before reassembling.
- Reinstall the grow deck and insert fresh, in-date pods. Cover any empty slots with the provided pod covers to block light from reaching the water.
- Fill the reservoir to the 'Fill To Here' line with filtered or municipal tap water (not well water or softened water).
- Add the correct dose of AeroGarden liquid plant food for your model (8 mL for 6 and 7-pod models).
- Run through the on-screen startup sequence correctly so the light timer is set to the 16 hours on / 8 hours off schedule.
- Lower the lamp arm to its minimum height for germination.
- Place the unit in a stable temperature zone (65 to 75°F) away from drafts and direct sunlight.
After restarting, check the pod label for your expected sprout window and note the date. If you see no activity past that window despite everything being set up correctly, reach out to AeroGarden support. Their Guarantee to Germinate program covers legitimate germination failures for in-date pods used in AeroGarden systems.
Prevention checklist before your next pod grow
Most pod failures are preventable. Run through this checklist before planting your next batch and you'll eliminate the vast majority of causes before they become problems.
- Check the expiration date on every pod kit before planting. Do not plant expired pods and expect the same germination rate.
- Clean and sanitize the reservoir between grow cycles using a bleach and water soak, especially if algae was present in the previous cycle.
- Verify your water source. Use filtered or standard municipal tap water. Skip well water and softened water.
- Fill the reservoir exactly to the 'Fill To Here' line, not above or below it.
- Add the correct nutrient dose for your specific model at startup. For 6 and 7-pod systems, that's 8 mL. Check the bottle instructions for other model sizes.
- Cover all empty pod slots with pod covers to prevent light from entering the reservoir and encouraging algae growth.
- Set the lamp arm to its lowest position before the first seed sprouts.
- Confirm the light is cycling correctly on a 16 hours on / 8 hours off schedule by watching it through the first day after startup.
- Note the expected sprout date from the pod label and mark your calendar so you can assess progress objectively.
- Keep the unit in a room that stays between 65 and 75°F and has some gentle ambient airflow. Avoid spots near AC vents, cold windows in winter, or enclosed shelving with no ventilation.
- Set a reminder every two weeks to check the 'Add Plant Food' indicator and refill nutrients on schedule.
- If you are using third-party pod baskets, alternative grow sponges, or pods from a different brand, understand that compatibility goes beyond physical fit. Germination guarantees only apply to AeroGarden pods used in AeroGarden systems.
If you have been exploring grow sponge alternatives or are curious about whether pods from other systems like Click and Grow work in your AeroGarden, those compatibility questions deserve their own look before you experiment. If you want the short answer on whether click and grow pods are compatible with AeroGarden, it depends on the pod and sponge setup. If you're also wondering how long do Click and Grow pods last, you can use the same pod-viability checks like expiration and storage conditions before troubleshooting a failed sprout whether pods from other systems like Click and Grow work in your AeroGarden. Using the wrong pod setup without understanding the differences in sponge material, moisture retention, and basket fit can create the same 'pod did not grow' result even when your environment and nutrients are dialed in perfectly. If you are trying Click and Grow pods, use the same viability checks before you troubleshoot lighting, water, and nutrients in your AeroGarden. If you're trying to choose the best click and grow pods for your setup, start by confirming pod viability and compatibility first. Getting the fundamentals right first, and then experimenting, is always the better order of operations.
FAQ
My pod sprouted a little, but it never developed real leaves. Is that still a “pod did not grow” problem?
Often it is not total germination failure. Check whether the roots are reaching into the reservoir by week two or three. If you see minimal or no white roots, the seed may have activated but stalled due to low water at the fill line, missed fertilizer at startup, or light arm kept too high during germination.
Can I just top off the reservoir when I notice low water, or do I need to reset everything?
You can usually refill without a full reset as long as there is no visible algae or contamination. If you ever allowed the reservoir to run dry, or you see green slime, do a sanitation reset first, because restarting on a contaminated basin can repeat the same stall or root rot.
What if I’m seeing mold or fuzzy growth on the pod surface before any sprouts appear?
That usually points to a moisture and airflow imbalance or algae exposure, not only a seed viability issue. Remove direct sunlight on the bowl, keep the grow light on its correct cycle, and add gentle room airflow. If the reservoir or bowl shows algae, plan for a bleach-based cleaning rather than removing a few moldy spots.
Do I need to remove or uncover empty pod holes to prevent algae?
Yes, leaving empty slots uncovered lets more light reach the water, which can drive algae faster. If your model has pod covers for unused positions, keep them in place so the bowl stays shielded from light exposure.
Is it safe to switch to a different fertilizer brand after germination starts?
Best practice is to stay with the specified AeroGarden liquid plant food during germination and seedling stages. If you change formulas, nutrient ratios and salt levels can swing quickly in a small reservoir, increasing the chance of salt stress lockout or a nutrient deficiency. If you do experiment, only do it with careful measuring and model-appropriate dosing.
My unit seems to cycle the light timer, but I suspect it is running the wrong schedule. How can I confirm?
Watch for actual lamp behavior over a full day. The expected pattern is about 16 hours on and 8 hours off, set through the startup/on-screen configuration. If you manually reset or skipped setup, verify the timer settings, because a permanently off or incorrectly timed light will stop germination.
Should I lower the light arm as soon as I plant, even if I plan to raise it for later growth?
Lower it to its minimum height at planting. Then raise gradually as seedlings emerge. Keeping the arm high from day one can create a cooler, dimmer germination zone that keeps seeds dormant, even when water and nutrients are correct.
What temperature is “too cold” for pods, and how do drafts make it worse?
Most AeroGarden pods germinate best roughly in the 65 to 75°F range. Drafts from windows, vents, or HVAC swings can cool the seed area and also dry the pod surface faster than the sponge can re-wick moisture, leading to early stalling.
The pod label’s sprout window has passed, but the reservoir and light look correct. What’s the next step besides contacting support?
Re-check in this order: confirm the pod kit expiration status and storage conditions, verify water is at the fill line and not well or softened, confirm light arm is at minimum for germination and that the lamp is cycling on the correct schedule, and confirm the correct fertilizer dose was added at startup. If all are correct and there is no root or sprout activity, replacement is typically the only viable path.
Are AeroGarden pods always compatible with other seed pod systems, like Click and Grow?
Compatibility depends on the specific pod and how the sponge and basket fit into your AeroGarden. Even if the physical opening matches, differences in sponge moisture retention and aeration can prevent proper germination. If you try another system’s pods, run viability checks first (expiration and storage), then troubleshoot only after confirming compatibility of the grow medium and fit.