To grow bigger autoflowers, you need to stack four things right from day one: strong genetics with a real yield potential, enough light intensity (aim for a daily light integral of 35-45 mol/m²/day), a feeding strategy matched to your medium, and low-stress training applied in the first two to three weeks. Get those four right and your autos will fill their container, build a wide canopy, and hit the upper end of the breeder's yield estimate. Miss any one of them and you'll be chasing problems you can't fix once the plant locks into flower.
How to Grow Bigger Autoflowers: Soil and Hydro Guide

Marcus Holloway
6 May 2026
Understanding autoflower growth limits
Autoflowers are photoperiod-independent, meaning they flip to flower based on age rather than light schedule. Most strains finish in 70-90 days from seed. That compressed timeline is the central constraint you're working around: every day spent recovering from stress, sitting in waterlogged soil, or running under weak light is a day you can't get back. Photoperiod plants can be held in veg for months to build a massive structure. Autos can't. You have roughly three to four weeks of true vegetative growth before the plant starts committing resources to bud production, and that's the window where size is built.
The ceiling for any given auto is set by its genetics first, environment second, and your management third. Some strains genuinely top out at 50 cm. Others are marketed as 'XL' or 'XXL' and can reach 120 cm or more indoors with the right setup. Knowing which category your seeds fall into before you plant them saves a lot of frustration.
Choosing genetics and setting realistic size goals
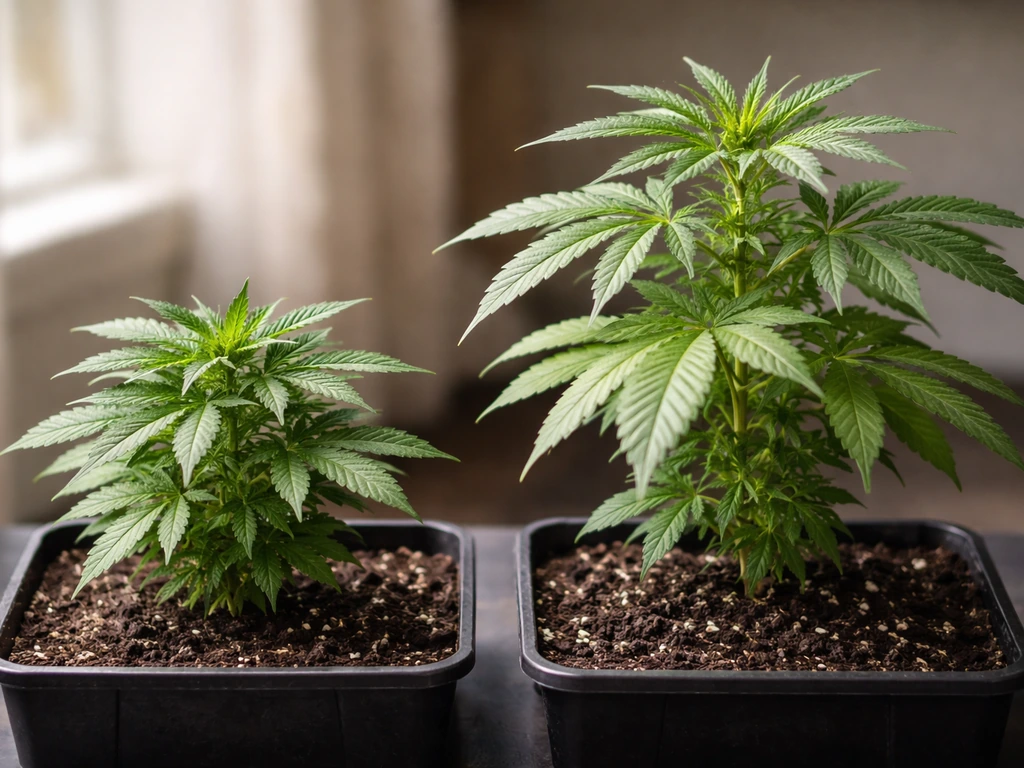
Strain selection is the single highest-leverage decision you make. For a Gorilla Glue autoflower specifically, the same framework applies, but your strain genetics and size targets will guide how you dial in light and feeding how to grow autoflower gorilla glue. If you plant a compact, fast-finishing auto and then try to maximize it with perfect light, nutrients, and training, you might squeeze out 10-15% more yield than average. If you start with a high-yielding, tall-structure strain, that same perfect environment might double what you'd get from the compact one. Buy from reputable breeders who publish third-party tested genetics, not just marketing copy. Look for strains in the 100-120 cm height range with advertised yields above 400 g/m² indoors. Strains with Haze or Sativa-dominant genetics tend to stretch more and produce more volume, though they also take longer, often pushing 90-100 days.
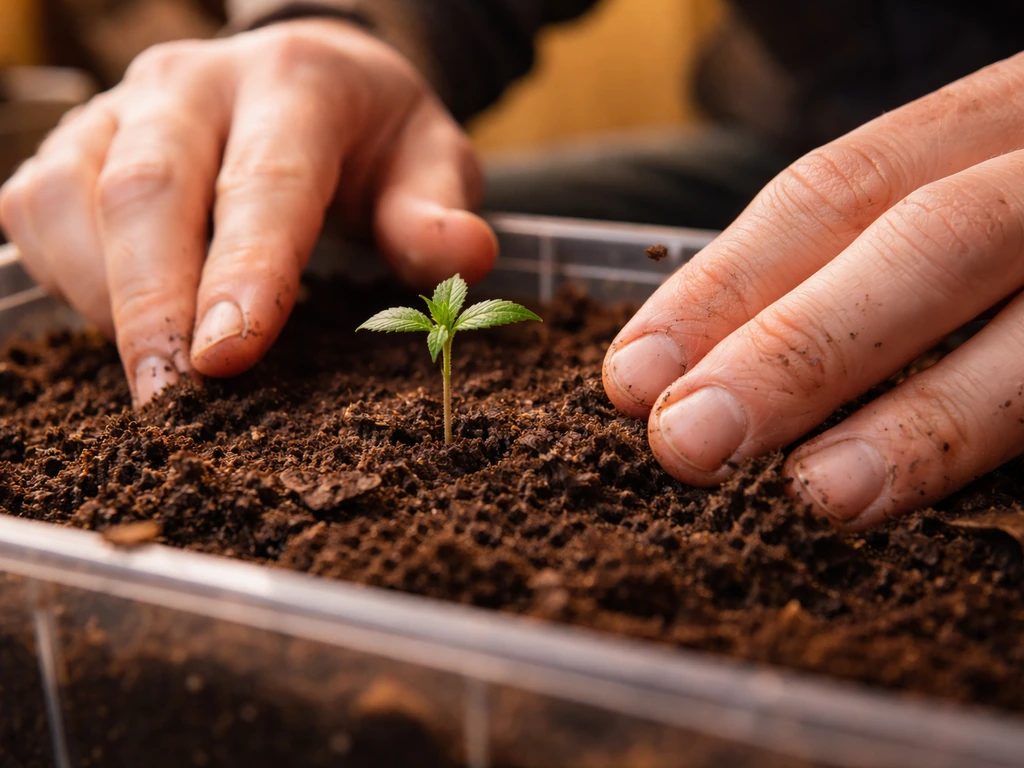
Seed quality matters more in autos than in photoperiod plants because you can't compensate with extra veg time. Stressed, weak, or genetically unstable seeds produce runts that no amount of good practice can save. Buy fresh seeds, store them cool and dry if you're not planting immediately, and germinate them using a reliable method (paper towel or direct in medium) before committing a prime tent space to them.
Set your size target before you plant. A 120 cm strain in a 3-gallon pot under a 200W LED in a 60x60 cm tent will give you a different result than the same strain in a 5-gallon fabric pot under a 400W light in a 120x120 cm tent. Most experienced growers running autos for size use 5-gallon (roughly 19 L) containers as the sweet spot, large enough to hold a root system that supports a full canopy, but not so large that you're wasting medium on unused root space for short-cycle plants.
Light, environment, and watering schedule for maximum canopy
Light is the engine of plant growth, and autos reward high daily light integrals (DLI) more than most growers realize. DLI is the total amount of light the plant receives over a full day, measured in mol/m²/day. To calculate it: multiply your PPFD (µmol/m²/s) by your photoperiod in seconds, then divide by 1,000,000. At 600 µmol/m²/s running 18 hours per day, your DLI is just under 39 mol/m²/day, which is a solid target for autoflowers in mid-to-late veg. Many growers running 20-hour schedules keep PPFD around 600-700 µmol/m²/s at canopy to hit a DLI in the 40-45 mol/m²/day range without crossing into light stress territory.
Run a consistent 18-20 hour photoperiod from seed to harvest. Autos don't need a dark period to flower, so the extra hours translate directly into more photosynthesis and faster canopy development. The most common light schedule is 18/6 for simplicity and electricity cost, but growers chasing maximum size often run 20/4. Don't drop below 18 hours during veg if yield is the goal.
Temperature and humidity matter too. Keep your grow space between 23-28°C (73-82°F) during the light period and no lower than 18°C (65°F) during dark. Humidity should be 60-70% during early veg, dropping to 40-50% as you approach mid-flower, and down to 35-45% in the final two weeks to reduce mold risk and encourage trichome production. VPD (vapor pressure deficit) awareness will serve you here: a target VPD of 0. Vapor pressure deficit (VPD) is commonly managed in indoor horticulture with guide ranges such as about 0.8, 1.2 kPa for vegetative growth and 1.2, 1.6 kPa for flowering target VPD of 0.. 8-1.0 kPa in veg and 1.0-1.5 kPa in flower keeps transpiration and nutrient uptake efficient.
Watering rhythm is one of the most abused variables in autoflower growing. The single biggest killer of potential auto size is overwatering in the first two to three weeks. Wet-dry cycles in soil encourage roots to expand outward searching for water. Lift the pot to judge weight rather than going by a calendar. Water when the pot feels noticeably light and the top inch of medium is dry. In coco or hydro, the rules change, but in soil this rhythm is non-negotiable. A plant sitting in saturated soil can't exchange oxygen at the root zone and growth slows or stalls entirely.
Feeding and nutrient strategy (soil vs hydroponics)
Your feeding approach needs to match your medium. What works in living soil will cause problems in a DWC bucket, and vice versa. Here's how to approach both.
Soil feeding strategy
If you're growing in a quality pre-amended soil, you may not need to add nutrients for the first two to three weeks. If you are using Dr. Earth style organics in your soil, you still want to start with just pH'd water for the first two to three weeks to avoid early toxicity and salt buildup dr earth. The plant is small and the root system is still developing. Introducing heavy nutrients too early is a common cause of toxicity and salt buildup that stunts early growth. Start with plain pH'd water (6.0-7.0 for soil, ideally 6.2-6.8) and introduce a light nutrient solution at around week 3, when the plant shows its first signs of demand: slightly lighter leaf color or slower growth despite good light and watering. Use a balanced grow formula during veg, then transition to a phosphorus and potassium-heavy bloom formula once pre-flowers appear. EC for soil runoff is less commonly measured than in hydro, but keeping your input solution under 1.8-2.0 EC during veg and monitoring for tip burn or leaf curl will keep you out of trouble.
Slow-release organic amendments like those used in living soil setups can simplify the feeding schedule significantly, as the plant draws what it needs on its own timeline. For growers going that route, the companion guide on growing autoflowers organically covers the amendment-stacking approach in more detail. If you want to apply this organically, the companion guide on growing autoflowers organically breaks down the exact amendment-stacking approach.
Coco coir and hydroponic feeding strategy
Coco coir and DWC systems require a more active, precise approach because there's no buffering from organic matter. In coco, target pH 5.8-6.1 throughout the grow. Early veg EC should sit around 1.2-1.4, rising to 1.4-1.6 in late veg as the plant's demand increases. In DWC or recirculating systems, EC targets run slightly higher: expect vegetative stages around 1.9-2.3 EC and flowering stages in the 2.1-2.4 EC range, adjusting based on how aggressively the plant is feeding (measured by reservoir EC dropping faster than expected means the plant wants more). In hydro, you're feeding every watering, so precision matters. A calibrated EC/TDS meter and a reliable pH pen are not optional tools.
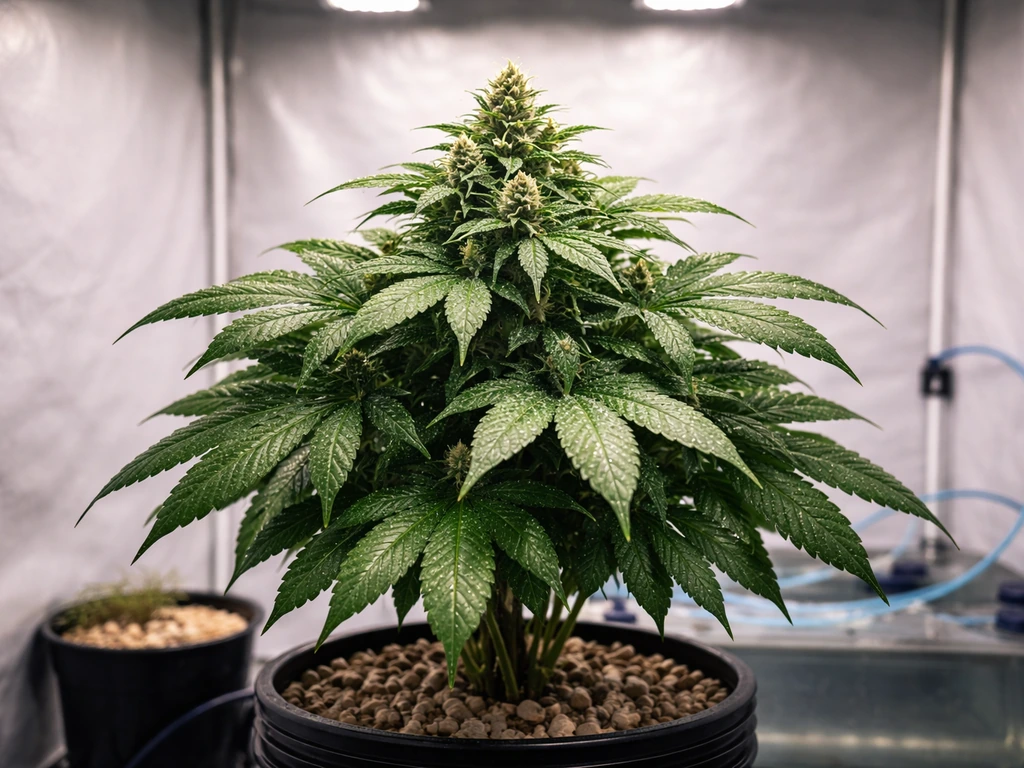
DWC in particular can push autoflowers to their genetic ceiling faster than any other medium because the roots have constant access to oxygen and nutrients. If you want the biggest possible auto and are comfortable with system maintenance, DWC is worth exploring. The full setup and technique guide for growing autoflowers in DWC covers reservoir management, root care, and system-specific timing in detail.
| Parameter | Soil | Coco Coir | DWC/Recirculating |
|---|---|---|---|
| pH target | 6.2-6.8 | 5.8-6.1 | 5.5-6.1 |
| Early veg EC | 0.8-1.2 (input) | 1.2-1.4 | 1.9-2.3 |
| Late veg EC | 1.4-1.8 (input) | 1.4-1.6 | 1.9-2.3 |
| Flower EC | 1.6-2.0 (input) | 1.6-2.0 | 2.1-2.4 |
| Watering frequency | Wet-dry cycles | Daily or multiple times/day | Continuous/reservoir-based |
| Buffering capacity | High (especially amended) | Low (neutral medium) | None (fully inert) |
| Skill level | Beginner-friendly | Intermediate | Intermediate to advanced |
Training, pruning, and plant-management methods for bigger yield
Training is where you physically reshape the plant to expose more bud sites to your light source. Done correctly on an autoflower, it adds meaningful yield. If you want a simple, practical way to apply that same low-stress training (LST) approach, you can also use grow dots for autoflowers as an adjacent option. Done wrong or too late, it just stresses the plant during a period it can't afford to slow down.
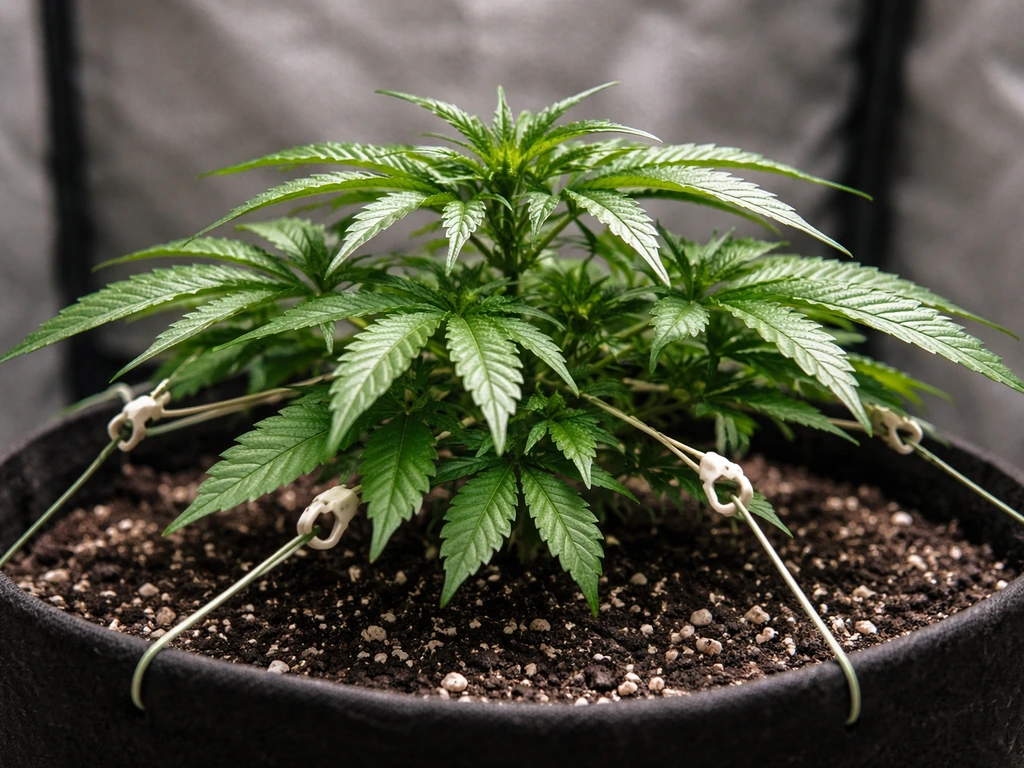
Low-stress training (LST) is the go-to technique for autos, and for good reason. You bend and tie down branches rather than cutting anything, so the plant doesn't need to pause and heal. LST works by breaking the plant's apical dominance: instead of one central cola towering over everything, you create a flat, even canopy where multiple bud sites receive equal light. Start LST around week 2-3, when the plant has 3-4 nodes and the stems are still flexible. Anchor the main stem down and outward using soft ties or plant wire, then continue repositioning and adding tie-down points every two to three days as new growth pushes upward. By week 4-5 you should have a wide, flat canopy ready to explode into flower.
Topping (removing the main growing tip) is possible on autoflowers but carries real risk. If you do it wrong or too late, you lose days of recovery that the plant needs for flower production. If you top at all, do it at node 3 or 4, no later than day 18-21 from seed. Some growers get great results topping autos with fast, vigorous genetics. Others watch their plants stall and finish smaller than untopped plants. The timing is critical: if the plant is already showing signs of pre-flower transition, topping becomes counterproductive. A safer middle ground is fimming (a partial top that stimulates multiple new growing tips with less recovery demand), though even that should be done in the first three weeks.
Defoliation should be kept light and strategic. Removing a few large fan leaves that are blocking light from lower bud sites is reasonable, especially in mid-veg. Aggressive defoliation that removes 30-40% of leaf mass at once is not appropriate for autos on their compressed timeline. If you're managing a dense canopy in late veg, do a light lollipopping pass (removing the lowest, non-productive growth that won't receive light) rather than stripping the upper canopy.
- Start LST at week 2-3 (3-4 nodes), adjust ties every 2-3 days
- Top only before day 21 and only with vigorous, fast-recovering genetics
- Avoid any high-stress training once pre-flowers appear
- Light defoliation of light-blocking leaves in mid-veg is fine; heavy removal is not
- Lollipop the bottom third in early flower to focus energy on productive tops
- Never transplant autoflowers if you can avoid it; sow directly into the final container
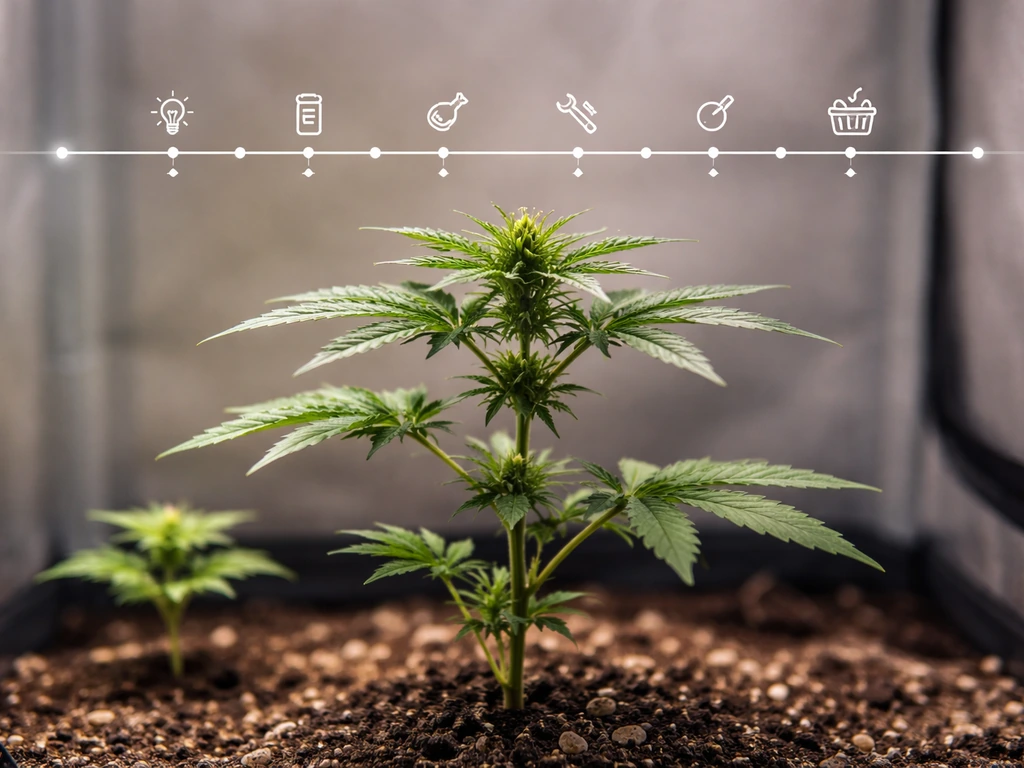
Week-by-week checklist to push growth early and finish strong
This checklist assumes you're germinating directly into your final container. If you want to execute that timeline, use a grow autoflowers week by week approach to plan lighting, feeding, training, and troubleshooting at each stage. Transplanting autos is one of the easiest ways to lose a week of growth to stress-induced stalling, so plant in the container you intend to finish in.
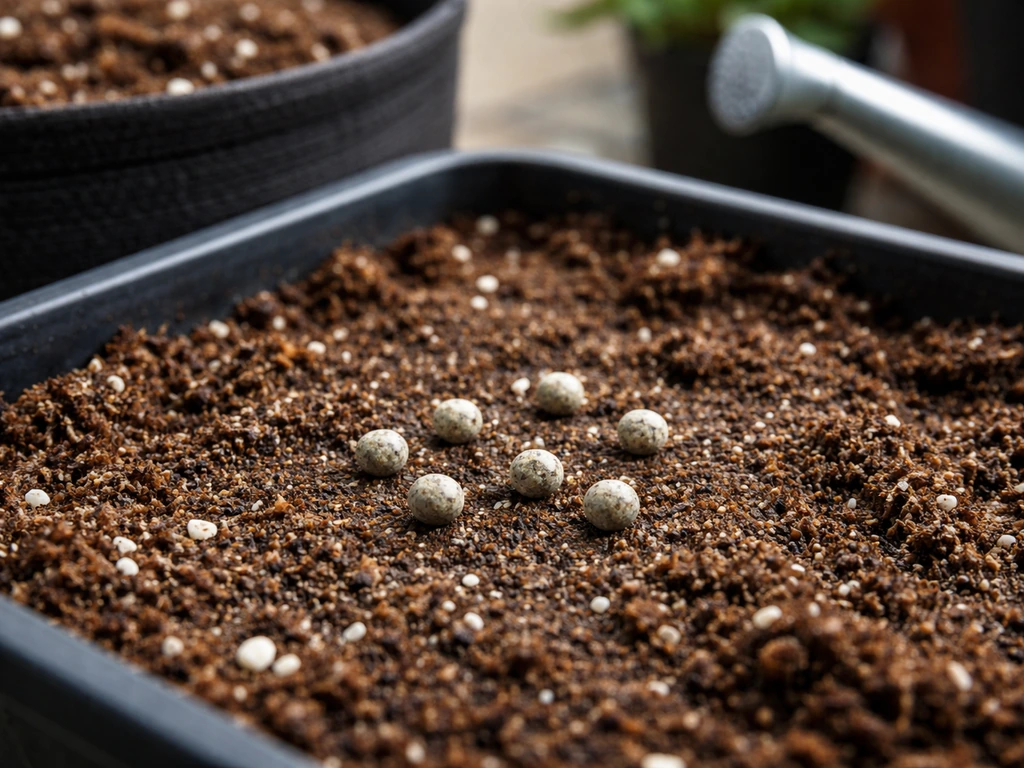
- Week 1 (Days 1-7): Germinate and place seedling under low-intensity light (200-300 µmol/m²/s). Keep humidity at 65-70%, temperature 24-26°C. Water lightly around the seedling, not directly onto it. No nutrients.
- Week 2 (Days 8-14): Raise light intensity to 400-500 µmol/m²/s. Continue wet-dry watering cycle. First signs of real leaf development. Still no nutrients unless the medium is inert (coco/hydro: start at half-strength). Begin planning LST positioning.
- Week 3 (Days 15-21): Start LST if you have 3-4 nodes. Introduce light nutrients in soil (0.8-1.0 EC input). In coco/hydro, bump to target veg EC. This is the last safe window for topping if you're going that route.
- Week 4 (Days 22-28): Continue daily LST adjustments. Ramp up light to 600+ µmol/m²/s. Increase nutrient input toward full veg dose. Watch for pre-flower signs.
- Week 5 (Days 29-35): Pre-flowers often visible. Transition nutrient profile toward bloom ratios (lower N, higher P and K). Maintain LST, stop topping or fimming. Light lollipopping pass if canopy is dense.
- Week 6-7 (Days 36-49): Full bloom stretch. Maintain PPFD at 600-700 µmol/m²/s. Reduce humidity to 45-50%. Feed at full bloom dose. Buds stacking on all trained tops.
- Week 8-9 (Days 50-63): Mid-to-late flower. Reduce or stop nitrogen. Keep P and K high. Watch for deficiencies and address quickly. Start checking trichomes with a jeweler's loupe or digital microscope.
- Week 10-11 (Days 64-77): Final flush (if using synthetic nutrients in soil). Trichomes should be mostly cloudy with amber appearing. Pistils darkening and curling. Harvest window opening.
- Week 12+ (Days 78+): Late-finishing strains or large plants may need an extra week. Use trichome color as primary harvest indicator, not the calendar.
Troubleshooting common stunting issues and fixing them fast
Most autoflower stunting problems fall into a small number of categories. Here's how to identify them quickly and what to actually do about them.
Overwatering
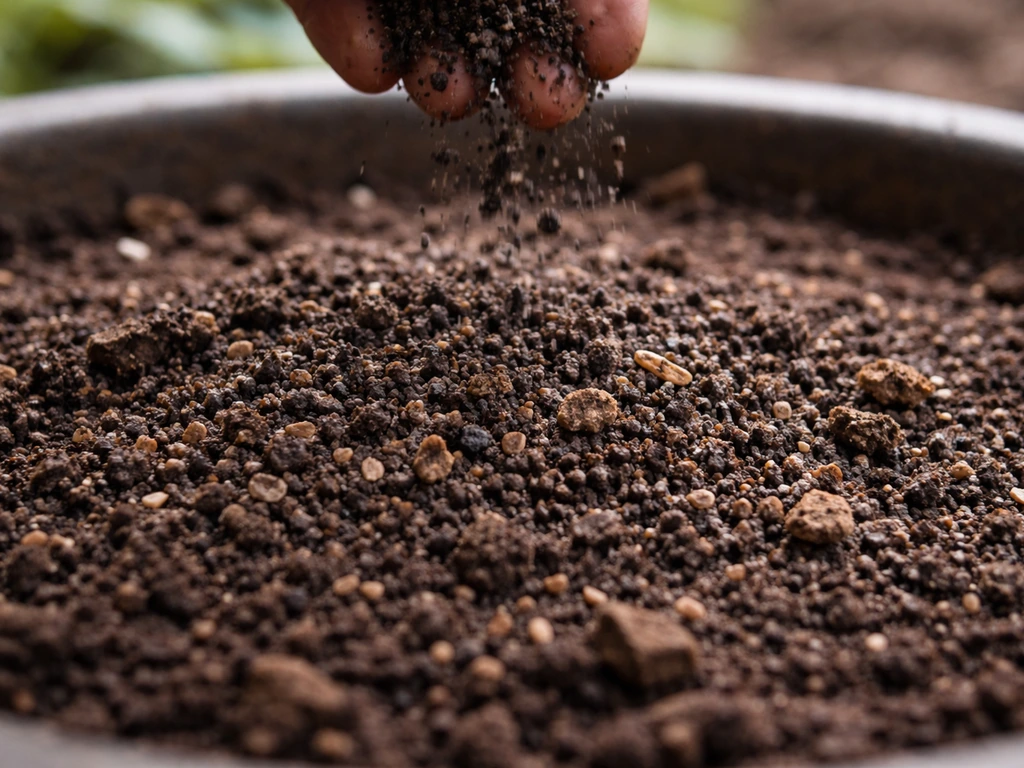
Symptoms: droopy, clawing leaves, soil that stays wet for days, slow or stalled growth. Fix: let the medium dry down more aggressively between waterings. Lift the pot daily to judge moisture by weight. In chronic overwatering situations in soil, add perlite (30-40% by volume) to the medium to improve drainage and aeration. Once the roots have suffered from oxygen deprivation, recovery is slow but possible if you course-correct quickly.
Nutrient deficiency vs. toxicity
Symptoms of deficiency: yellowing between leaf veins (magnesium), pale overall color (nitrogen), purple stems (phosphorus). Symptoms of toxicity: crispy brown leaf tips (nutrient burn from excess EC), dark green clawing leaves (nitrogen toxicity). Fix for deficiency: increase feed or address pH lockout. Fix for toxicity: flush with plain pH'd water and reduce EC on next feed. The most important diagnostic step is checking your input and runoff pH before assuming it's a nutrient issue. A pH out of range locks out nutrients regardless of how much you're feeding.
Light stress
Symptoms: bleached or white leaf tips at the top of the canopy, tight node spacing that looks stunted rather than compact, leaves cupping upward. Fix: raise the light or reduce intensity. Check your manufacturer's hanging height recommendations and measure actual PPFD at canopy if you have a meter. Running a high-powered LED at 30 cm from the canopy during early veg is a common mistake.
Root problems in hydro
Symptoms: brown, slimy roots, rapid wilting despite full reservoir, slow growth. Root rot in DWC is usually caused by high reservoir temperature (keep it at or below 20°C/68°F), insufficient oxygenation, or light leaks into the reservoir. Fix: change reservoir water, add beneficial bacteria (Hydroguard or similar), ensure reservoir is light-proof, increase air pump output.
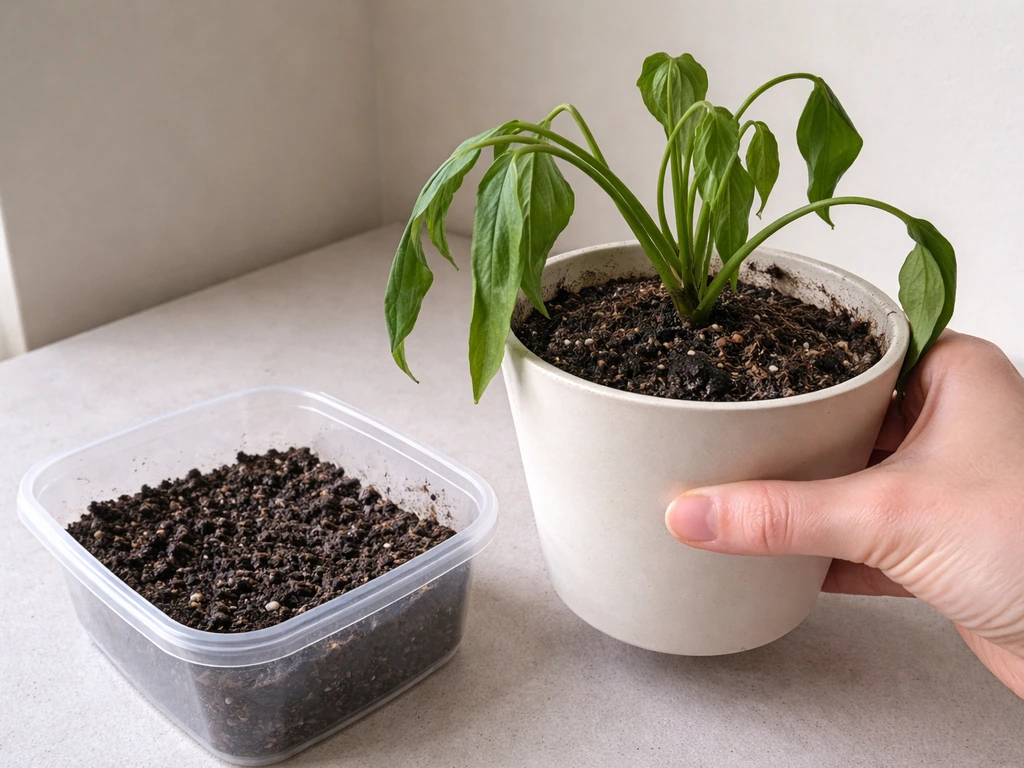
Transplant shock
If you've already transplanted and the plant has stalled for 3-5 days, give it time and optimal conditions (stable temperature, no new stressors, light nutrient water). Don't try to compensate with more feeding. For your next run: plant directly into the final container to avoid this entirely.
Harvest timing, curing, and measuring whether you improved
Harvest timing on autos works the same as any cannabis plant: you're reading the plant's biology, not the calendar. The two methods are pistil color and trichome color, and they give you different but complementary information.
Pistil color is the easier, faster visual check. When 70-80% of white pistils have darkened and curled in, you're in the harvest window. Be aware that pistils can change color early due to high humidity, physical contact, or stress rather than actual maturity, so don't rely on pistils alone as your harvest trigger.
Trichome color is the more accurate indicator. Under a jeweler's loupe (30-60x) or a digital microscope, you want to see: mostly cloudy/milky trichomes with some amber for a balanced, potent effect; more amber for a heavier, more sedating result. Clear trichomes mean the plant isn't ready. If all trichomes are amber, you've waited too long and some potency has degraded. Harvest in that cloudy-with-first-amber window for most strains.
After harvest, dry slowly at 15-21°C (60-70°F) with 45-55% humidity for 10-14 days until small stems snap rather than bend. Then cure in sealed glass jars for a minimum of two weeks, opening daily for the first week to burp moisture. A proper cure significantly improves aroma, flavor, and smoothness in ways that no amount of good growing can compensate for if you rush it.
To measure whether you actually improved, weigh your dry harvest per plant and per watt of light used. Track it against your previous runs or against the breeder's stated yield estimate. If you're consistently hitting 60-70% of the breeder's advertised yield, your environment and technique are solid. If you're under 50%, there's a specific bottleneck to identify: check your DLI first, then your medium and feeding, then genetics. Keep a simple grow log noting strain, container size, light power and distance, medium, and peak EC used. That data is what lets you make confident changes run over run rather than guessing.
Growing bigger autoflowers is fundamentally about removing limits rather than adding inputs. The plant wants to grow. Your job is to give it the right container size, enough photons, balanced nutrients at the right EC for your medium, and enough space to express the canopy potential you encouraged through training. Get those foundations dialed in and your next run will look noticeably different from your last.
FAQ
What container size should I use if my goal is maximum height and yield with autoflowers?
For size-chasing, start by matching container volume to your tent and light. In practice, 5-gallon fabric pots (about 19 L) are a common sweet spot for autos because they support a larger root system for the full canopy, without wasting too much medium. If you go bigger, you risk slower drying and more oxygen stress early, which can actually reduce final size in autos.
How do I avoid stunting when I germinate and plant directly into the final pot?
Even when you plant in the final container, start with a light, even moisture at the root zone. If the medium is overly wet during the first 7 to 10 days, roots can struggle to establish, causing long recovery periods later. A simple check is to confirm the pot feels light after watering dries down, rather than relying on a calendar.
Should I grow my autos in soil or coco if my goal is bigger autoflowers?
It depends on how precise you can be. Coco often delivers bigger results when you manage pH and EC actively, because it has no buffering. Soil can also work well, especially with quality pre-amended mixes and low early feed, but soil size gains can be limited if the medium stays too wet or salts build up too long.
Can I use high EC and strong nutrients early to force bigger autos?
Usually no. Autos have too little time to recover from early nutrient toxicity. Pushing EC too high in the first two to three weeks commonly leads to leaf tip burn, clawing, and slowed canopy development. A safer approach is plain pH’d water first, then ramp EC only when the plant shows early signs of demand.
What pH mistakes most often prevent my autos from getting bigger?
The biggest mistake is assuming pH does not matter until you see nutrient symptoms. In practice, if your input or runoff pH is out of range, nutrients become unavailable and the plant cannot build the canopy it needs. For hydro and coco, pH needs to stay within your target window consistently, not just once at feeding time.
How can I tell if my problem is too much light versus not enough light?
Watch the top of the canopy. If leaves are bleaching or you see white tips, raise the distance or reduce intensity, because excess light is damaging tissue. If plants are compact with wider spacing inside the canopy, have slower-than-expected growth, and stretch is minimal, it often means DLI is too low. Measuring PPFD at canopy is the fastest way to stop guessing.
What VPD target should I use if I’m trying to maximize size without causing deficiencies?
Use VPD ranges as a guide for transpiration efficiency, not as a strict rule. In veg, aiming roughly 0.8 to 1.0 kPa supports healthy growth, and in flower 1.0 to 1.5 kPa helps maintain uptake while controlling humidity-related issues. If you chase very low humidity too early, nutrient uptake can slow and canopy expansion can suffer.
Is 20 hours of light better than 18 for bigger autoflowers?
It can be, but only if you keep the canopy at the right intensity (PPFD) and avoid heat and light stress. More hours increase total daily light exposure, but if PPFD is low, you just add time with insufficient photons. Many growers target the DLI range for autos rather than blindly copying a 20/4 schedule.
How do I know my watering routine is on track for maximum root growth?
Use pot weight and medium dryness, not plant appearance alone. In soil, the common error is re-watering too soon in the first two to three weeks, keeping roots in saturated conditions. A practical method is to lift the pot each day, water only when it noticeably lightens, and confirm the top inch is dry before the next watering.
Can I train autos more than the first few weeks to get bigger yields?
Training is mostly productive early, when the stems are flexible and before the plant commits fully to flowering. LST should start around week 2 to 3 and continue repositioning frequently until a wide canopy forms by week 4 to 5. After that, too much bending or tying tends to stress the plant during a time it cannot afford recovery.
Is topping worth it for bigger autoflowers, and what are the failure signs?
Topping can work for some vigorous genetics, but it often reduces size when timed wrong because it costs recovery days. If you top, do it early (around node 3 or 4) and ensure you do it before pre-flower transition. Failure signs include slowed growth for several days, new shoots that take longer than expected to re-establish, and an overall smaller-than-untopped canopy.
Should I defoliate autos heavily if I want more bud sites and bigger colas?
No, keep it strategic. Removing a small number of fan leaves that clearly block lower sites can help light penetration, but aggressive stripping (for example, removing a large fraction of leaf mass at once) can reduce photosynthesis during a compressed growth window. Lollipopping lower non-productive growth in late veg is usually safer than major canopy removal.
What’s the best order to troubleshoot when my autos are not getting bigger?
Start with the most global limiter: DLI, then medium water balance, then pH and nutrient delivery. Many growers fix symptoms but miss the underlying limiter. If the plant is small even though leaves look healthy, DLI is often the bottleneck. If it is small plus you see clawing or tip burn, check pH first and then EC.
In DWC, why do my autoflowers sometimes get bigger fast and then crash?
Common causes are reservoir temperature and oxygenation problems. If the reservoir runs warmer than about 20°C/68°F, roots can suffer, and growth may stall or rot can start. Also check light leaks and ensure aeration is strong, because low oxygen can look like poor feeding or general stress.
How accurate are pistils for harvest timing on bigger autos?
Pistils are a useful early indicator, but they can change color from humidity, physical contact, or stress rather than true maturity. If you are chasing maximum quality after maximizing size, use pistils to narrow the window, then confirm with trichomes for the cloudy-to-first-amber stage.
How should I weigh and compare runs if I want to measure whether I truly improved size?
Compare at a consistent baseline, ideally dry yield per plant and yield per watt. Breeder estimates are often optimistic, so a practical target is to see repeatable improvement run to run, and identify the limiter when you fall behind. Keeping a simple log of container size, light distance, peak EC, and DLI makes it much easier to spot which change actually moved your results.