Soil is where you grow, but the real question is which soil, in which location, and set up how. Whether you're working with an outdoor garden bed, a few containers on a balcony, or an indoor grow tent, the answer is the same in structure: pick the right medium for your setup, prepare it correctly before planting, and follow a consistent watering and care routine from day one. This guide walks you through every step of that process, including what to do if traditional soil isn't an option for your situation.
Where Soil Is Grow: How to Source, Prepare, and Grow Plants

Marcus Holloway
27 Apr 2026
What 'where soil is grow' actually means for your setup
This question really has two angles. The first is physical location: where are you placing soil so plants can grow in it? That could be an in-ground garden bed, a container on your patio, or a pot inside under grow lights. The second angle is about the medium itself: what counts as grow soil, and where do you source or build it?
Bagged potting mix, amended garden soil, compost-heavy raised bed fill, and soilless seed-starting mix all serve different roles in a grow operation. Mixing those up is one of the most common beginner mistakes. Garden soil in a container compacts badly. Seed-starting mix in an outdoor bed falls apart and drains too fast.
Getting the match right between medium and location is the foundation of everything else.
It's also worth flagging early: if your setup makes soil difficult or impossible (no outdoor access, pest pressure, water control issues, or a desire for faster plant growth), hydroponics is a legitimate replacement path, not just a niche hobby. That option is covered in its own section below.
Choose the right growing space first
Before you buy a bag of soil or fill a pot, you need to lock in your growing space because that decision drives every other choice. Here's how to think through the three main options.
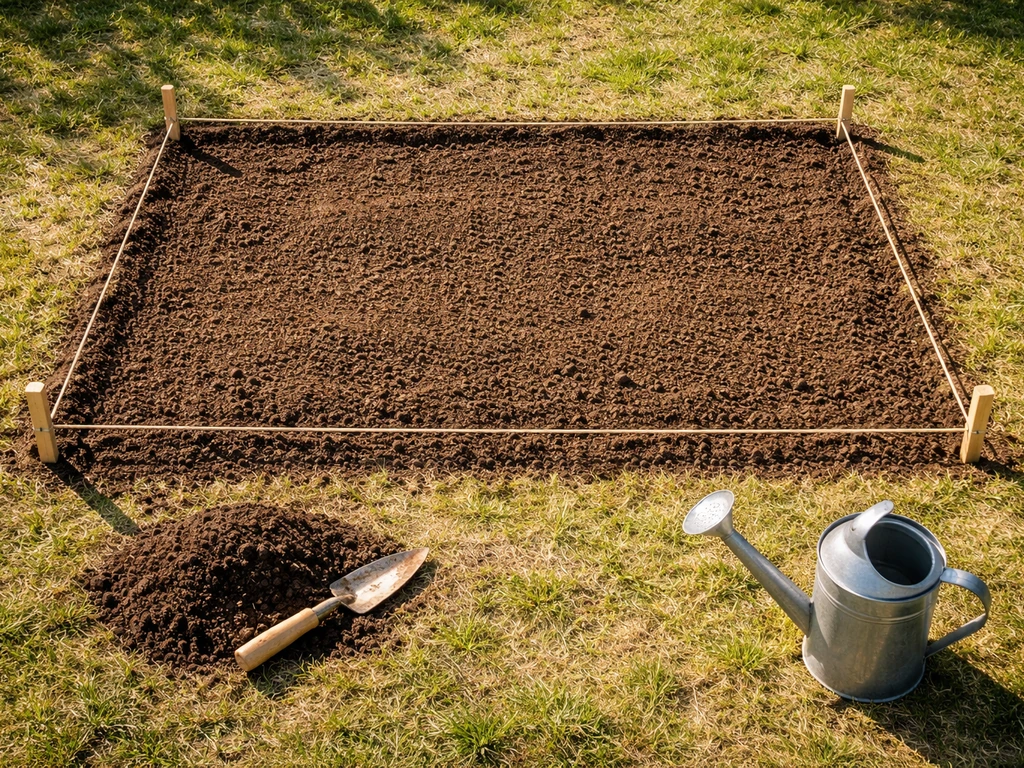
Outdoor in-ground beds
This is the highest-yield setup for most vegetables when you have the space. Most vegetables want at least 8 hours of direct sunlight per day, so walk your yard at different times and note where that full-sun window actually falls. South-facing open areas away from large tree canopies are usually your best bet. In-ground growing lets roots spread freely, holds moisture more consistently than containers, and benefits from soil biology that develops over seasons. The downside is that you're working with whatever native soil is there, which almost always needs amending before it's truly grow-ready.
Container growing (patio, deck, or rooftop)
Containers are flexible and accessible, but they demand more attention. The single most important container rule: drainage holes are non-negotiable. If your pot doesn't have them, drill them or use a drilled liner inside the decorative outer pot. Also, never let a container sit in standing water in a saucer.
Roots will wick that water back up and stay too wet, which leads to root rot and other problems fast. On r/containergardening, users warn that adding material at the bottom of a container can create a perched water table that keeps the media saturated and can contribute to root rot, so make sure your setup drains properly and use aerating amendments like perlite.
Illinois Extension also emphasizes ensuring containers drain properly, such as by piercing holes in wrappers or liners when drainage is missing, to help prevent root rot. Containers are a great match for balconies and small spaces, and they let you control the medium completely since you're filling them from scratch.
Indoor soil grows
Growing indoors in soil-filled containers under grow lights is a fully viable setup, especially for year-round cultivation. The rules are the same as outdoor containers, with two additional considerations: light must be provided artificially (full-spectrum LED panels are the standard now), and air circulation matters more since there's no natural wind to strengthen stems or dry surface moisture between waterings. Indoor soil grows give you the most environmental control, which is useful when you're dialing in a new strain or plant variety.
Sourcing and selecting your growing medium
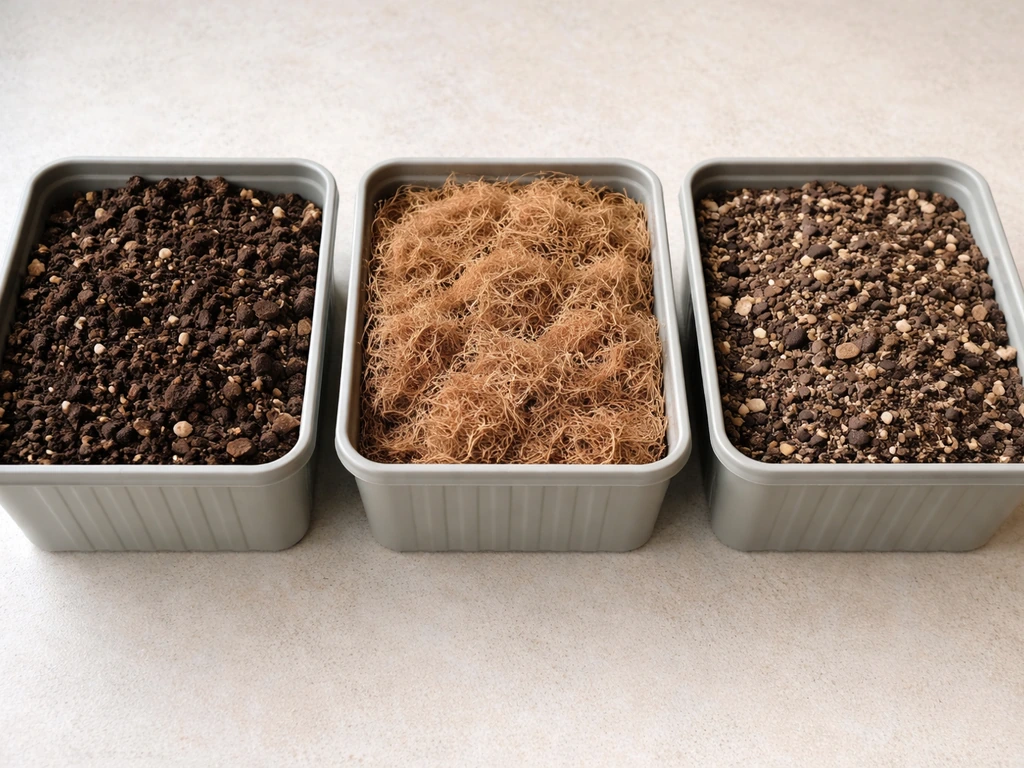
Not all soil is grow soil, and which one you pick matters more than most beginners expect. Here's a practical breakdown of the main options.
| Medium | Best Use | Key Advantage | Main Limitation |
|---|---|---|---|
| Bagged potting mix | Containers (indoor and outdoor) | Lightweight, pre-mixed drainage, sterile | Can dry out fast; quality varies by brand |
| Garden/topsoil | In-ground beds or raised beds | Affordable in bulk, supports soil biology | Needs testing and amendment; compacts in containers |
| Compost-amended mix | Raised beds, in-ground improvements | Excellent nutrient load and microbial life | Can be too rich if over-applied; pH varies |
| Seed-starting mix | Germination trays and plug flats | Fine texture, sterile, perfect drainage for roots | No nutrients; too loose for transplanting into final containers |
| Soilless mix (perlite/coco/vermiculite) | Containers or hydro transition | Maximum drainage, minimal compaction risk | Requires nutrient supplementation from day one |
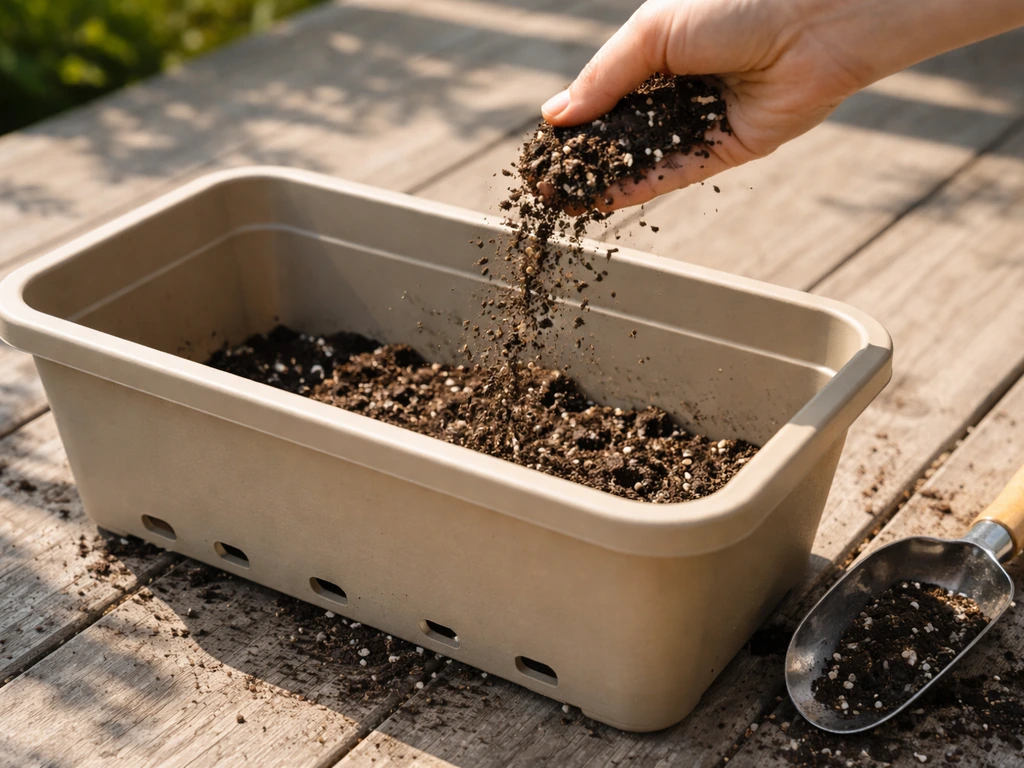
For containers, always use a quality packaged potting mix rather than garden soil. Garden soil compacts heavily in pots, destroys drainage, and can introduce pathogens.
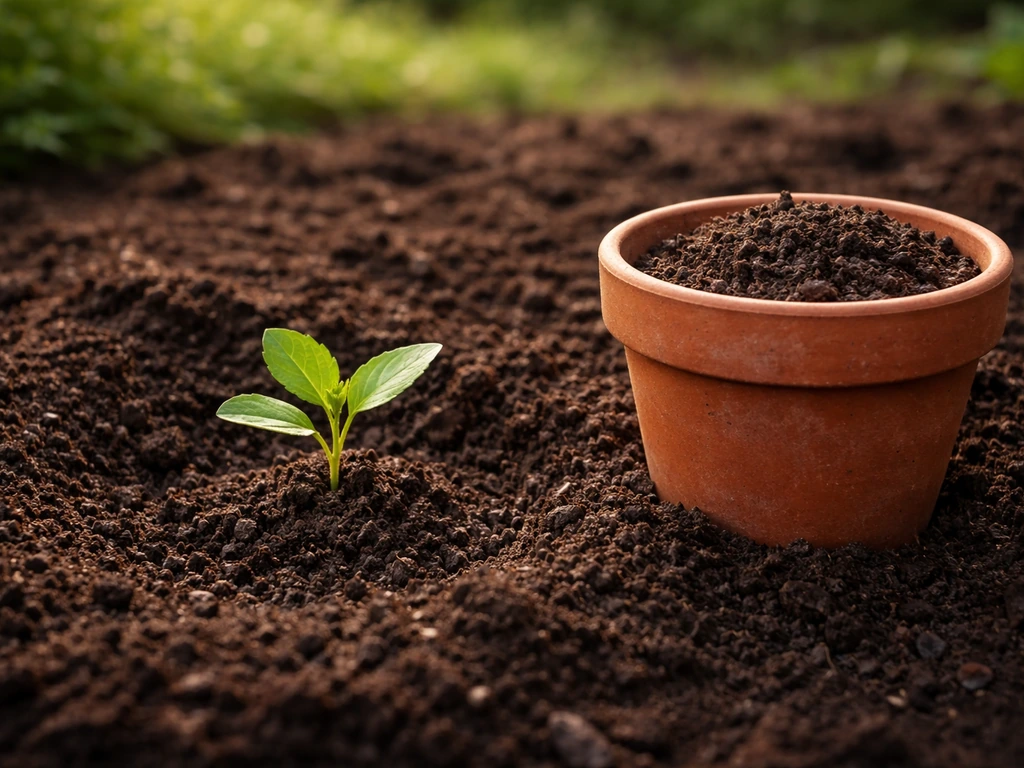
For in-ground beds, native soil amended with compost is the standard approach. For healthy earth-grown results, focus on building topsoil with compost and maintaining good structure so roots can expand and water can move through. What is earth grow mulch, and how it helps retain moisture and build healthy soil earth-grown results. If you're starting seeds indoors before transplanting outside, use a dedicated sterile seed-starting mix, not potting soil and definitely not garden soil.
Garden soil in seed trays is a fast path to damping-off, a fungal problem that can rot entire trays of seedlings before they even get their first true leaves.
One more critical rule on containers: never reuse potting soil from a previous growing season. Even if the plants looked healthy, old mix can harbor disease organisms that will hit your new crop when conditions are right. Fresh medium for each season is cheap insurance.
Soil preparation basics before you plant anything
Skipping soil prep is the most common reason new grows underperform. These are the steps you work through before a single seed goes in the ground.
Test your pH first
Most vegetable crops prefer a slightly acidic soil, and the target you're aiming for is around pH 6. 5. That's the range where nutrient availability peaks in soil. Outside that window, plants can show deficiencies even if nutrients are physically present in the medium because the pH locks them out.
Get a basic soil test before you plant, especially for in-ground beds. If your soil comes back acidic (below 6. 0), adding agricultural lime raises pH toward that 6. 5 target.
If it's alkaline (above 7. 5), sulfur brings it down. A few crops like blueberries want pH around 4. 5 to 5.
5, so always match your amendments to what you're actually growing. Most state extension services offer inexpensive mail-in soil tests that give you exact lime and fertilizer recommendations.
Drainage, aeration, and compaction

Compacted soil is one of the most growth-limiting conditions a plant can face. It restricts root expansion, cuts off oxygen to the root zone, and creates waterlogged pockets that breed anaerobic pathogens. For in-ground beds, break up compaction by digging or tilling to at least 10 to 12 inches and working in compost. For containers, the solution is simpler: use a high-quality potting mix that already includes perlite or vermiculite for aeration, and never press the medium down tightly when filling pots. A 10 to 20 percent perlite addition to most potting mixes improves drainage significantly, especially for plants that don't tolerate wet feet.
Sterilizing and amending your mix
If you're reusing any soil or using a homemade mix for seed starting, pasteurize it before use. The method is straightforward: heat moist soil in an oven to about 180 degrees Fahrenheit and hold it there for 30 minutes using a thermometer to confirm temperature. Too hot and you kill beneficial biology; too cool and pathogens survive. For most growers, just buying a fresh sterile seed-starting mix is faster and more reliable. For in-ground beds, work compost into the top 6 to 8 inches before planting. For containers, mix in a slow-release granular fertilizer at setup so early root growth has something to feed on without you having to worry about liquid feeding for the first few weeks.
Start-today planting and watering workflow
Once your medium is prepped and your location is set, here's a practical sequence you can follow today to get plants in the ground or containers.
- Fill your container or prepare your bed: containers should be filled to about 1 inch below the rim; in-ground beds should be loosened and compost-amended to at least 10 inches deep.
- Water the medium before planting: pre-moistening your mix ensures even hydration from the start and removes air pockets around roots or seeds.
- Plant seeds at the right depth: a reliable rule of thumb is to cover seeds with medium at a depth roughly 2 to 3 times their width, though always check your seed packet for exceptions on very small or light-sensitive seeds.
- Transplant starts carefully: dig a hole slightly larger than the root ball, set the plant at the same depth it was growing in its tray, firm the medium gently around the roots without compacting it.
- Water in after planting: for containers, water until it flows freely out of the drainage holes, which ensures the entire root zone is wetted, not just the top inch. Don't let the pot sit in the runoff.
- Harden off transplants before moving them outside: if your starts were grown indoors, spend 7 to 10 days gradually increasing their outdoor exposure. Start with 1 to 2 hours in a sheltered spot and work up. Skip hardening-off days when temps are below 45 degrees Fahrenheit or winds are strong.
- Set a watering check routine: containers dry out faster than beds and need daily checks in warm weather. Probe the top inch of medium with your finger. If it's dry, water thoroughly. If it's still moist, wait.
For ongoing watering, there's no universal schedule that works for every setup. Containers, pot size, plant size, temperature, and humidity all affect how fast medium dries. The most reliable method is feel and observation: check moisture by hand, watch leaf behavior in the afternoon (slight wilting in heat is normal; wilting in the morning means they need water), and adjust from there. When you water in-ground beds, water deeply enough to reach the root zone rather than just wetting the surface, and probe with a stick or soil probe after watering to see how far moisture actually penetrated.
If you can't or shouldn't use soil: the hydroponic path
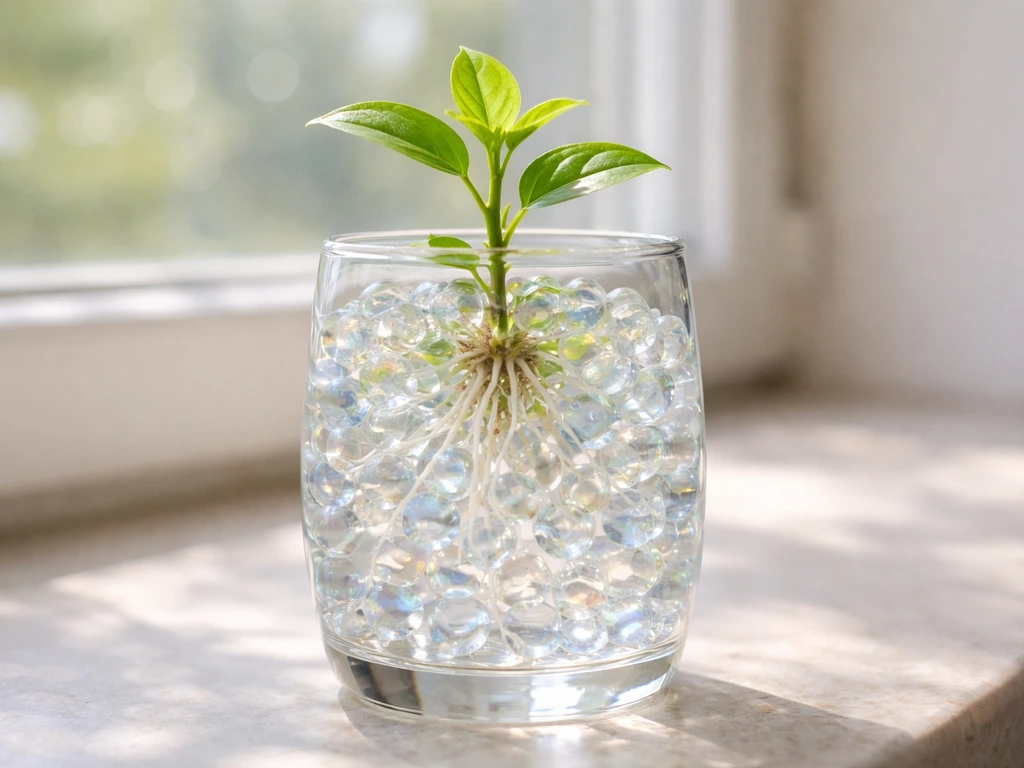
Some situations make traditional soil a poor choice: indoor setups where pest and pathogen control is critical, growing operations that prioritize speed, or spaces where soil weight or mess is a real constraint. You might also be wondering whether you can grow plants in orbeez instead of traditional soil.
In eco earth, you can typically grow plants if you use the right medium setup and match watering and nutrients to the type of plants you want to raise can you grow plants in eco earth. In those cases, hydroponics isn't a compromise, it's often the better system.
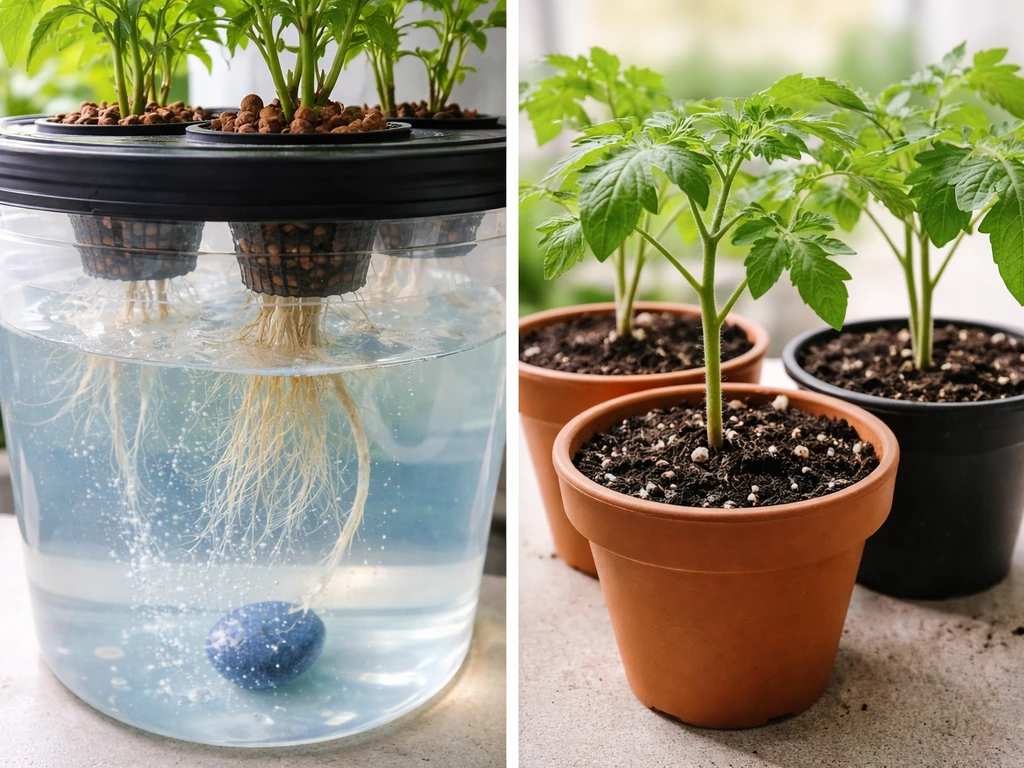
Hydroponics replaces soil with a nutrient solution delivered directly to roots, either through flooded media, drip systems, or a method called Nutrient Film Technique (NFT), where a thin, recirculating stream of nutrient solution flows continuously over exposed roots in sloped channels. NFT systems are popular for leafy greens and herbs because they use very little water, deliver excellent oxygen to the root zone, and scale well indoors.
The trade-off compared to soil is that hydroponic systems require closer attention to nutrient solution concentration (measured as EC, or electrical conductivity) and pH, which should typically sit between 5. 5 and 6. 5 for most crops in hydro. You don't have the buffering effect of soil biology, so errors in pH or nutrient mix show up in plants faster.
But the payoff is faster growth, no soil-borne disease pressure, and full control over what your plants receive. If you're weighing these two approaches side by side, the soil vs. If you want to know when each approach is likely to work best for your setup, a soil vs. hydro comparison covers the key trade-offs.
hydro comparison is worth a deeper look before you commit to a system.
If you want a middle ground, coco coir is a popular soilless medium that behaves like soil in containers but has excellent drainage and aeration properties. It requires nutrient supplementation like hydro, but the physical feel and watering cadence are more intuitive for growers transitioning from soil. It also sidesteps many of the pathogen risks that come with reusing organic soil mixes.
Common early-grow problems and quick fixes
The first two weeks after planting are when most problems appear. Here's what to watch for and how to address it fast.
- Damping-off (seedlings collapse at the stem near soil level): caused by soilborne fungi that thrive in cool, wet, poorly ventilated conditions. Fix: stop overwatering immediately, improve air circulation with a small fan, and if you haven't already, switch to a sterile seed-starting mix. Never use garden soil in seed trays. If a whole tray is affected, discard the medium and disinfect the tray before restarting.
- Seeds not germinating: usually caused by soil that's too cold, too dry, or too wet, or seeds planted too deep. Most vegetable seeds germinate best between 65 and 85 degrees Fahrenheit. Check your planting depth against the 2 to 3 times seed-width rule and ensure consistent moisture without waterlogging.
- Yellowing leaves on new transplants: often a pH problem locking out nutrients, especially if you haven't tested your soil. Test pH and adjust toward 6.5. If the mix is at the right pH, check whether you're using a nutrient-free seed-starting mix for plants that have moved beyond germination and need feeding.
- Wilting despite moist soil: usually a root oxygen problem from compacted or waterlogged medium. Check drainage holes, reduce watering frequency, and if using a container, ensure it's not sitting in standing water in a saucer.
- Leggy, stretched seedlings indoors: a light problem, not a soil problem. Move seedlings closer to your light source or increase photoperiod. Soil adjustments won't fix light deficiency.
- Nutrient buildup in containers (white crust on soil surface): salts accumulating from fertilizer or hard water. Flush the container thoroughly with plain, pH-balanced water until it runs clear from the drainage holes. This is also a reason to test soil regularly when using compost or manure, since phosphorus and potassium can build up over time.
Most early-grow problems are preventable with the right medium choice, correct planting depth, appropriate watering frequency, and a quick soil test before you start. The growers who run into repeated issues are usually skipping one of those four steps. Get those right and the grow takes care of itself through the early stages.
FAQ
How do I tell if my potting mix is too wet even when I followed a watering routine?
Use a simple weight check, lift the container 1 to 2 minutes after watering and again 24 hours later. If it feels heavy for days, reduce watering frequency, and confirm the pot has clear drainage (not just holes, but unobstructed channels).
What planting depth should I use if I’m not sure, especially for seeds in containers?
Follow the seed packet depth, and as a rule, plant small seeds shallow and larger seeds deeper. If you cannot find guidance, keep the seed roughly at a depth equal to its thickness, then cover lightly and keep the top layer consistently moist until emergence.
Can I use compost from my pile directly in containers?
You can, but only after it’s fully finished (no recognizable scraps, earthy smell, not hot or steamy). For containers, blend compost into a lighter potting mix so aeration remains high, otherwise it can compact and stay wet.
Do I need to sterilize soil if I’m buying it bagged?
Not usually. Bagged seed-starting mix is typically handled for sterility, while potting mixes and compost are not always sterile. Sterilize only if you’re reusing material or making a homemade mix for seed trays.
Is it safe to reuse containers if I cleaned them thoroughly?
Cleaning helps, but it does not replace fresh medium. If you reused soil or compost, you still risk disease carryover. For containers, aim for fresh mix each season, sanitize the pot, and replace any liners that can hold residue.
What should I do if my soil pH test comes back fine, but plants still show nutrient problems?
First verify watering and drainage, because waterlogged roots can’t access nutrients even when pH is correct. Then check whether you amended the right time and rate, and confirm your fertilizer is actually soluble and appropriate for the crop and growth stage.
How often should I retest soil pH for in-ground beds?
After you amend, retest once you’ve had a full growth cycle to see the real shift, then retest every 1 to 3 years depending on how much you lime or fertilize. Frequent heavy amendments can swing pH, so you want data rather than guessing.
What’s the fastest fix if my seedlings develop damping-off?
Remove affected seedlings immediately to reduce spread, and improve airflow and moisture management by watering from below or only at the surface, keeping the mix evenly moist but not soggy. If damping-off keeps recurring, start over with sterile seed-starting mix rather than trying to rescue the trays.
How can I improve drainage without changing everything in a container?
Top-dress with perlite or amend the next cycle, but the most effective change is to use a correctly formulated potting mix going forward and ensure the potting medium level stays below the rim to avoid overflow into saucers. If water pools on top, gently loosen the top layer and check for rootbound compaction.
When is hydroponics a better choice than soil for beginners?
If you need consistent results indoors year-round, have persistent pest pressure in soil, or want precise control over nutrition, hydro can outperform. The key requirement is willingness to monitor pH and EC closely, especially during the first few weeks when growth responds fast.
Can coco coir replace soil completely for vegetables in containers?
Yes, but treat it as a hydro-adjacent system. You must supply nutrients reliably, and you may need to adjust your watering cadence because coir can hold water differently than traditional potting mix. Start with the nutrient strength recommended for your crop and reduce if tips burn.
What’s a common mistake when amending in-ground beds with compost?
Overloading compost. Too much organic material can create water retention and compaction, especially in heavy soils. Mix compost into the top layers at a moderate rate, and avoid topping up every year without monitoring soil structure.