Valerian grows best in a cool, moist spot with full sun to partial shade, loose well-drained soil amended with compost, and consistent moisture throughout the season. If you enjoy myth-inspired gardening, you may be wondering how to grow valerian the way it is popular in Harry Potter themed setups valerian grow best harry potter. Start from root divisions or cold-stratified seed, give it 6 or more hours of light per day, keep temperatures in the 60–75°F (15–24°C) range, and plan for a two-year timeline before your first serious root harvest. If you're running hydroponics, maintain pH between 5.5 and 6.5, keep phosphate on the moderate-to-low side, and use a 16-hour photoperiod to push vegetative growth.
Valerian Grow Best: Soil and Hydroponic Setup Guide

Marcus Holloway
22 May 2026
Choosing the right valerian type and starting method
The species you almost certainly want is Valeriana officinalis, the common medicinal valerian. It's the one grown commercially for its roots, it's what most seed vendors carry, and it's hardy down to Zone 4 (around -30°F / -34°C), so it survives winters across most of North America and Europe without any fuss. There are related species like Valeriana jatamansi and Valeriana amurensis that appear in research settings, but for a home grower looking for practical results and available seed stock, V. officinalis is the default choice.
When it comes to starting method, root or crown division is the fastest and most reliable route. Divide established crowns in spring or fall, replant the divisions at the same depth they were growing, and you'll have vigorous plants with a head start of a full growing season compared to seed. This matters because you're ultimately harvesting roots, and bigger roots mean a better yield.
If you're starting from seed, expect a challenge. Valerian seeds have notoriously erratic germination. Cold moist stratification for 2 to 4 weeks before sowing improves germination significantly. After stratification, sow indoors at a soil temperature of 60–70°F (15–21°C) and expect germination somewhere between 30 and 60 days, though some seeds will take longer. Sow more seeds than you think you need, thin to the strongest seedlings, and don't panic if the first flush is patchy. For anyone wanting genetically uniform plants, say for a research-style setup or consistent hydroponic batch, vegetative propagation through rhizome division is the better call.
Site and container setup: outdoor vs indoor
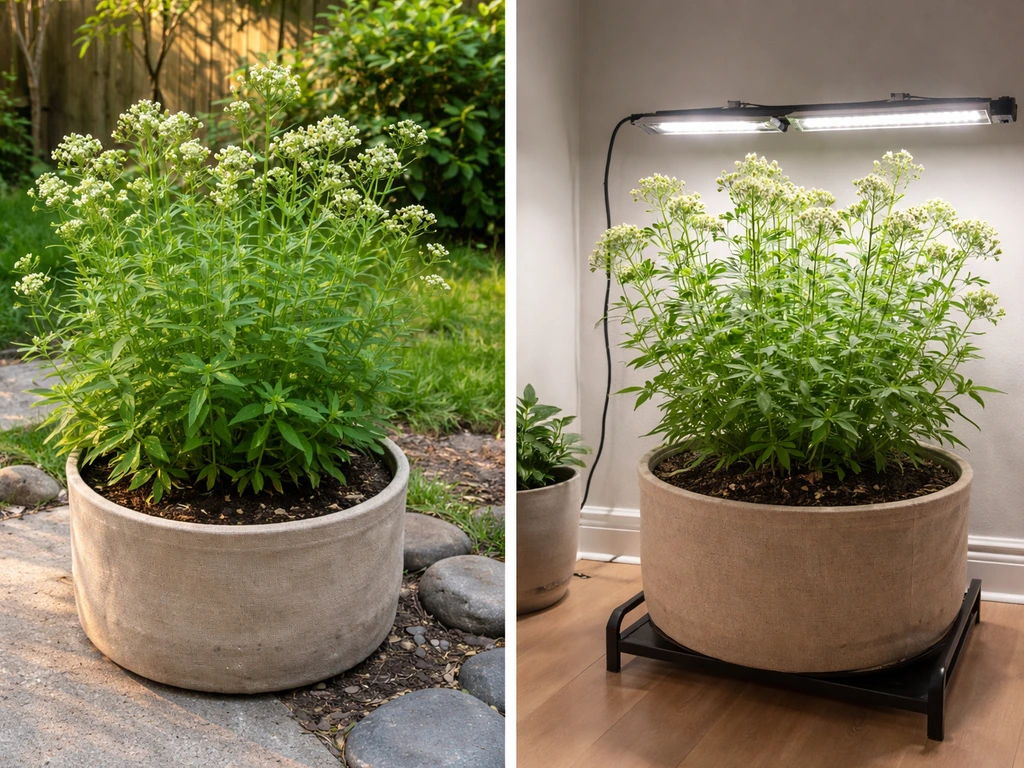
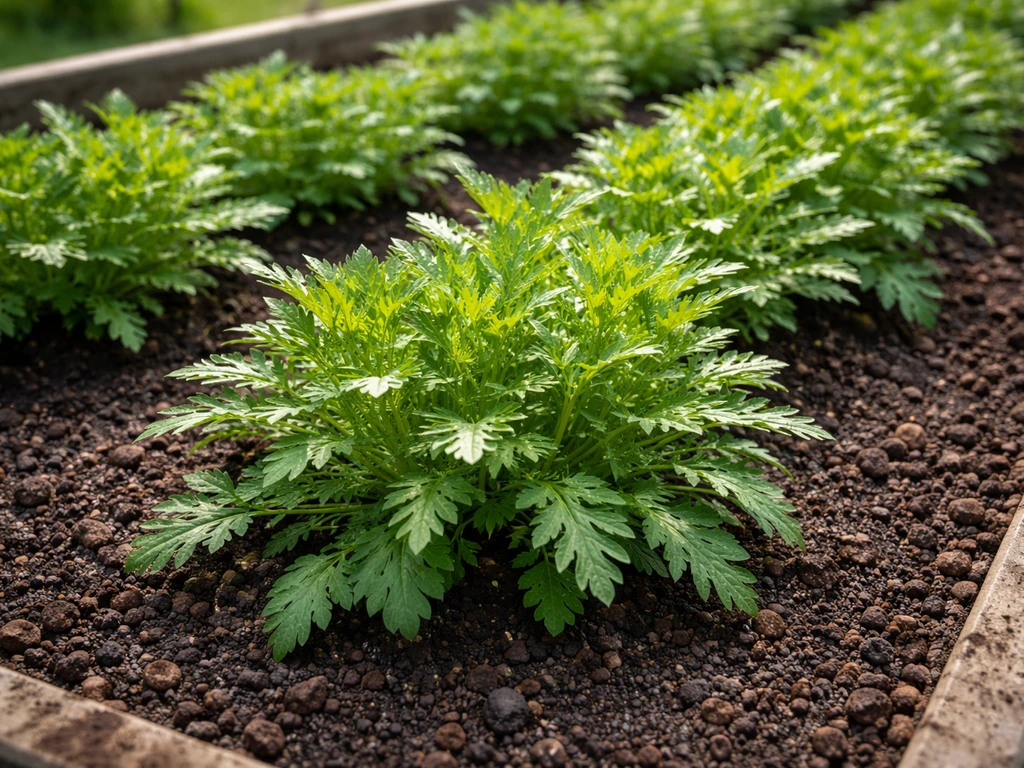
Outdoors, valerian is a generous plant that doesn't demand prime real estate. It does well in any average well-drained soil and tolerates partial shade, though full sun encourages stronger, denser growth. It genuinely prefers cooler climates with abundant rainfall, so if you're in a hot, dry region you'll need to compensate with consistent watering and afternoon shade. Plan spacing carefully: after two years, a single plant spreads into roughly an 18-inch (45 cm) wide clump. For a productive bed, space plants 18–24 inches apart in rows and allow at least 2 feet between rows so you can work around them comfortably.
For containers, a pot or fabric container at least 18 inches wide and 12 inches deep gives the roots enough room to develop properly. Shallow containers will stunt root growth and reduce your harvest. If you're growing indoors in containers under lights, choose a breathable fabric pot to prevent waterlogging since valerian roots are susceptible to rot in standing moisture.
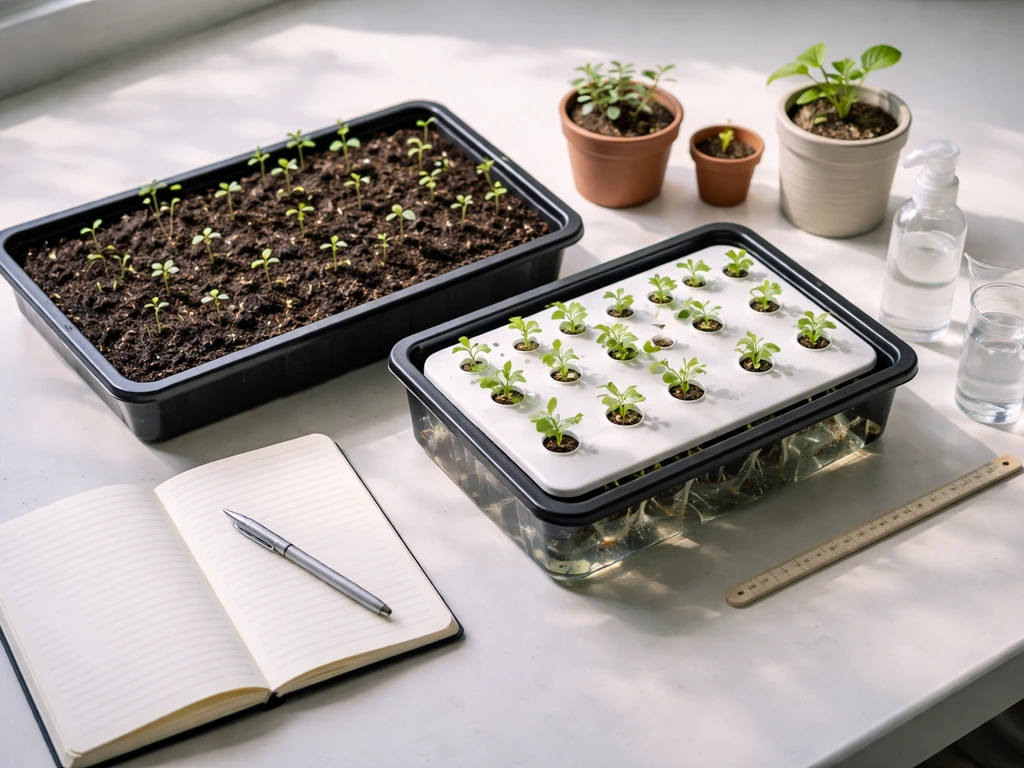
Indoor growing works well for valerian, especially if you're in a short-season climate or want to start seedlings early. An indoor setup under LED or fluorescent grow lights with a controlled environment lets you dial in the photoperiod and temperature more precisely than any outdoor bed. The tradeoff is that you need to manage airflow actively since stagnant humid air is one of the main fungal risk factors with this plant.
Soil vs hydroponics: which approach works for valerian
Both approaches work, but they come with different tradeoffs for a root crop like valerian. Here's a direct comparison to help you decide.
| Factor | Soil Growing | Hydroponics |
|---|---|---|
| Setup cost | Low to moderate | Moderate to high |
| Root harvest ease | Straightforward, dig and wash | Clean roots with no soil residue |
| Growth speed | Moderate, season-dependent | Faster with dialed-in nutrients and photoperiod |
| Disease risk | Root rot possible in wet/clay soil | Root rot possible without good oxygenation |
| Nutrient control | Less precise, compost-based | Precise EC and pH management required |
| Best for | Outdoor beds, low-tech setups | Indoor controlled-environment grows |
| pH management | Amend soil to 6.0–7.0 | Maintain solution pH 5.5–6.5 |
For most home growers, soil is the easier starting point. Valerian is naturally adapted to soil environments and doesn't need intensive input management to produce a decent harvest. Hydroponics makes sense if you want faster growth, year-round production, or you're already running a hydroponic setup and want to add valerian to it. If you're looking for a CO2 or carbon dioxide alternative approach, compare how different nutrient and system choices can influence plant growth compared with soil CO2 alternative. Research on Valeriana jatamansi in aeroponic systems has shown it responds well to controlled soilless environments, so the plant is genuinely adaptable.
Setting up a soil bed
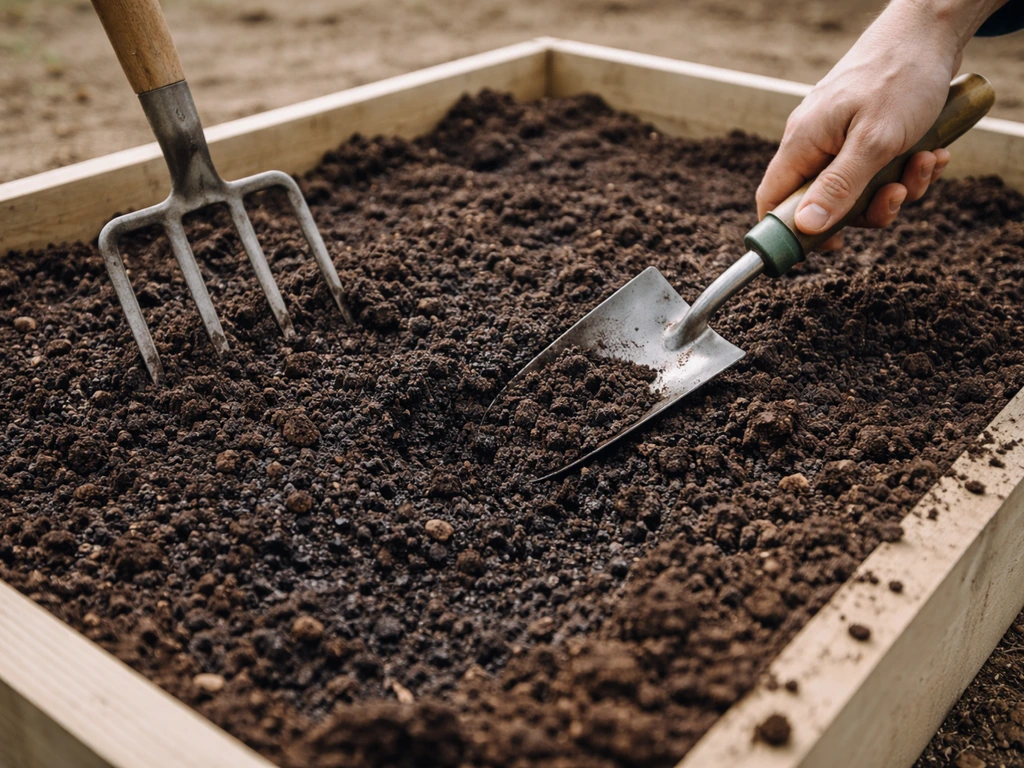
Amend garden beds with 2–3 inches of compost worked into the top 12 inches of soil. Valerian doesn't need rich soil, but it does need good drainage. If your native soil is heavy clay, either build a raised bed with a mix of topsoil, compost, and perlite, or add grit to loosen the clay. Target a soil pH of 6.0–7.0. In heavy soils, waterlogging is the number one way to lose plants to root rot, especially in year two when the roots are dense.
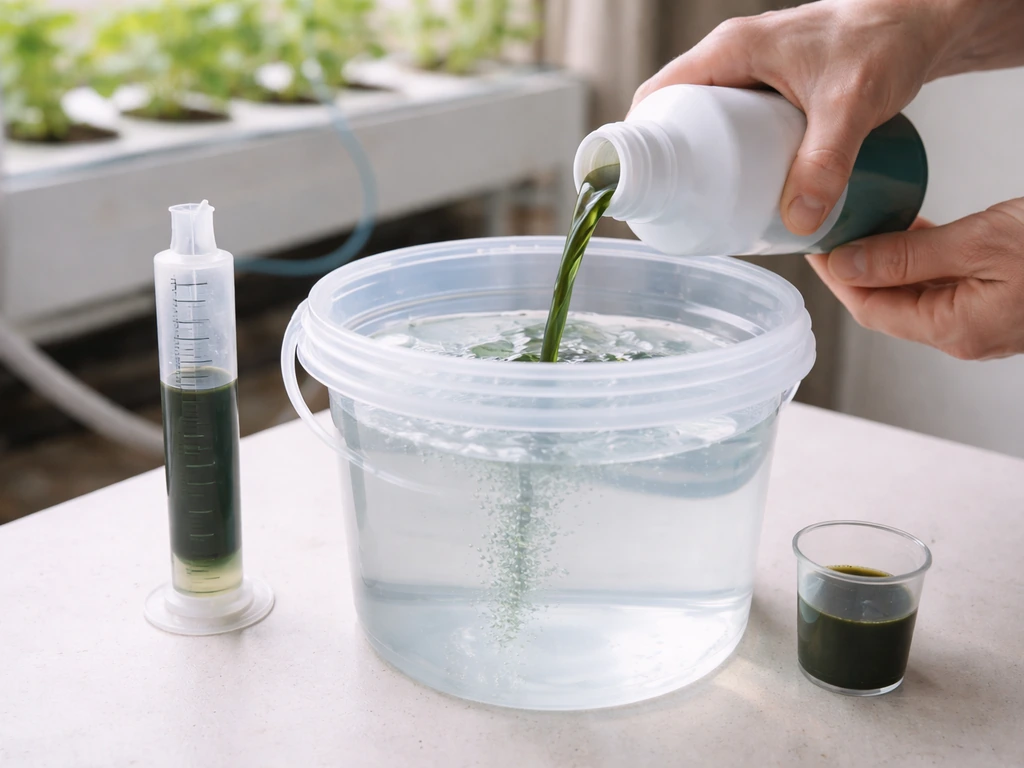
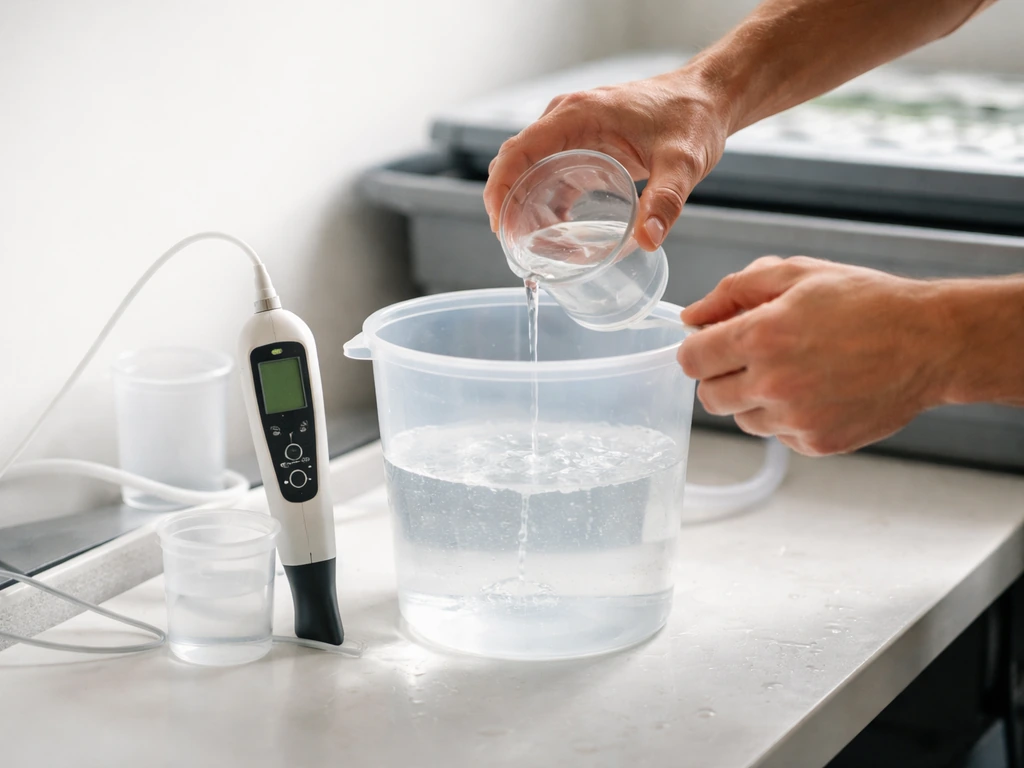
Setting up a hydroponic system
Deep water culture (DWC) or a nutrient film technique (NFT) setup both work for valerian. For root development, DWC with a well-oxygenated reservoir is a strong choice. Keep your nutrient solution pH between 5.5 and 6.5, with the root zone ideally maintained around 6.0–6.5. Use an air stone and pump to keep dissolved oxygen high since valerian roots will rot fast in stagnant, low-oxygen water. Start with a moderate EC around 1.2–1.8 mS/cm during vegetative growth and monitor weekly.
Light, temperature, and watering for fast growth
Valerian is a long-day plant, meaning it needs extended light exposure to push strong vegetative growth and eventually trigger flowering. Indoors, run your lights at 16 hours on and 8 hours off. This photoperiod, used in aeroponic research with related valerian species, consistently produces robust vegetative development. Outdoors, this naturally aligns with late spring and summer conditions, which is why spring is the ideal planting window.
Light intensity matters too. Full sun outdoors means at least 6 hours of direct sunlight per day. Indoors, a good LED panel at 18–24 inches above the canopy delivering 400–600 PPFD (micromoles per square meter per second) is sufficient for vegetative growth. You don't need extreme intensity for valerian since it's not a heavy-feeding, high-light crop like cannabis or tomatoes.
Temperature is one of the biggest growth drivers. Valerian prefers 60–75°F (15–24°C) during the day. It tolerates cooler nights, which actually encourages more compact, stress-free growth. Avoid sustained temperatures above 80°F (27°C) if you can. Heat stress causes wilting, bolting (premature flowering), and reduced root quality. Indoors, this is easy to manage. Outdoors in warmer climates, a position with afternoon shade keeps temperatures in range during peak summer.
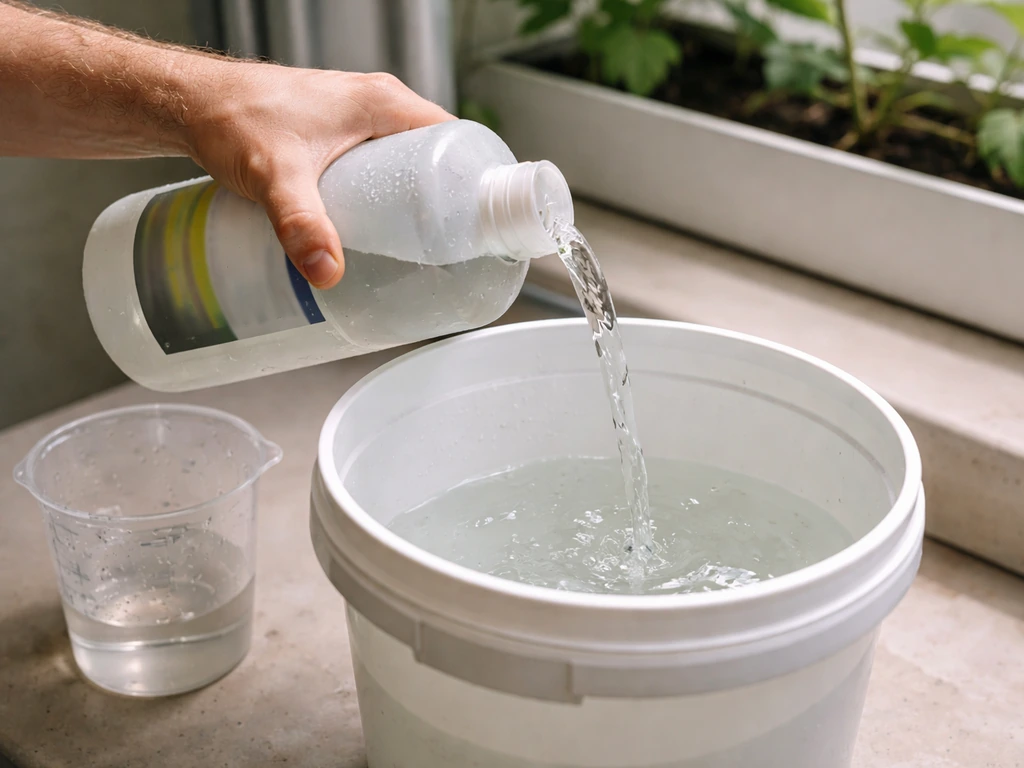
For watering, keep the soil consistently moist but never waterlogged. Valerian doesn't tolerate drought well, especially when young, but sitting in wet soil is just as damaging. A good rule of thumb is to water when the top inch of soil feels dry. In containers, this may mean watering every 2–3 days during warm weather. In hydroponics, ensure your reservoir is refreshed or topped up weekly, and do a full nutrient solution change every 2 weeks to prevent salt buildup and pathogen accumulation.
Nutrients and feeding schedules
Valerian isn't a heavy feeder, but it does respond to balanced nutrition. The key insight from hydroponic research is that phosphate management matters specifically for root quality. Higher phosphate concentrations don't necessarily produce better roots. In fact, research on V. officinalis in hydroponics found that lower phosphate levels (around 900 μM in that study) coincided with higher essential oil accumulation and valerenic acid content. Practically, this means you don't want to overload valerian with phosphate boosters thinking it will bulk up the roots faster.
Soil feeding approach
If you amended your bed well with compost before planting, you may not need to feed at all in year one. A balanced slow-release organic fertilizer (something like a 5-5-5 or similar NPK) applied once at planting and again in mid-season is more than enough. Avoid nitrogen-heavy feeds since excess nitrogen pushes leafy top growth at the expense of root development. A light side-dressing of compost in spring of year two gives the plant a boost without throwing off the nutrient balance. If you're in a low-fertility soil, a liquid balanced fertilizer at half the recommended dose every 3–4 weeks during the growing season keeps things moving without over-pushing.
Hydroponic feeding schedule
Use a complete hydroponic base nutrient that includes calcium, magnesium, and micronutrients alongside N-P-K. If you want to estimate how much Floranova you need per gallon, start by using the reservoir volume and then follow the specific Floranova label rate for your chosen N-P-K target how much floranova grow per gallon. Products like FloraNova Grow or similar one-part formulas work well for the vegetative phase since they're designed for the kind of steady balanced nutrition valerian needs. Keep your starting EC around 1.2 mS/cm and increase to 1.6–1.8 mS/cm as plants establish. Don't chase high EC values since valerian doesn't need the intensity level that fruiting crops require. Maintain pH between 5.5 and 6.5, checking and adjusting every 2–3 days. If you notice slow growth or yellowing older leaves, check pH drift first before adjusting nutrients since pH fluctuation is the most common cause of apparent nutrient deficiency in hydroponic medicinal herb grows.
- Weeks 1–4 (seedling/transplant): EC 0.8–1.2 mS/cm, pH 6.0–6.5, 16h light
- Weeks 5–12 (active vegetative growth): EC 1.2–1.6 mS/cm, pH 5.8–6.2, full-strength base nutrient
- Weeks 13+ (root development focus): EC 1.4–1.8 mS/cm, moderate-to-low phosphate, pH 5.8–6.5
- Change nutrient solution completely every 2 weeks
- Top up with plain pH-adjusted water between changes as levels drop
Plant care: pruning, spacing, and troubleshooting common problems
Valerian is a fairly low-maintenance plant once established, but a few hands-on management habits make a significant difference in root yield and overall plant health.
Pruning and plant management
Cut flowering stalks as soon as they appear, especially in year one and two. Once valerian flowers and sets seed, the plant puts energy into reproduction rather than root development, which directly reduces your harvest yield. blank" rel="noopener noreferrer">Deadheading or cutting back to the basal foliage keeps the plant in vegetative mode and pushes resources into the roots. In year two, when plants grow tall (valerian can reach 3–5 feet in flower), you may want to stake the main stem if you're in a windy location, but this is optional in a sheltered garden bed.
Common problems and how to fix them
| Problem | Likely cause | Fix |
|---|---|---|
| Slow growth or stunted plants | pH drift, low temperature, or poor drainage | Check pH, ensure soil temps above 60°F, improve drainage |
| Yellowing older leaves | Nitrogen deficiency or pH lockout | Check pH first; if correct, apply balanced fertilizer |
| Wilting despite moist soil | Root rot (Phoma sp. or Pythium) | Improve drainage, reduce watering frequency, apply beneficial fungi |
| Powdery or fuzzy growth on leaves | Fungal infection from humid stagnant air | Increase airflow, reduce overhead watering, apply neem or copper spray |
| Leaf holes or chewed edges | Aphids, slugs, or caterpillars | Inspect undersides of leaves, use neem oil or slug traps |
| Leggy pale growth indoors | Insufficient light intensity or too many hours of dark | Move lights closer, increase to 16h photoperiod |
Root rot is the most serious risk for valerian, and it's been documented in multi-year field cultivation as a real yield-reducing problem. A root-rotting fungus (Phoma sp.) caused significant losses in Montana State University field trials. In practice this means you need to take drainage seriously from day one, avoid planting in low spots where water pools, and not overwater during cooler wet periods in spring and fall. In hydroponics, keeping dissolved oxygen high in the reservoir is your equivalent protection.
Airflow is underrated as a management tool indoors. A small oscillating fan running during the light period keeps leaf surfaces dry, strengthens stems, and dramatically reduces fungal pressure. This is one of those low-cost changes that pays off consistently.
Harvest timing and what to do right after
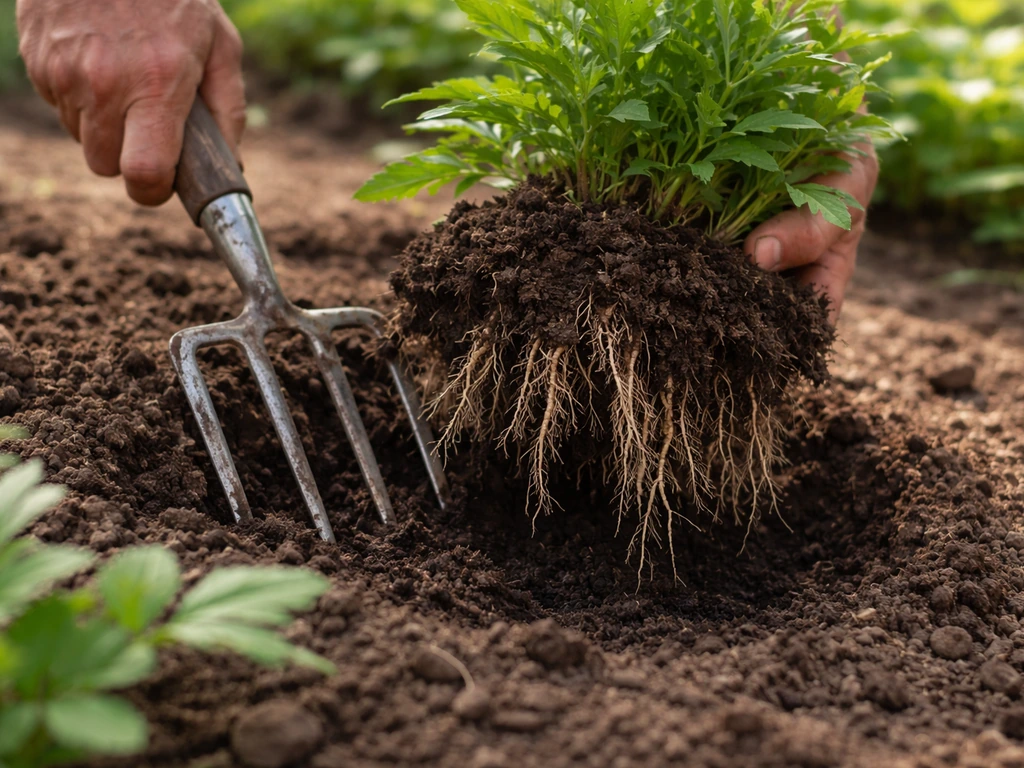
The standard harvest window for valerian roots is after the first frost in the fall of the second growing season. The cold triggers the plant to pull energy back down into the roots, concentrating the active compounds. Digging before this point, especially in year one, will give you smaller roots with lower potency. If you planted from seed in spring of year one, your harvest is fall of year two. If you started from divisions, you may be able to harvest a partial root system at the end of year one from established plants, but year two is still where the real yield comes from.
To harvest, loosen the soil around the plant with a fork, lift the root clump carefully, and shake or wash off excess soil. The roots have a distinctive earthy smell that intensifies as they dry. Rinse them thoroughly and cut into smaller pieces for faster, more even drying.
Drying and storage
This step matters more than most growers expect. Rapid drying at a low temperature is essential to prevent enzymatic and thermal decomposition of the active compounds. Use a dehydrator set below 104°F (40°C), or dry in a single layer in a well-ventilated space away from direct sunlight. Don't use a high-heat oven since it degrades the valerenic acid and essential oils that make the roots valuable. Roots are fully dry when they snap cleanly rather than bend.
For storage, dried roots keep well in a sealed glass jar in a cool, dark location. If you want to preserve stability of the active ingredients for longer term use, storing in olive oil is a traditional approach that helps maintain the compounds over time. Label with the harvest date and use within 12–18 months for best potency.
One final note: if you're running a hydroponic system and focused on optimizing root quality rather than just yield, the nutrient balance during the final 4–6 weeks before harvest is worth dialing in carefully. If you're wondering mhw botanical research what to grow next, start with valerian cultivars that match your climate and growing method. Backing off phosphate slightly during this window aligns with the research showing higher valerenic acid accumulation at lower phosphate concentrations. For floranova grow dosage specifically, follow the product label and adjust gradually while monitoring EC and pH to avoid nutrient buildup. Backing off phosphate slightly during this window aligns with the research showing higher valerenic acid accumulation at lower phosphate concentrations [Back[ing] off phosphate slightly](/flora-grow-dosage/terra-grow-dosage). It's a small adjustment that could make a real difference in the quality of what you pull out of the system.
FAQ
What should I do if my valerian seeds germinate very unevenly?
Plan for patchy germination, sow extra seed, and keep the stratification period consistent (2 to 4 weeks). After sowing, avoid letting the soil dry out during the 30 to 60 day window, since even brief drying can slow or halt emergence.
How can I tell if my problem is heat stress versus nutrient or pH issues?
If temperatures are staying above about 80°F (27°C), expect wilting and premature bolting even when pH and EC test “fine.” In that case, prioritize afternoon shade or cooling the growing area before changing nutrients, then re-check pH drift 24 to 48 hours later.
Can I grow valerian faster than the typical two-year timeline?
A full, high-quality root harvest is usually year two after starting from seed. If you need earlier roots, consider starting from established crown or rhizome divisions for a partial year-one harvest, but expect smaller yields and less mature potency.
Should I fertilize valerian heavily to increase root size?
No, excess nitrogen typically boosts leaves at the expense of roots. Use a light, balanced approach, and in hydroponics avoid raising phosphate with “boosters,” since higher phosphate can reduce the kind of root quality you are targeting.
How often should I refresh water or nutrients in hydroponics to prevent root rot?
Top up or refresh at least weekly, then do a full nutrient solution change about every 2 weeks. If you notice stalled growth, discoloration, or a drop in dissolved oxygen, increase aeration immediately and consider an earlier partial replacement rather than adding more nutrients.
What’s the safest way to handle pH adjustments so I do not crash my system?
Make small pH corrections, re-test after 2 to 3 hours (or sooner for fast systems), and avoid repeated large adjustments in the same day. pH swings are a common cause of “deficiency symptoms,” so stabilize pH before changing EC or nutrient ratios.
How do I manage moisture in soil when rainfall and humidity swing a lot?
Avoid planting in low areas where water pools, use raised beds in heavy clay, and water based on the top inch drying rather than the calendar. During cool wet stretches, reduce watering frequency, because drainage problems often show up in year two when roots are dense.
When should I cut flowering stalks, and do I need to deadhead every time?
Cut stalks as soon as they appear, especially in year one and early year two. Removing flowers before seed set helps keep the plant investing in roots; waiting until plants are already producing seed reduces yield.
What does “good airflow indoors” mean for valerian?
Use an oscillating fan during the light period to keep leaf surfaces dry and prevent stagnant humid air. If you see persistent humidity or fungal spotting, also consider increasing spacing between plants and ensuring vents are not obstructed.
Is it better to use DWC or NFT for valerian roots?
Both can work, but DWC is often the easier choice for root development because it can be managed for high dissolved oxygen with an air stone and pump. NFT can be efficient, but it is less forgiving if the flow rate or oxygenation drops, so monitor frequently.
How do I know when roots are ready to harvest?
Use the first frost timing in the second fall as your main cue, since cold helps the plant shift energy into the roots. If you harvest earlier, especially from seed-started plants, expect smaller roots and potentially lower potency.
What drying method is safest for preserving valerenic acid and oils?
Dry at low temperatures below about 104°F (40°C) with good ventilation, and spread roots in a single layer away from direct sunlight. Roots are ready when they snap cleanly; bending indicates internal moisture that can lead to poor storage.
How should I store dried valerian roots for best potency?
Store dried roots in sealed glass in a cool, dark location, and use within roughly 12 to 18 months. If you preserve in olive oil, keep the container tightly sealed and label the harvest date so you can track quality over time.