For most outdoor flowering crops like cannabis, harvest falls when the majority of trichomes have turned cloudy/milky with around 10–20% amber, and 75–85% of pistils have darkened and curled in. For vegetables, you're reading firmness, color, size, and whether the plant is starting to bolt or over-mature. The exact window depends on your crop type, your local weather, and what quality outcome you're chasing, and getting it right by even a few days makes a real difference in flavor, potency, and shelf life.
When to Harvest Outdoor Grow: Exact Readiness Cues

Marcus Holloway
19 May 2026
How to Tell Your Outdoor Plants Are Ready
Every crop sends signals when it's ready, but you have to know which signals to read. The biggest mistake beginners make is relying on calendar estimates alone. For bananas, the growing season is typically in warm months, and the fruiting timing depends on your local climate and temperature banana grow in which season. Days-to-maturity figures on seed packets are a starting point, not a finish line, weather, soil health, and plant stress all shift that number.
Here are the universal maturity cues that apply across almost every outdoor crop:
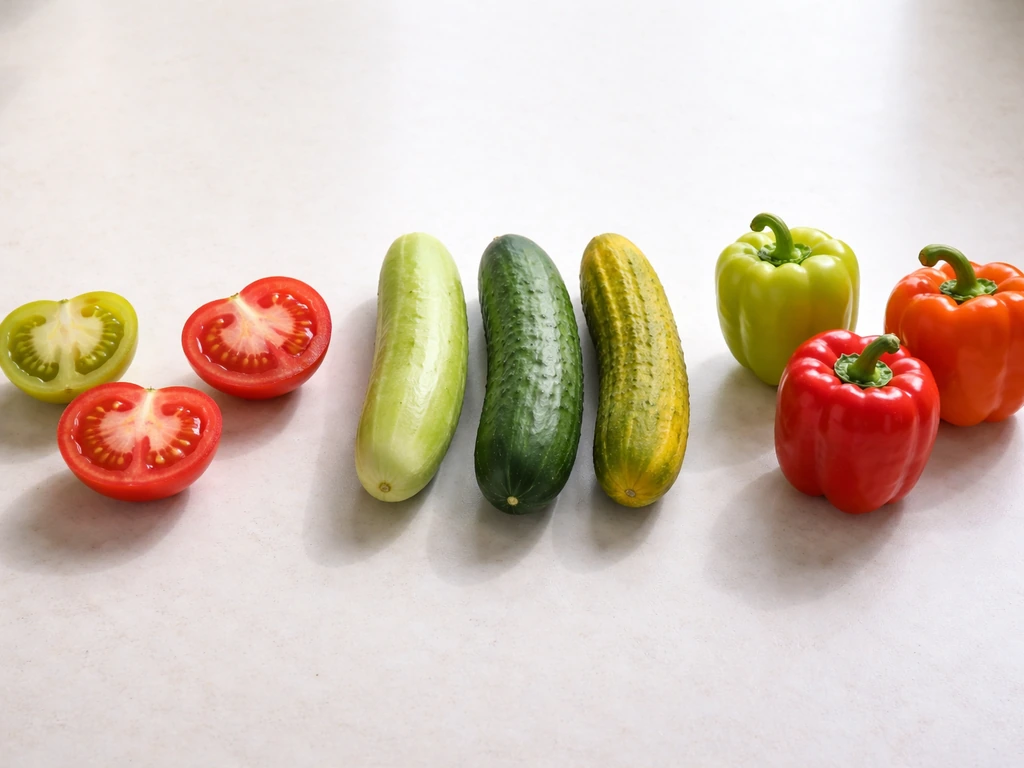
- Color shift: Most fruits and vegetables move from bright, saturated green toward their target harvest color. Dull, yellowing, or washed-out color often means you're past the window.
- Firmness: Ripe produce typically reaches peak firmness before softening. Peppers should feel crisp and solid; tomatoes should give slightly under thumb pressure while still holding shape.
- Size: Fruits and vegetables that have reached their varietal size are at or near harvest. Going beyond that size usually reduces quality rather than improving it.
- Seed/calyx development: For crops where seeds are the harvest (beans, squash), seed bulging inside the pod or hardening of the shell signals readiness. For flowering crops, calyx swelling and bract development indicate peak ripeness.
- Leaf yellowing and senescence: In many crops, when lower leaves start to yellow and the plant redirects energy to fruit, you're in or near the harvest window.
- Bolting or seed stalk formation: A sign you've missed the window for leafy crops like spinach, lettuce, and kale. Once a seed stalk forms, leaf quality drops sharply.
The rule across the board: bright, firm, and correctly sized means you're in the window. Dull, soft, overgrown, or bolting means you're at or past the end of it.
Harvest Timing by Plant Type
Different crops need completely different decision frameworks. Lumping them all together is where a lot of growers go wrong.
Vegetables and Fruiting Edibles
For most vegetables, you're reading physical plant cues alongside days-to-maturity as a rough reference. Here's how to think through the main categories:
| Crop | Primary Harvest Cue | Watch Out For |
|---|---|---|
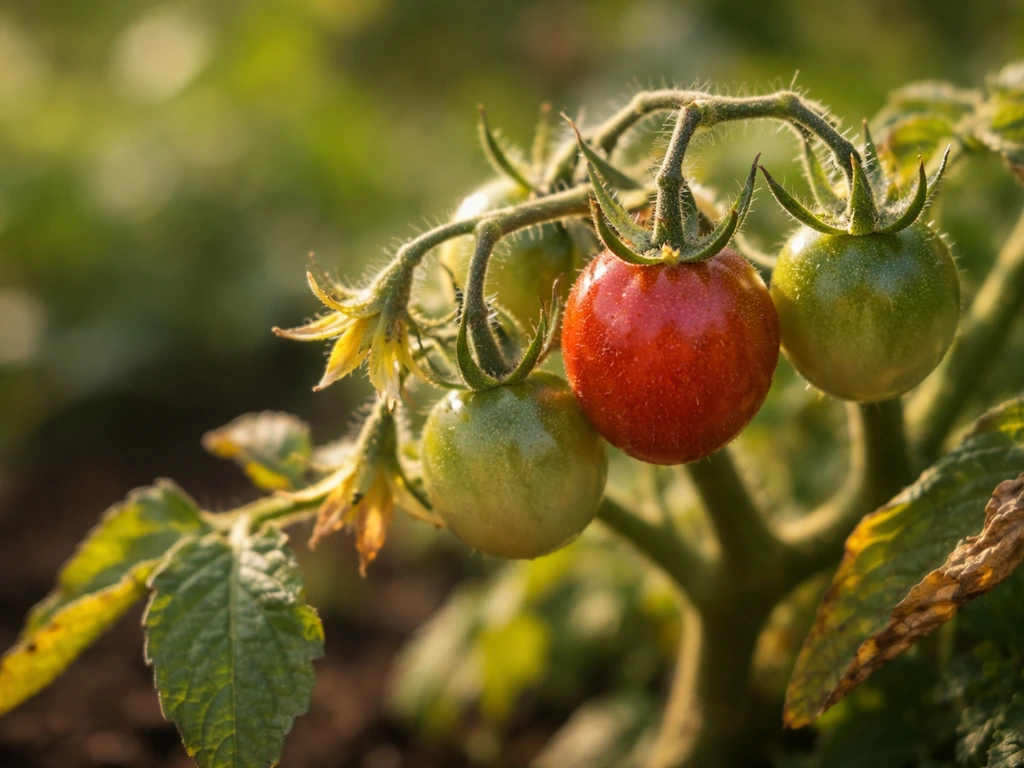
| Tomatoes | Full varietal color, slight give under pressure, still firm | Over-ripe softening; harvest at color if Botrytis or frost risk is high |
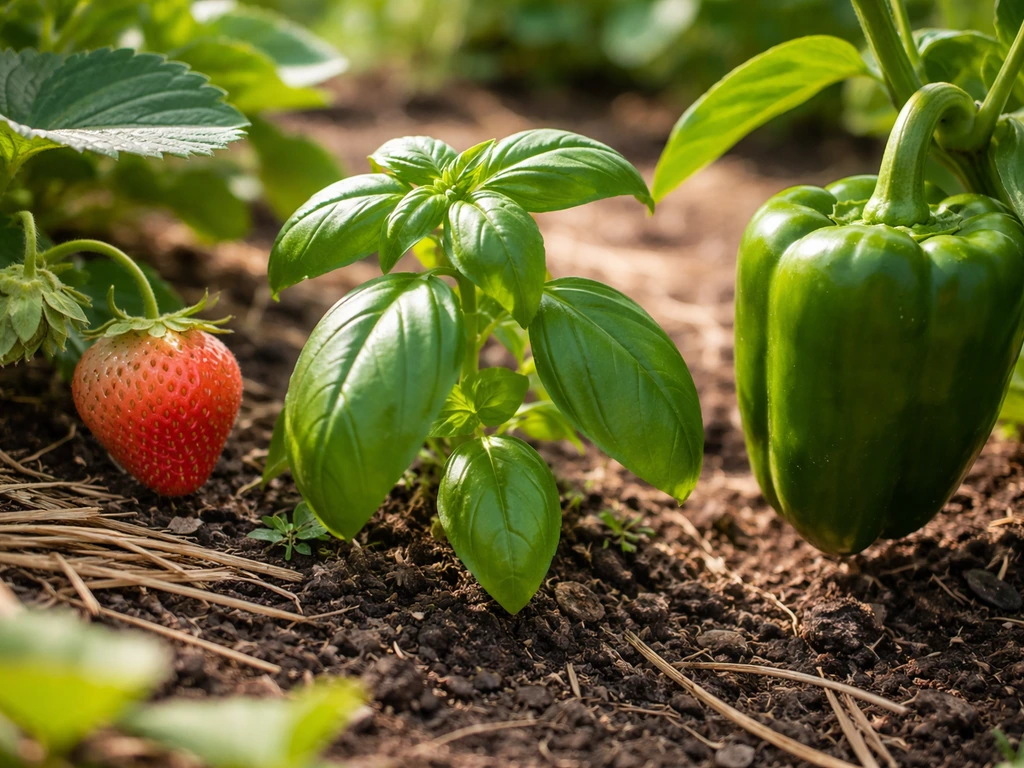
| Sweet Peppers | Full size, firm and crisp texture, color change complete (if color type) | Leaving on plant too long causes softening and seed over-maturity |
| Winter Squash / Pumpkins | Skin resists puncture (fingernail test), vine has dried back, corky stem | Frost damage — must come in before first hard frost |
| Zucchini / Summer Squash | 6–8 inches long, skin still tender, before seeds enlarge | Letting fruit grow too large makes it seedy and tough |
| Spinach / Leafy Greens | Leaves at full size, before bolt/seed stalk forms | Bolting in heat — harvest early in warm spells |
| Kale | Young leaves for baby greens; mature leaves when full-sized before frost | Frost actually improves flavor; don't rush in early fall |
| Potatoes | Skin doesn't rub off easily (skin set), vines died back naturally | Digging too early leaves thin skin that doesn't store well |
| Sweet Potatoes | Before first frost, roots at full size | Frost kills vines fast — cure immediately after harvest at room temp |
An important distinction: climacteric fruits like tomatoes, melons, and stone fruits can finish ripening off the vine after you cut them. Non-climacteric crops like peppers, cucumbers, and berries cannot, what you pick is what you get. This matters a lot when frost or a rain event forces an early harvest. If you're picking tomatoes early to beat a frost, they'll still ripen on the counter. If you're pulling peppers too early, they'll stay that way.
Flowering Crops (Cannabis and Similar)
For cannabis and other flowering crops where the flower itself is the harvest, the maturity cues are more specific and require closer inspection. Calendar estimates from breeders give you a ballpark, typically 8–11 weeks of flower for most photoperiod strains outdoors, but you need to verify with your eyes and, ideally, a magnification tool.
The two main visual cues to check before any equipment come from the pistils (the small hairs on the buds) and the overall bud structure. Start looking seriously once roughly 75% of those pistils have changed from white to orange, red, or brown and have started to curl inward. At that point, the plant is telling you it's getting close. Buds should look dense and fully formed, with calyxes swollen tight.
Reading Trichomes (and When to Use a Microscope)
Pistils tell you roughly when to start looking. Trichomes tell you exactly when to cut. For any flowering crop where resin development matters, trichome inspection is the most reliable method available to a home grower.
Trichomes go through a visual progression you can track. Clear trichomes mean the plant is still building its compounds, harvesting here gives an immature product. Milky or cloudy trichomes mean peak development. Amber trichomes mean the plant is past peak and starting to degrade. Your target ratio determines the character of your harvest.
| Trichome State | What It Means | Best For |
|---|---|---|
| Mostly clear | Underdeveloped — too early | Nothing — wait |
| Mostly cloudy/milky (~85%), some clear (~15%) | Early harvest window — lighter, more uplifting effect | Growers who prefer a less sedating result |
| Mostly cloudy (~70–80%) with 10–20% amber | Peak balanced harvest — typical sweet spot for most growers | Best overall potency and flavor balance |
| Heavy amber (30%+) | Past peak — compounds degrading | More sedating effect; terpene quality declining |
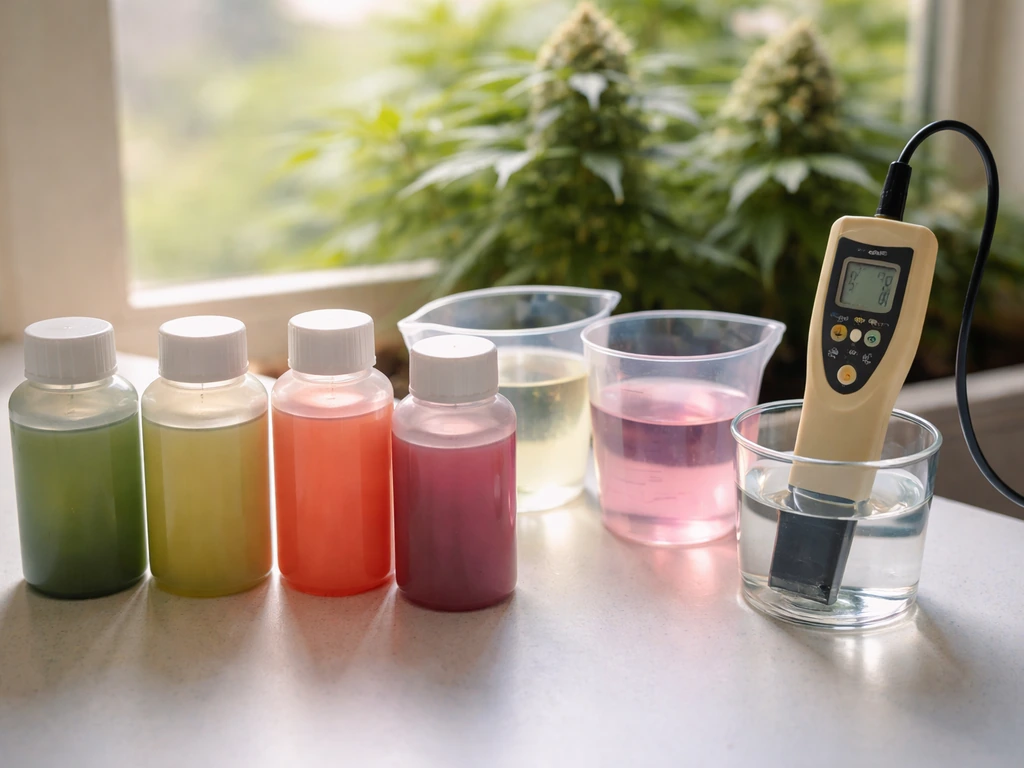
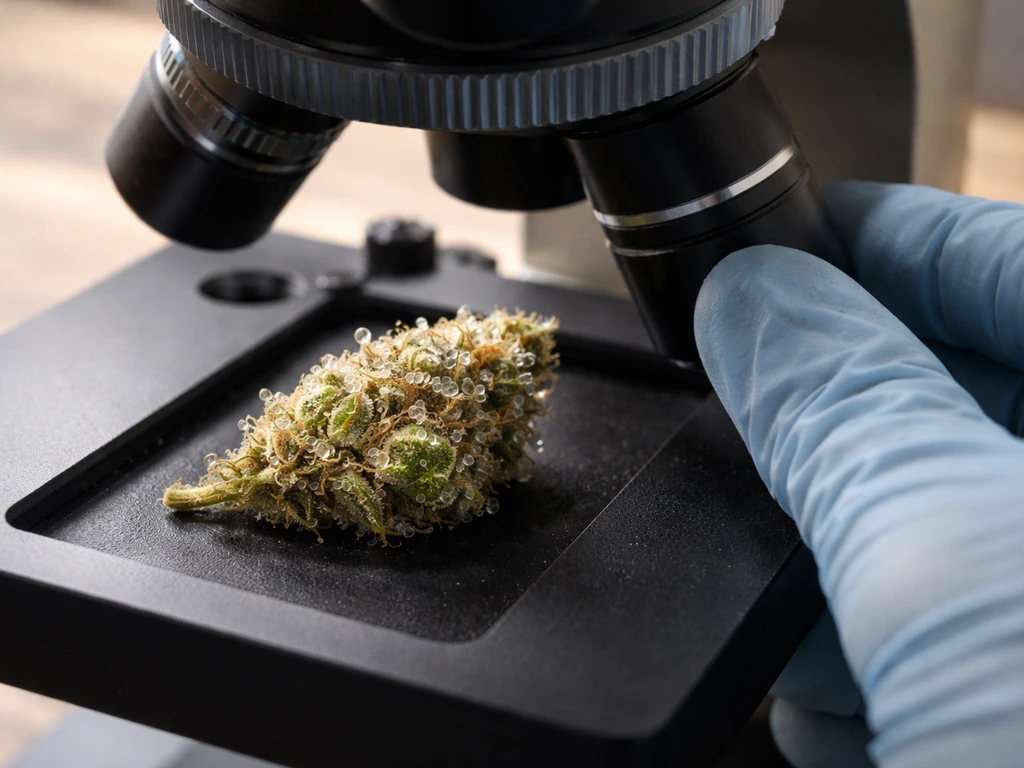
To actually see trichomes clearly, you need magnification. The naked eye cannot reliably distinguish milky from clear. A jeweler's loupe at 30x is the minimum practical tool, it's cheap, pocket-sized, and genuinely useful. A digital USB microscope at 60–100x gives you a better view and lets you photograph what you're seeing. Don't make a harvest decision on a plant that took months to grow based on squinting at it.
When checking trichomes, sample from multiple bud sites, the top canopy buds typically mature faster than lower and inner ones. If you're seeing ripe trichomes at the top but clear ones lower down, consider a staged or progressive harvest: cut the top colas first, then give the lower sites another 7–10 days before taking the rest of the plant.
Environmental Triggers: Weather, Frost, Heat, and Rain Risk
Your plants don't care about your ideal harvest window if the weather has other plans. This is one of the most underestimated parts of outdoor growing, and it's where experienced growers make decisions that beginners miss entirely.
Frost Pressure
Most fruiting and flowering crops cannot tolerate a hard frost. For cannabis, a frost event at late flower doesn't just damage leaves, it can kill trichomes and invite mold into wet, damaged tissue. For fruiting vegetables, frost can cause cell damage that ruins the fruit. Check your local forecast rolling 10–14 days out once you're within 3–4 weeks of estimated harvest. If a frost is incoming and your plants are 80–90% ripe, cut them. A slightly early harvest beats a frost-damaged one every time.
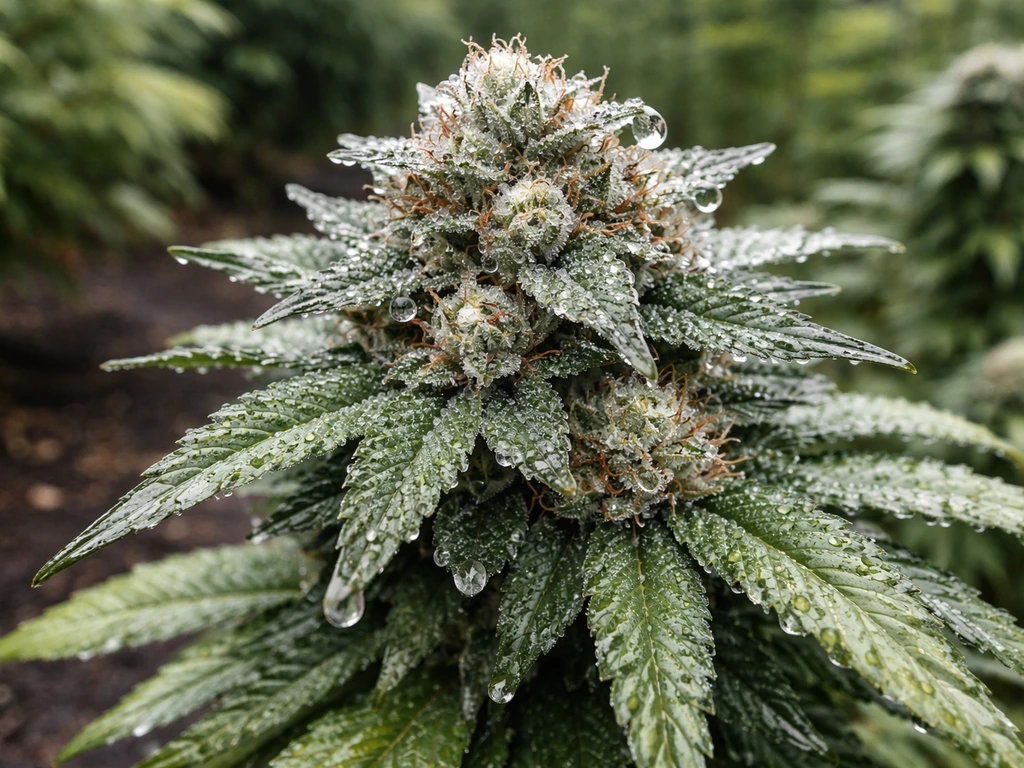
Rain and Humidity Risk
This is the most acute risk for outdoor flowering crops in late season. Botrytis (gray mold) thrives when humidity is high and free water sits on plant surfaces from rain, heavy dew, or fog. It spreads fast through dense buds and can destroy a harvest in 48–72 hours once established. Growers in coastal or humid climates face this risk every year.
If you're tracking consistent rain in the forecast during your harvest window, move the harvest date earlier rather than later. A crop harvested a week before peak that's clean and intact is dramatically better than one harvested on time but riddled with mold. This is also the point where switching your nutrient approach matters, if you're still pushing heavy growth nutrients late into flower, you're adding to the risk.
This is why many growers switch from growth-focused feeding to bloom nutrients as late season approaches switching your nutrient approach. If you do want to can you switch nutrients mid grow, plan the change carefully because late-season timing can affect plant stress and overall quality switching your nutrient approach matters. Once you get into late flower and closer to harvest, that's typically when growers switch from growth (grow) nutrients to bloom outdoors switching your nutrient approach.
More on that in resources covering when to switch from grow to bloom nutrients outdoors.
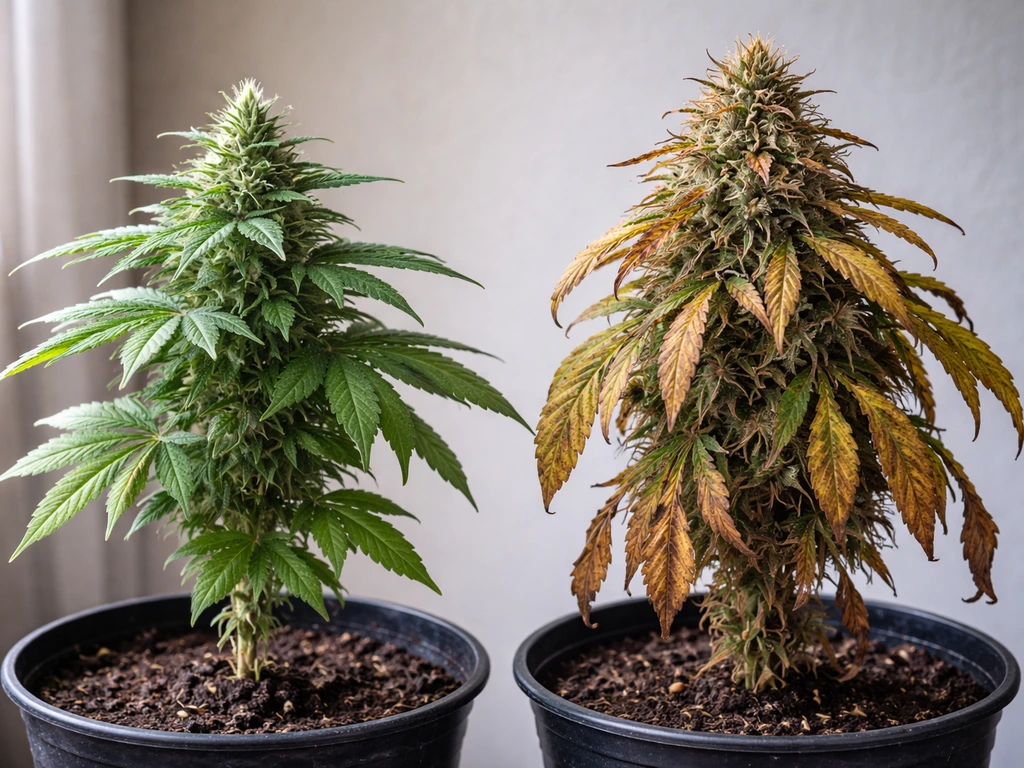
Heat Stress and Late-Season Conditions
Heat stress in late flower can cause bleaching, foxtailing (new, undeveloped calyxes growing out of existing buds), and terpene loss. If you're in a region with a late summer heat spike, monitor your plants closely for bleached or pale bud tips and accelerate your harvest timeline if the plant shows stress. For vegetables, prolonged heat causes bolting in leafy crops and softening in ripe fruits, harvest earlier in the day (after dew dries, before afternoon heat) during heat waves to preserve quality.
Harvest Windows and Scheduling
A harvest window is rarely a single day, it's typically a range of several days to two weeks depending on the crop. Knowing that range lets you plan around weather, your own schedule, and your post-harvest setup.
For cannabis outdoors in the Northern Hemisphere, most photoperiod strains hit harvest between late September and early November. Autoflowering strains run on their own clock regardless of light cycle, typically finishing 70–90 days from seed. In the Southern Hemisphere, the window shifts to March through May. Build a rough timeline working backward from your expected harvest date:
- Identify your estimated harvest date from breeder info and your trichome/pistil checks.
- Mark the 10-day window before that date as your active harvest watch period — check trichomes every 2–3 days.
- Confirm your drying space is set up and ready before you cut anything.
- Check the 10-day weather forecast for frost, rain, or humidity events.
- Adjust cut day earlier if weather pressure warrants it. Adjust later only if conditions are stable and trichomes aren't ready yet.
- For large plants or multiple plants, plan to harvest in stages across 2–3 days rather than all at once if your drying space has limited capacity.
For vegetables, the harvest window is often shorter and more time-sensitive. Zucchini and leafy greens can turn from perfect to overblown in a day or two during warm weather. Tomatoes, peppers, and winter squash have a longer window but still need to come in before the first hard frost date for your area.
Common Mistakes That Lead to Early or Late Harvest
These are the errors I see most often, and most of them are avoidable with a little planning.
- Trusting only the breeder's day count: Days-to-maturity is an average under ideal conditions. Your environment, strain expression, and plant health all move that number. Always verify with physical cues.
- Checking trichomes only with the naked eye: You cannot reliably read trichome color without at least 30x magnification. This leads to both early and late harvests based on guesswork.
- Ignoring the weather forecast until it's too late: A frost or multi-day rain event during harvest week is not a surprise if you're checking forecasts regularly. Start watching 2–3 weeks out.
- Harvesting all at once without checking each bud site: Upper and lower canopy don't ripen at the same rate. Blanket harvesting either leaves lower buds underdeveloped or lets top colas go past peak.
- Not having a drying space ready before harvest: Cutting plants and then scrambling to set up a drying area is a quality killer. Temperature, humidity, and airflow need to be dialed in before you bring a single branch inside.
- Letting leafy vegetables bolt before harvesting: Heat triggers bolting fast. Once a spinach or kale plant throws a flower stalk, the leaves turn bitter and tough. Harvest before that point, especially during summer heat.
- Harvesting too late out of fear of harvesting too early: Late harvest, especially on cannabis, means degraded compounds, reduced terpene quality, and a more sedating, sometimes unpleasant effect. Trust the trichome data.
What to Do Immediately After Harvesting
How you handle plants in the first few hours after cutting has a direct impact on final quality. Don't rush this part.
For Cannabis and Flowering Crops
Cut branches at the base and do a rough wet trim to remove large fan leaves immediately, they hold moisture and slow drying. Smaller sugar leaves can be left on during drying to protect trichomes and slow the process slightly, then trimmed dry later. Hang branches upside down in your drying space. Target conditions: 60–70°F (16–21°C), 55–60% relative humidity, gentle airflow (a fan pointed at a wall, not directly at the buds), and a dark space. Light degrades compounds even in dried material.
Drying takes approximately 7–14 days depending on bud density and your room conditions. The test for when drying is complete: smaller stems should snap cleanly rather than bend. Larger branches will still flex but the smaller ones are your guide. Rush this stage and you trap moisture into jars, which guarantees mold. If you're drying too fast (under 5 days), your room is too dry or too warm, slow it down.
After drying, move to curing in sealed glass containers. Fill jars about 75% full and burp them daily (open the lid for 10–15 minutes) for the first 1–2 weeks to release built-up moisture and gases. After two weeks, burping can drop to every few days. A full cure takes 2–8 weeks, and the quality difference between a 2-week and 6-week cure is noticeable, flavor and aroma develop significantly during this period. Keep jars in a cool, dark place and use a hygrometer inside the jar if possible to target 58–62% RH during cure.
For Vegetables and Edible Crops
Vegetables need different post-harvest handling depending on the crop type. Tomatoes harvested slightly early should sit at room temperature out of direct sunlight to finish ripening, never in the refrigerator, which kills flavor and texture. Peppers and cucumbers should go straight into cool storage. Winter squash and pumpkins need a curing period of 10–14 days at room temperature to harden the skin before moving to cooler long-term storage.
Sweet potatoes need immediate curing at 80–85°F for about 10 days before cool storage, skipping this step dramatically shortens their shelf life. Potatoes should be left in the ground after the vines die back until the skin is fully set (the rub test: skin doesn't peel off when you rub it firmly), then stored in cool, dark, humid conditions.
For herbs, harvest in the morning after dew has dried but before the heat of the day builds, this is when volatile oils are most concentrated. Hang small bundles upside down in a well-ventilated, dark space for roughly two weeks. The best time to harvest herbs for drying is just before flowers fully open, at the bursting bud stage.
Your Harvest Decision Checklist
Run through this before you cut anything:
- Have I confirmed physical maturity cues (color, firmness, size, pistil/calyx development) for my specific crop?
- For flowering crops: have I checked trichomes under at least 30x magnification and confirmed mostly cloudy with some amber?
- Have I checked the 10-day weather forecast for frost, rain, or high humidity events?
- Is my drying or post-harvest space set up and at the right temperature and humidity before I harvest?
- Am I planning to harvest in stages if my canopy has uneven ripeness?
- For vegetables: do I know whether my crop can finish ripening off the plant (climacteric) or not?
- Have I confirmed I'm not reacting to anxiety about over-ripening when trichomes/physical cues say I still have time?
If you can answer yes to all of these, you're ready to harvest with confidence. If any are still open questions, sort those out first, the plant will hold for another day or two while you get your setup right.
FAQ
What should I do if the weather will be wet for several days but my crop looks almost ready to harvest?
If rain or heavy dew is forecast during late flower, aim to harvest earlier if you are already seeing the target readiness cues. For dense buds, delaying just a week can allow botrytis to establish in the core, and once that happens, removing affected sections usually cannot fully salvage the harvest.
How can I tell whether I should harvest in one go or do a staged harvest?
Choose staged harvest when different parts of the plant are clearly at different ripeness levels, for example top buds showing cloudy trichomes while lower or inner buds are still mostly clear. Cut the most mature colas first, then check again in about 7 to 10 days, so you do not sacrifice the under-mature sites by waiting for the top.
For outdoor cannabis, is it better to harvest at 100% milky trichomes or when some are amber?
The best target depends on what effect you want, but harvesting with a portion of amber present usually indicates peak transition rather than maximum freshness. A practical decision aid is to confirm milky predominance first with magnification, then only wait for amber if the plant is not under active weather stress (rain, high humidity, or a heat spike).
What if I only have the naked eye, can I still use readiness cues reliably?
You can use pistils and overall bud structure to time “start checking,” but trichome timing is where outcomes diverge. If you cannot magnify, treat the harvest as an estimate and plan to re-check within 2 to 3 days, because cloudy versus clear is not reliably distinguishable without at least a 30x loupe.
Should I wash or rinse outdoor harvests before drying, especially if there was recent rain?
Generally, avoid routine rinsing right before drying because extra surface moisture increases the chance of mold in dense flowers and slows drying. If your concern is contamination, focus on choosing a clean cutting moment and improving airflow and drying conditions rather than adding water to plant tissue.
How late can I harvest if I’m trying to avoid cold damage but mold risk is also high?
Use a weather-based priority: if frost is likely and your crop is near ripe (many readiness cues already present), harvesting slightly early usually beats waiting for full maturity. If humidity and repeated wetting are dominant, prioritize earlier harvest as well, because mold can progress within 48 to 72 hours once conditions stay favorable.
What’s the most common mistake when interpreting days-to-maturity on seed packets?
Treat it as a baseline, not a cutoff. Temperature swings, soil health, and plant stress can shift the real harvest window by more than a week, so you still need to verify with physical cues (firm size, color, bolting status for vegetables, pistils and trichomes for flowering crops).
How should I adjust harvest timing when the plant shows heat stress like bleaching or foxtailing?
If you see pale or bleached bud tips or fresh foxtails late in flower, it indicates the plant is diverting energy away from fully mature resin. Consider accelerating the harvest rather than waiting for “perfect” trichome ratios, because prolonged heat can reduce terpene quality even if some maturity markers continue to change.
Do tomatoes and peppers ripen differently after harvest, and how does that change timing?
Yes. Tomatoes, melons, and stone fruits can continue ripening off the vine after cutting, so an early harvest to avoid frost can still reach good flavor. Peppers, cucumbers, and berries usually do not, so you should harvest them as close to full size and color readiness as possible.
For vegetables, what should I do if they are almost ready but the forecast suggests a frost night?
Harvest when quality cues are near their peak but before damaging cold hits. For frost-sensitive fruits, a “slightly early but intact” pick reduces cell damage and texture loss, and for crops that can ripen off the plant, store at room conditions away from direct sun to finish the process.
Is there a best time of day to harvest outdoor produce to improve storage life?
Often yes. For many vegetables and herbs, harvesting after morning dew dries but before peak afternoon heat helps preserve texture and reduces wilting. For heat waves, harvesting earlier in the day (once dew is off) can also prevent softness and quality loss caused by high temperatures.
How do I prevent the “harvest is ready but my drying jars will mold” problem?
Do not start curing until stems are fully dry enough for the snap test, and avoid drying that is too fast (for example, under about 5 days in many home setups). If buds go into sealed jars while interior moisture remains, you may get persistent off odors and visible mold even if the outside looks dry.
What curing humidity target should I aim for if I have mold-prone conditions?
For cannabis-style curing in sealed containers, aim roughly in the 58 to 62% RH range using a jar hygrometer if available. If your readings repeatedly climb above target, extend burping slightly and verify your drying wasn’t rushed, because curing moisture can only be managed if the buds are already properly dried.
Do I need to stop feeding before harvest, and when does it matter most?
Stopping or changing nutrients matters most when late-season weather increases stress and disease risk. If you are still pushing growth-focused nutrients late into flowering or fruiting, it can worsen susceptibility to problems, so many growers shift toward bloom-focused feeding as the harvest window approaches (and plan the timing carefully to avoid stressing the plant right before cutting).