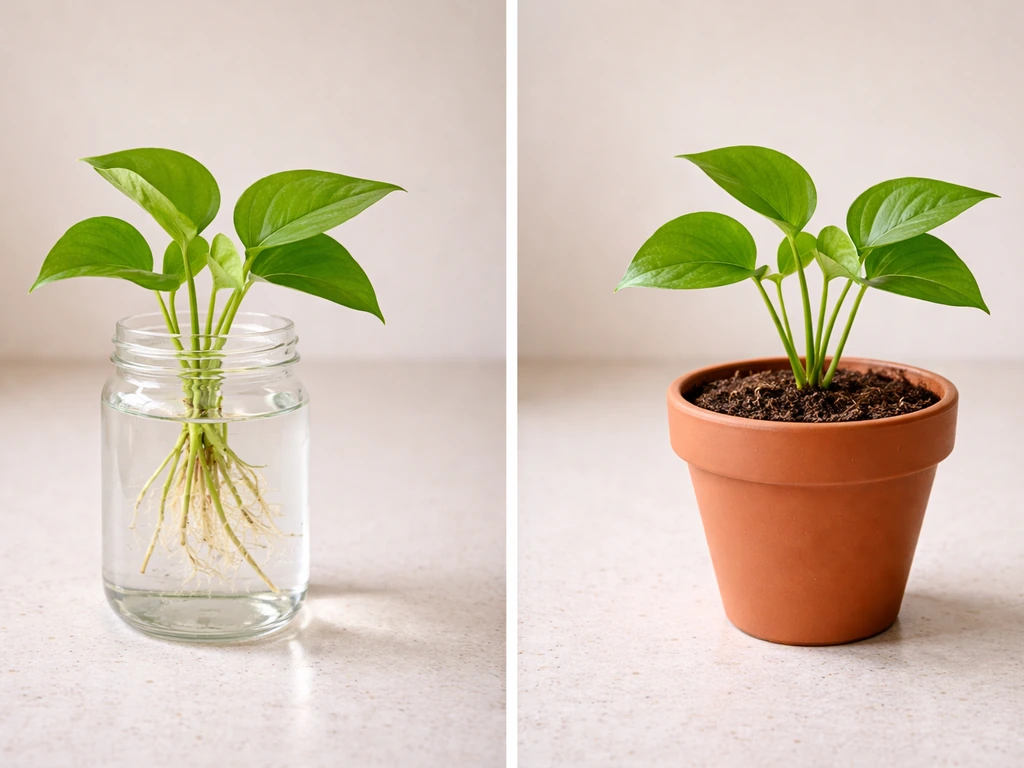
Yes, you can grow autoflowers without adding bottled nutrients, but only if the medium you plant them in already contains the minerals they need. Yes, you can grow autoflowers without adding bottled nutrients, but only if the medium you plant them in already contains the minerals they need, which is a key part of should i grow autoflowers. A true "zero input" grow, meaning nothing but plain water from seed to harvest, works when you use a pre-amended living soil or quality organic mix that's been built to feed the plant on its own. In hydroponics, skipping nutrients entirely isn't realistic, because water alone cannot supply the essential elements plants need to survive, let alone flower.
Can You Grow Autoflowers Without Nutrients? Soil vs Water

Marcus Holloway
27 May 2026
Reality check: what 'no nutrients' actually means for autoflowers
When most growers say they want to grow without nutrients, they usually mean one of three things: no bottled liquid fertilizers, no synthetic salts, or genuinely nothing added to the water at all. These are very different situations. No cannabis plant can survive without minerals like nitrogen, phosphorus, potassium, calcium, magnesium, and a handful of micronutrients. What changes is where those minerals come from.
During the first 10 to 14 days after germination, autoflower seedlings rely on nutrients stored inside the seed itself. This is why every experienced grower tells beginners to hold off on feeding during that window. You won't see deficiencies from skipping bottled nutrients for the first two weeks because the plant is essentially self-contained at that stage. After that, it depends entirely on what's in your growing medium.
Even your tap water or well water contributes something. Irrigation water often contains measurable amounts of calcium, magnesium, sulfur, and trace micronutrients like iron, manganese, zinc, and boron. So a "no nutrients" grow is rarely a true zero. The question is whether those background levels, combined with whatever's in your soil, are enough to take an auto through its full 70 to 90 day life cycle without obvious deficiency. That means if you want to run an autoflower through a very fast window like 12/12, you still need to make sure the medium can supply enough nutrition across the full cycle 70 to 90 day life cycle.
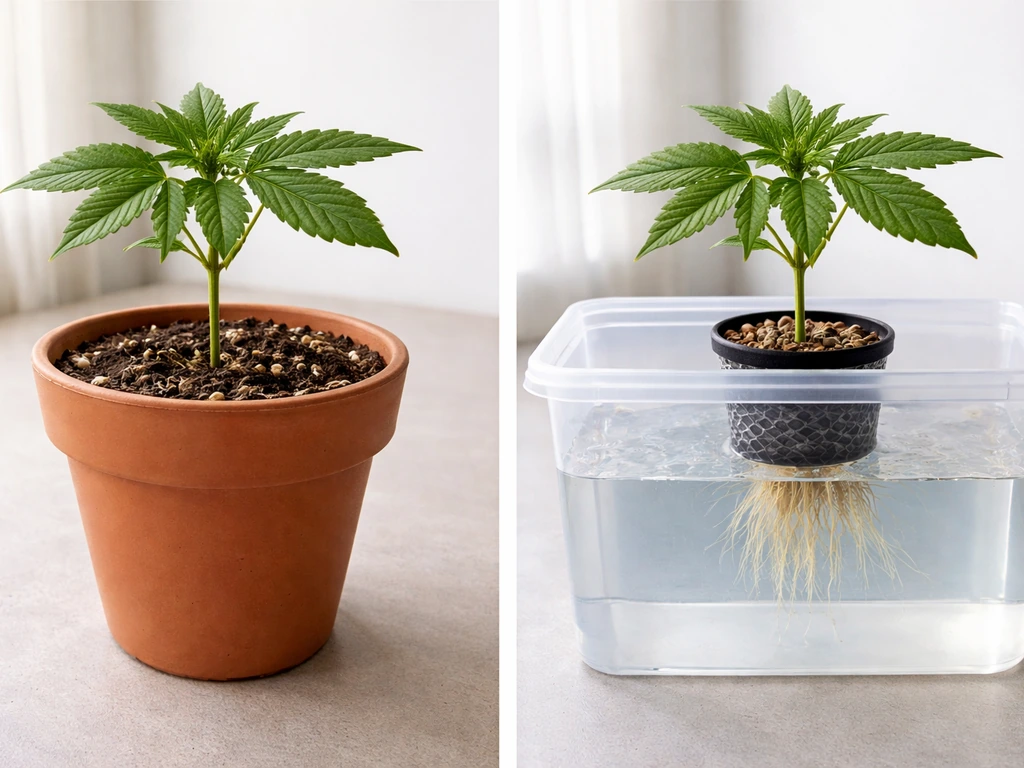
Soil vs. hydroponics: can you skip nutrients in each medium
Soil and hydroponics sit at opposite ends of the spectrum when it comes to going nutrient-free. Here's a direct comparison so you can see exactly what you're working with.
| Medium | No-nutrient viability | Why it works or fails | Practical threshold |
|---|---|---|---|
| Pre-amended living soil / super soil | High | Organic matter breaks down slowly, feeding the plant across its life cycle | Can often reach harvest water-only with correct pot size |
| Quality bagged organic potting mix (e.g., Fox Farm, Biobizz All-Mix) | Moderate | Usually pre-loaded with 4–6 weeks of nutrients, but needs supplementing in flower | Works without bottled nutes in veg; flowering stage often needs a light top-dress or tea |
| Basic potting soil / seed-starting mix | Low | Minimal nutrition, typically exhausted within 2–3 weeks | Will show nitrogen deficiency by week 3–4 without added feeding |
| Coco coir | Very low | Inert medium with essentially zero nutrient content; coco also binds calcium and magnesium | Deficiencies appear within days of germination without a full nutrient solution |
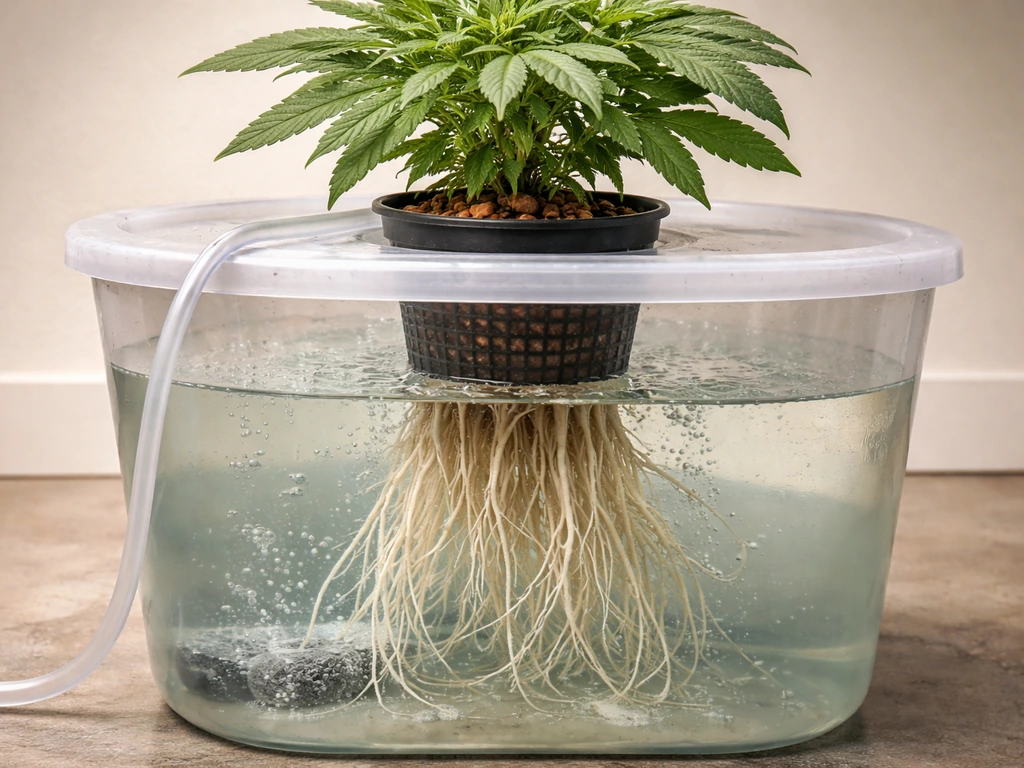
| DWC / NFT / other hydroponic systems | None | Water contains no macro or micronutrients at usable concentrations; roots have nothing to absorb | Plants stall and die within 1–2 weeks without a complete nutrient solution |
Soil is forgiving because it acts as a buffer. The microbial life in a living soil breaks down organic matter and converts it into plant-available ions over time. Hydroponics has no such buffer. In a hydroponic system, nitrogen needs to be present at roughly 100 to 200 mg/L, potassium at 100 to 200 mg/L, and calcium at 200 to 300 mg/L just to support basic growth. Plain water contains none of those at meaningful concentrations. If you're interested in exploring hydroponic autoflower growing, that's a whole separate conversation about nutrient management, not skipping it. If you want to can you grow autoflowers hydroponically, focus on keeping correct nutrient concentrations and pH so the plant can access what it needs hydroponics.
Low-input methods that still cover what your plant needs
If the goal is to avoid bottled liquid fertilizers but still grow healthy plants, you have several practical options. These are organic or soil-based approaches that put the nutrients in the medium rather than in a bottle.
Super soil and living soil
A properly built super soil is designed from the start to feed a plant for its entire life with nothing but water. You mix in organic amendments like worm castings, bat guano, kelp meal, bone meal, and compost before you ever plant, then let the microbial activity unlock nutrients as the plant needs them. This is the closest thing to a true "no nutrients" grow. The key word is "properly built," though. A poorly balanced super soil can still create deficiencies or toxicities, especially with micronutrients like iron that can get locked out if pH drifts. Worm castings typically carry an NPK around 1-0-0 up to 5-5-3 depending on what the worms have been fed, plus a solid range of micronutrients. They're gentle enough not to burn seedlings and can be incorporated heavily into any organic mix.
Pre-fertilized bagged mixes with organic top-dressing
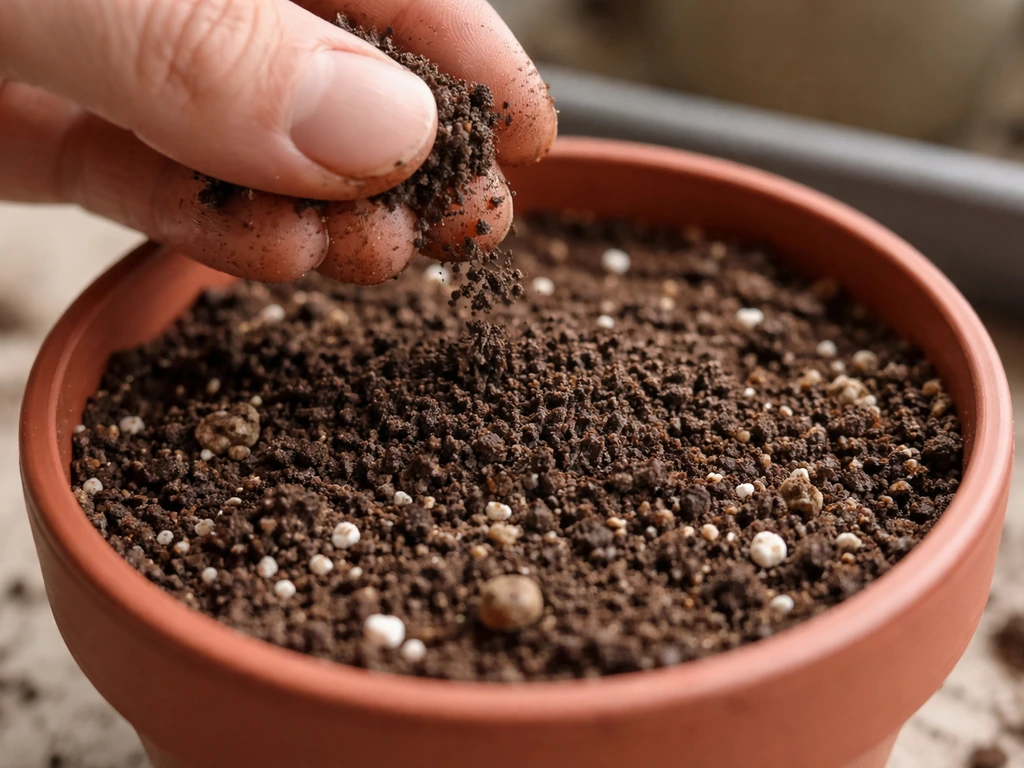
A simpler approach for beginners is to start in a quality organic potting mix that comes pre-loaded with 4 to 6 weeks of nutrition. For autoflowers, that covers germination, seedling, and most of vegetative growth. When flowering starts, around weeks 3 to 4 for most autos, you can extend the soil's nutrition by top-dressing with worm castings, a small amount of bat guano (commonly cited at around 10-3-1 NPK, though this varies by source), or a slow-release organic amendment blend. Water it in lightly and the microbes do the rest. No syringes, no measuring EC, no bottles.
Compost teas
Aerated compost teas are another tool that doesn't feel like "nutrients" to most growers. You brew finished compost or worm castings in water with an air stone for 24 to 48 hours, which multiplies the beneficial microbes and puts a small amount of soluble nutrition into the water. Teas feed the soil biology more than the plant directly, but a healthy soil biology makes nutrients available. This is a good mid-cycle boost without reaching for a bottle.
Pot size, water-only feeding, and keeping deficiencies away
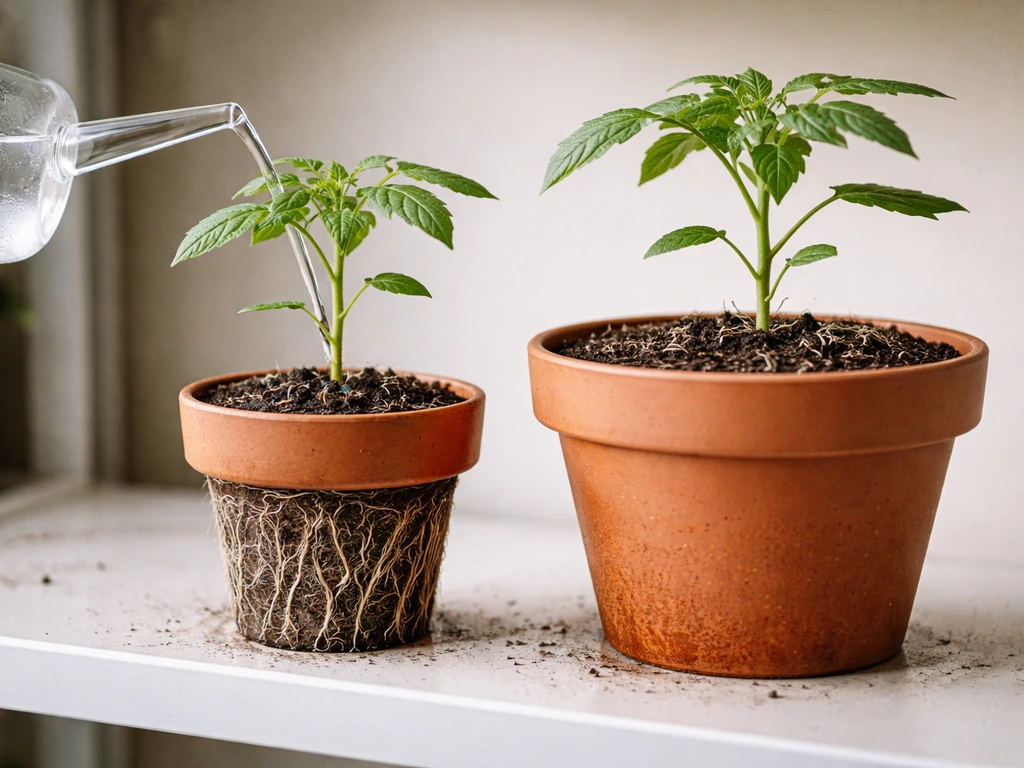
Pot size is one of the most underestimated variables in a no-nutrients grow. When you're relying entirely on the medium for nutrition, you need enough of it to last the full life cycle. A 3-gallon pot of living soil might run out of available nitrogen by week 5 or 6. A 5-gallon pot gives you more organic matter and more microbial activity to work with. For most autoflowers in a water-only scenario, a 5-gallon fabric pot is the minimum I'd recommend. Going to 7 gallons gives you more buffer, especially for heavier-feeding strains.
Too-small pots create a cascade of problems: roots become restricted, dryback cycles happen too fast, and stressed roots can't absorb what's available even if the nutrients are technically present. This is called nutrient lockout, and it can look exactly like a deficiency even when the medium is loaded. pH and root health matter as much as the actual nutrient content.
Watering frequency matters a lot in a soil-only grow. Overwatering compresses root zones and kills the aerobic microbes that unlock organic nutrients. Underwatering creates dry pockets where microbial activity slows. The goal is to water when the top inch or two of soil has dried out and the pot feels noticeably lighter. Lift the pot regularly to train your instinct for this. Fabric pots help because they air-prune roots and promote better oxygen exchange, which supports the microbial ecosystem your plant is depending on.
Keep your soil pH in the 6.0 to 6.5 range. Most nutrient availability peaks in that window. If pH drifts above 7.0, iron and manganese can lock out even when the soil has plenty. If it drops below 6.0, calcium and magnesium become less available. Test your runoff pH at least once a week. Adjust your input water to compensate if it's drifting.
Setup choices: light, environment, watering schedule, and what each growth stage needs
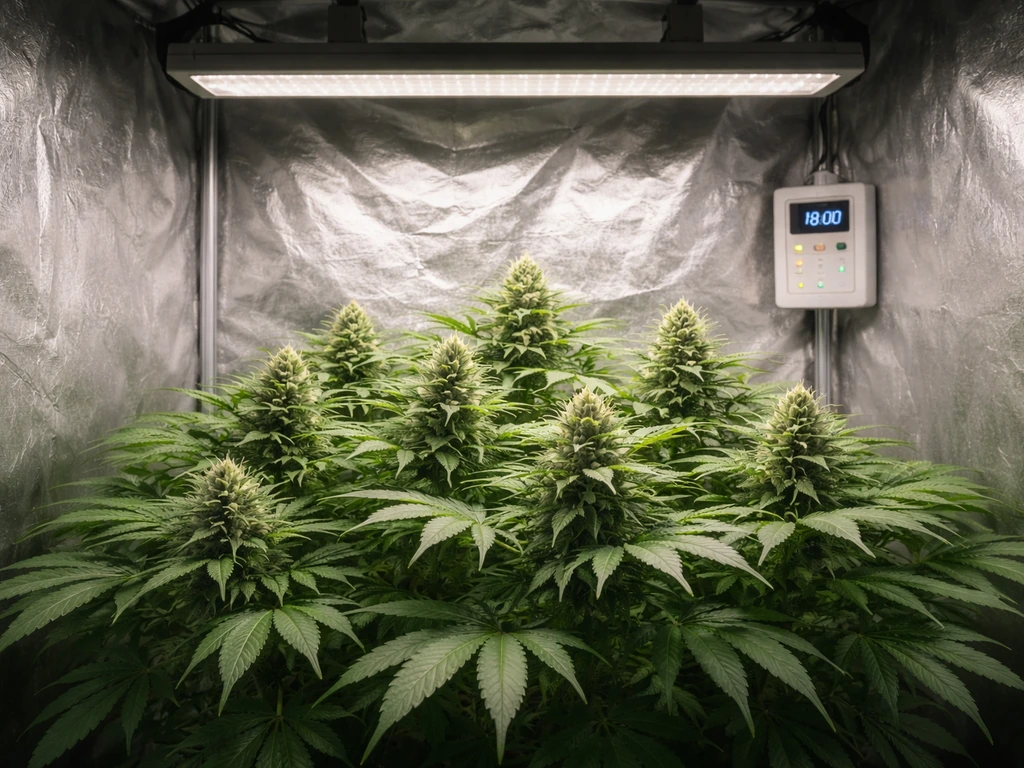
The environment you create affects how hard the plant pushes for nutrients. A plant under weak light in a cool room grows slowly and consumes fewer resources. A plant under 600W in a warm VPD-dialed tent will cycle through soil nutrients faster. For a water-only or low-input grow, moderate environmental intensity works in your favor by slowing the rate of nutrient depletion.
Light
For indoor autoflowers, a schedule of 18 hours light and 6 hours dark is the most common and gives the plant enough energy without driving it to consume resources faster than the soil can supply them. Autoflowers don't need a light schedule change to trigger flowering, so you won't need to adjust mid-grow. Photoperiod changes are different from autoflowers, so if you are also asking can you grow autoflower and photoperiod together, plan your lighting and timing around that comparison. You might wonder about growing autos on a 12/12 light cycle, but the nutrient-free approach still depends on the same medium, pot size, and pH basics can you grow autos on 12/12. LEDs at 200 to 400W actual draw are well-matched to a low-input soil grow for a single plant or a small 2x2 to 3x3 space.
Week-by-week stage demands
- Weeks 1 to 2 (seedling): Plain water only, pH 6.0 to 6.5. The seed provides all nutrition. No amendments, no teas, no top-dress. Let it establish.
- Weeks 3 to 4 (early veg): Light watering, still no additives if you're in a pre-amended mix. Begin checking runoff pH weekly.
- Weeks 4 to 5 (late veg into pre-flower): This is when organic soil fertility starts getting tested. Watch leaf color. If you're in a super soil, continue water-only. If in a standard organic mix, consider a compost tea or light worm casting top-dress now.
- Weeks 5 to 8 (flower): Flowering demands phosphorus and potassium more heavily. A super soil should carry through. A standard potting mix often won't without some amendment. Top-dress with a bloom-oriented organic amendment if needed.
- Weeks 8 to 10 (late flower/flush): Reduce or eliminate any feeding in the final 10 to 14 days. Plain water from here to harvest. This is the one phase where even bottled-nutrient growers go water-only.
When to stop fighting it and give the plant some nutrients
There's no shame in reaching for nutrients when the plant asks for them. Autoflowers have a compressed life cycle of 70 to 90 days. Autoflowers are often thought to be faster, but whether they grow faster than photoperiod plants depends on the strain, environment, and how quickly they reach flowering Autoflowers have a compressed life cycle of 70 to 90 days.. When you grow outdoors, autos can still get bigger, but the size depends a lot on how much food and room they have in the soil and how long they stay healthy do autoflowers grow bigger outside. A deficiency that goes unaddressed for two weeks in a photoperiod plant is recoverable. The same deficiency in an auto can cost you a third of your yield before you even notice it. Here's how to read the signs.
Deficiency warning signs to watch for
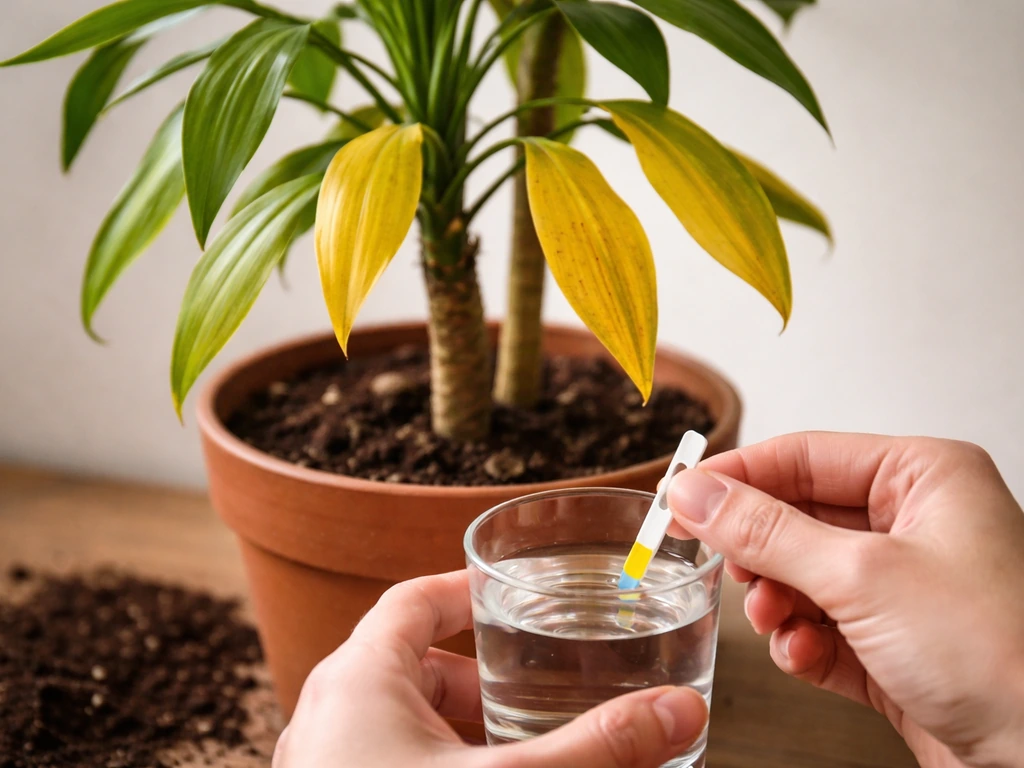
- Yellowing starting on older, lower leaves: almost always nitrogen deficiency. Mobile nutrients like N, P, and K move from old leaves to new growth when the plant is short-supplied, so symptoms appear at the bottom first.
- Interveinal chlorosis on older leaves (yellow between veins, green veins): magnesium deficiency. Leafly notes this can take 3 to 6 weeks to show visibly after the deficiency begins, so act early if you suspect it.
- Interveinal chlorosis on new, young leaves: iron, zinc, or manganese deficiency. These are immobile nutrients, so they show on new growth first.
- Stunted growth, dark blue-green or purple tint on leaves: phosphorus lockout or deficiency, often made worse by cold root zones.
- Brown leaf edges or tip burn, especially on newer growth: calcium deficiency.
- Overall pale color, slow growth, thin stems: general nitrogen and macro deficiency; the medium is exhausted.
Before you assume deficiency, check two things first: pH and watering. If multiple stresses like water stress, disease, or insects occur at the same time, nutrient deficiency symptoms may look atypical, and patterns such as interveinal chlorosis can help indicate iron, zinc, or manganese deficiencies interveinal chlorosis patterns indicating iron, zinc, or manganese deficiencies. A pH outside 6.0 to 6.5 can lock out nutrients that are physically present in the medium. Overwatering can suffocate roots and create the same symptoms. Fix those before adding nutrients, or you'll be treating the wrong problem.
Safe, beginner-friendly additives to start with
If you decide the plant genuinely needs more than the medium is giving, start light. A half-strength liquid organic fertilizer like fish emulsion or a 2-part base nutrient at low EC is far less likely to burn than full-dose synthetic salts. For seedlings and early veg, target an EC of roughly 0.4 to 0.8 in the runoff. For veg, 1.0 to 1.6. For flower, 1.4 to 1.8. These are reasonable targets to work toward rather than hard rules. The goal is to give just enough to stop deficiency without pushing excess that causes toxicity or lockout.
A beginner-friendly step-by-step plan and troubleshooting checklist
Here's the practical version of everything above, laid out as a starting point you can act on today.
What to buy or prepare
- Medium: A quality pre-amended organic potting mix (look for mixes that include perlite, worm castings, and mycorrhizae) or, if you want true water-only, a commercial living soil product or a DIY super soil blend built 4 to 6 weeks before planting so it has time to cook.
- Pot: 5-gallon fabric pot minimum for a single autoflower in a water-only setup. 7-gallon if you want more buffer.
- pH meter and calibration solution: Non-negotiable. A cheap bluelab or Apera pen is fine. Budget about $30 to $60.
- pH up and pH down solutions: To adjust your input water to 6.0 to 6.5 before every watering.
- A TDS/EC meter if you plan to monitor runoff or add any nutrients later: Optional for pure organic soil grows, useful for any other scenario.
- Worm castings and compost for top-dressing mid-grow: A small bag covers a couple of plants.
- An aquarium air pump and air stone if you want to brew compost teas.
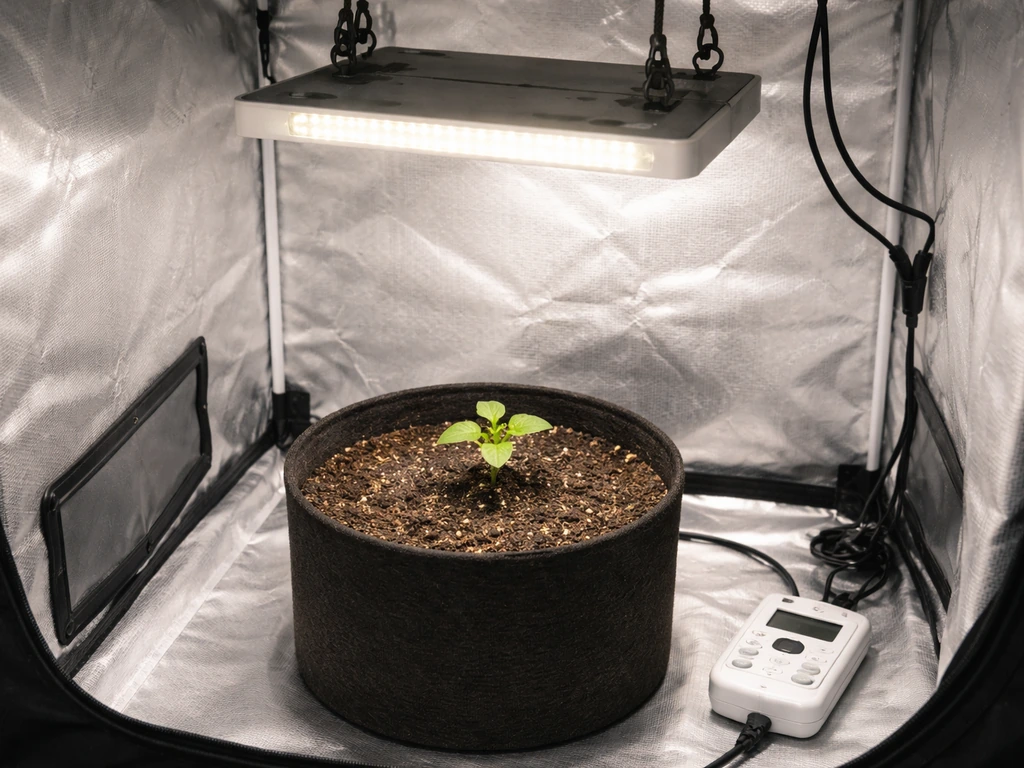
- Light: LED at 200 to 400W actual draw for a 2x2 to 3x3 space. Set to 18/6 from seed to harvest.
Grow schedule overview
- Germinate in a moist paper towel or directly in a seedling plug. Keep temperature at 70 to 77°F (21 to 25°C) and humidity around 65 to 70%.
- Transplant or direct sow into your pre-amended medium in the final pot (avoid transplanting if possible with autos to prevent transplant shock).
- Water with plain pH-adjusted water for the first 14 days. Small amounts, only around the seedling, not soaking the whole pot.
- Week 3 onward: water evenly across the pot, allowing for dry-back between waterings. Lift the pot to gauge moisture.
- Week 4 to 5: check runoff pH. If it's drifted above 6.8 or below 5.8, adjust input water accordingly.
- Week 5: assess plant color and growth rate. If leaves are deep green and nodes are stacking, the soil is working. If bottom leaves are yellowing, consider a compost tea or light top-dress.
- Week 6 to 8 (flower peak): monitor closely. Top-dress with worm castings or organic bloom amendment if needed. Water in gently.
- Final 10 to 14 days: plain water only. Let the plant use what it has.
Troubleshooting checklist
- Yellowing bottom leaves in weeks 3 to 5: Check pH first. If pH is fine, add a light nitrogen source (compost tea, fish emulsion at half strength, or worm casting top-dress).
- Yellow between veins on older leaves: Likely magnesium. Add a small dose of Epsom salt (1 teaspoon per gallon) or a cal-mag supplement.
- Yellow or pale new growth with green veins: pH lockout of iron is the most common cause. Flush with pH 6.2 water, check runoff, and adjust.
- Slow growth, stocky but not stacking: Usually light intensity or root restriction. Check the pot isn't root-bound and light is close enough.
- Drooping leaves in the morning before lights on: Overwatering. Let the medium dry out more between waterings.
- Drooping after lights come on and not recovering: Underwatering or heat stress. Check ambient temperature and increase watering frequency.
- Purple/red stems: Can be genetic (normal in some strains), but can also indicate phosphorus or temperature issues. Not urgent unless combined with other symptoms.
- No deficiency symptoms but plant seems stalled at week 4 or 5: Check roots and pot drainage. Consider a light dose of a balanced organic fertilizer to break the stall, especially if the potting mix was the budget-grade kind.
- In coco or any inert medium: Stop trying to run water-only. Add a diluted nutrient solution from day one and calibrate EC and pH every watering.
The bottom line is that growing autoflowers without bottled nutrients is genuinely achievable in soil, as long as the medium has been set up to do the work. The key is understanding that you're shifting where the nutrients come from, not eliminating them. Build the soil right, keep the pH dialed, use a big enough pot, and water with good judgment, and many growers get clean harvests from seed to chop without ever opening a nutrient bottle.
FAQ
How long can I go without nutrients if I only use water? (Seed to harvest)?
Not reliably. Autos can survive the first 10 to 14 days on seed stores, but after that they depend on minerals released by the medium. If you want “water only” in practice, you need a pre-loaded mix (super soil or a strongly amended organic potting mix) and enough pot volume to keep supplying nitrogen as the plant accelerates through weeks 3 to 6.
Can I truly skip all nutrient additions if my tap water has no minerals?
Yes, but only if your “no nutrients” goal is about not adding bottles, not about ignoring water chemistry. If your source water is very low in calcium and magnesium, you may still run short even in living soil. Consider testing your water (at least pH, hardness, and EC/TDS) so you know what the soil will have to supply versus what the water already provides.
My autoflower looks deficient, how do I know it is actually nutrient hunger and not watering or pH?
A common mistake is treating any yellowing as a nutrient shortage. In low-input grows, pH drift or watering problems can mimic deficiency. Check runoff pH and your watering pattern first (overwatering and under-oxygenated soil can cause symptoms that look like locked-out nutrients). Only after those are corrected should you add anything.
How often should I test runoff pH, and what if I never get runoff?
Runoff pH is the most actionable test in a soil-only approach, but you still need enough drainage to get meaningful readings. If your pot never produces consistent runoff, you cannot confirm whether nutrients are becoming available. Aim to water to a light runoff at least occasionally, then test the runoff you collect, not just the input water.
Can compost tea replace adding nutrients in a water-only style grow?
Yes, but it increases the risk that you will starve the roots of oxygen and slow the microbes that mineralize organic inputs. If you choose compost teas, keep them targeted and use them as a supplement, not the main feed, and make sure the base soil stays airy (proper potting mix structure, not mud). Also avoid very frequent heavy tea additions, since they can shift microbial activity and mess with pH stability.
Does “4 to 6 weeks of nutrition” on potting mix labels always hold for autos?
It can. If you use a rich mix from a reputable organic brand, it may carry enough for germination and early growth, but the “4 to 6 week” window can change with pot size, light intensity, and strain. If you run very high light or a small pot, you may see demand earlier, which means you may need to top-dress sooner rather than waiting for a fixed calendar.
If I have deficiencies, is it safer to add more worm castings or more mineral supplements?
Be careful with iron and micronutrient availability and avoid assuming more inputs equals better results. Even in organic systems, excess amendments or a pH drift above your target can cause lockout, then symptoms appear and prompt more feeding, which compounds the problem. Keep pH in the recommended band, and increase inputs only after you confirm the constraint is actually nutrient supply.
Why do small fabric pots cause nutrient-looking problems in “no nutrient bottle” grows?
It is usually a risk factor. Small pots dry out faster and can cycle between too wet and too dry, stressing roots and slowing mineralization. That stress can show up as apparent deficiencies even when the soil contains nutrients. If you are trying to stay low-input, size up to give the system a buffer, especially for the compressed auto timeline.
Does temperature and light intensity change how long I can stay nutrient-free?
Yes. If your environment is cooler, autos may consume nutrients more slowly, which can help a low-input medium last longer. In hotter, higher-intensity setups, consumption accelerates and the soil can run out earlier, even with the same mix. Adjust your expectations for how long the mix will carry the plant.
At what point should I abandon “water only” and start low-dose feeding?
For most people, stop treating it as nutrient-free once flowering begins to show clear deficiency patterns you cannot correct with pH and watering. Many low-input growers respond with gentle, low-dose organic supplementation during early flower to prevent yield loss, rather than waiting until late-stage damage appears.