You can run a full autoflower grow with Dr. Earth from seed to harvest using three core products: Home Grown (4-6-3) worked into your soil at setup, Premium Gold (4-4-4) as a mid-cycle top-dress during veg, and Flower Girl (3-9-4) for the flowering phase. Start with 1/4 cup of Home Grown blended into the top 4 inches of a 5-gallon pot, wait a full week before adding anything else, then move through a phase-based top-dress schedule every 2 to 3 weeks. Dr. Earth’s 2017 Gardening Guide “feeding schedule” is designed for a single plant in a 5-gallon container and uses Home Grown (4-6-3) for the vegetative stage, Premium Gold (4-4-4) for maintenance, and Flower Girl (3-9-4) for the flowering cycle blank" rel="noopener noreferrer">feeding schedule designed for a single plant in a 5-gallon container. Because Dr. Earth is slow-release and microbe-driven, it is genuinely forgiving for beginners and rarely burns plants when you follow the amounts below. The key is sequencing the products correctly and not over-applying.
How to Grow Autoflowers with Dr. Earth Step by Step

What You Need Before You Start
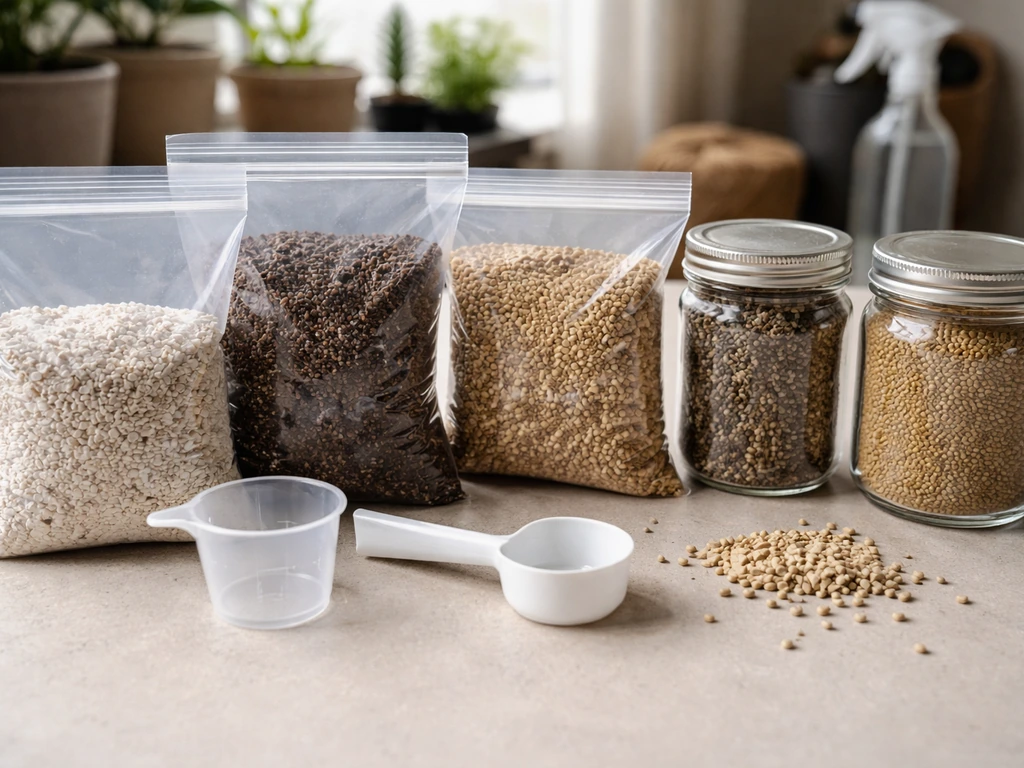
Getting your supplies sorted before germination makes the whole grow smoother. Dr. Earth keeps things relatively simple on the nutrient side, but you still need the right lineup.
Dr. Earth products
| Product | NPK | When You Use It | Application Method |
|---|---|---|---|
| Home Grown All-Purpose Fertilizer | 4-6-3 | Pre-plant soil amendment at setup | Blend 1/4 cup into top 4 inches of soil |
| Premium Gold All-Purpose Fertilizer | 4-4-4 | Vegetative maintenance top-dress | Mix 1/4 cup into top few inches, water well |
| Flower Girl Bud & Bloom Booster | 3-9-4 | Flowering phase top-dress | Same top-dress method, every 2-3 weeks |
| Pump & Grow Liquid Plant Food | 1-1-1 | Optional quick liquid booster | 2 pumps direct to soil, water within 24 hours |
Medium and tools
- A quality potting mix that is not already heavily fertilized (avoid soils pre-loaded with synthetic nutrients, which can conflict with Dr. Earth's biology). A light, airy mix with some perlite works best.
- 5-gallon fabric pots for most autoflower strains. Smaller 3-gallon pots are workable for compact autos but can limit root space.
- A pH meter. Even in organic grows, knowing your water pH matters. Target 6.2 to 6.8 for soil.
- Plain pH-adjusted water at 6.5 as your baseline. Most city tap water needs a small adjustment.
- A basic TDS/EC meter is optional with pure Dr. Earth grows but useful if you start mixing in any liquid nutrients.
- Drainage trays and something to elevate pots slightly so they don't sit in runoff.
- Optional: a soil thermometer and a simple loupe or jeweler's loupe for checking trichomes at harvest.
Setting Up Your Grow: Soil, Pots, and Watering Rules
Pot size is one of the most important decisions you will make for autoflowers. If your goal is more weight from the same auto cycle, pair this feeding approach with good training and realistic expectations using a guide on how to grow bigger autoflowers autoflowers more weight. Unlike photoperiod plants, autos run on an internal clock and do not recover well from root-bound stress or transplant shock. For most autoflower strains, start in your final container: a 5-gallon fabric pot. This is exactly what Dr. Earth's feeding schedule is calibrated for. Smaller autos (under 50 cm) can get away with 3 gallons, but 5 gallons gives you buffer room and reduces how often you need to water.
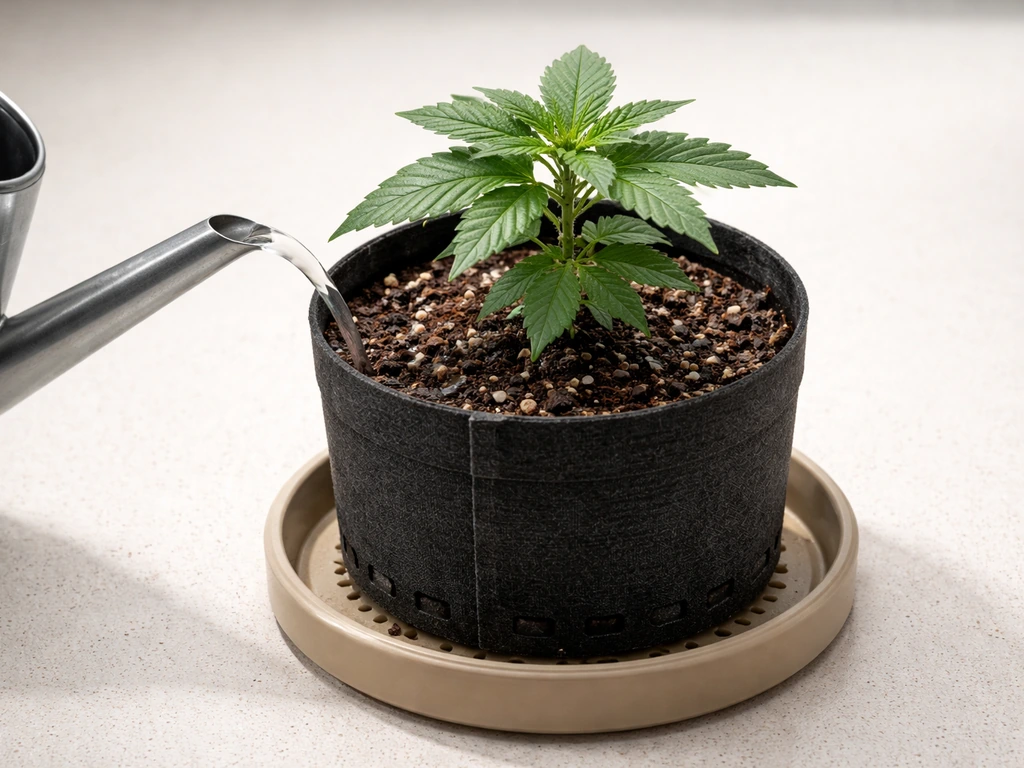
Drainage is non-negotiable with slow-release organic amendments. Dr. Earth products feed through microbial breakdown, and that biology needs both moisture and oxygen. Compacted, waterlogged soil kills the microbes and locks out nutrients. Use a mix of about 70% high-quality potting soil and 30% perlite. Fill your pot, blend in your 1/4 cup of Home Grown into the top 4 inches, water thoroughly until you see runoff from the bottom, then wait. Do not water again until the top inch or two of soil is dry.
The lift-test is your best watering gauge: pick up the pot. A dry pot feels noticeably lighter than a wet one. Water to 10 to 20 percent runoff each time to prevent salt and mineral buildup in the root zone. With organics and fabric pots, you will typically water every 2 to 4 days depending on pot size, plant size, temperature, and humidity. Overwatering is the single most common killer of autoflowers in organic grows, and it also suffocates the soil biology that makes Dr. Earth work.
Seedling and Early Growth: Starting Without Burning Plants
Here is where beginners go wrong most often: they load the pot with amendments and then add more nutrients on top of seedlings that cannot use them yet. Dr. Earth's directions are specific for a reason. You blend 1/4 cup of Home Grown into the top 4 inches, water well, and then wait one full week before starting any feeding schedule. That waiting period is not filler advice. It gives the microbes time to colonize and begin breaking down the granules into plant-available forms.
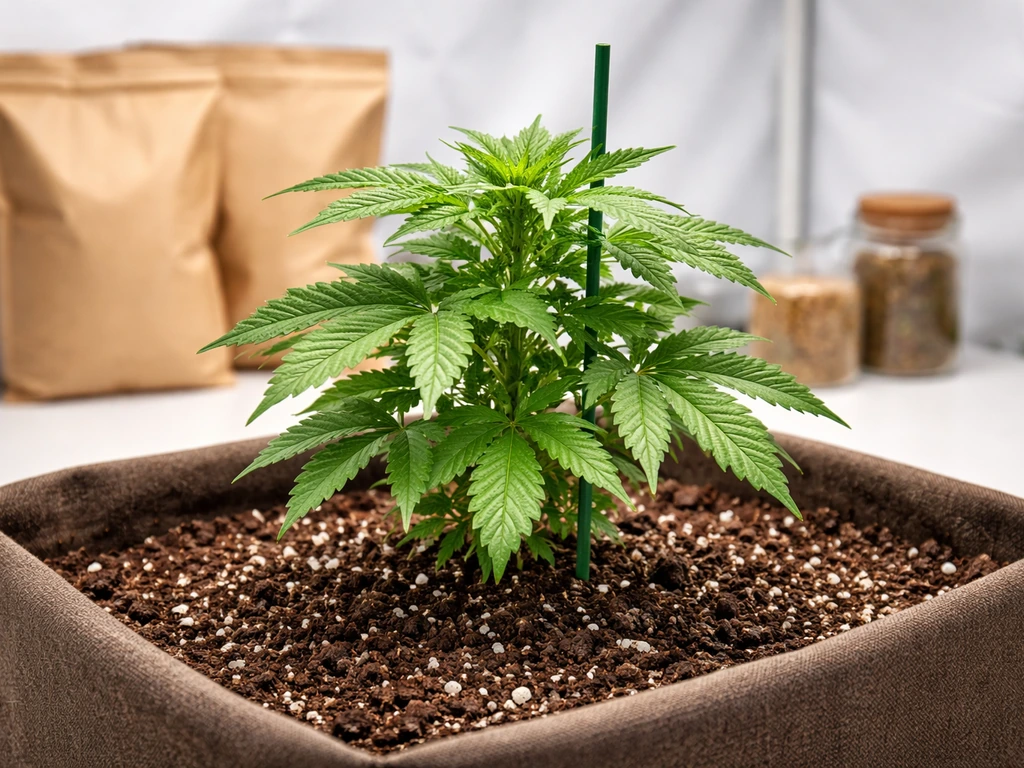
Germinate your seeds using the paper towel method or directly in a small starter plug. If you go directly into the final 5-gallon pot (which is the recommended autoflower approach to avoid transplant stress), plant the germinated seed about 1 cm deep, dome it to keep humidity up, and keep your light on an 18/6 or 20/4 schedule. The amended soil has enough nutrition for the seedling for the first 7 to 10 days. If you want a strain-specific roadmap, you can apply the same schedule and setup steps to learn how to grow autoflower Gorilla Glue successfully from seed to harvest. You do not need to add anything else. Water very lightly around the seedling with pH-adjusted water at 6.5. Small seedlings have tiny root zones and need less water than you think.
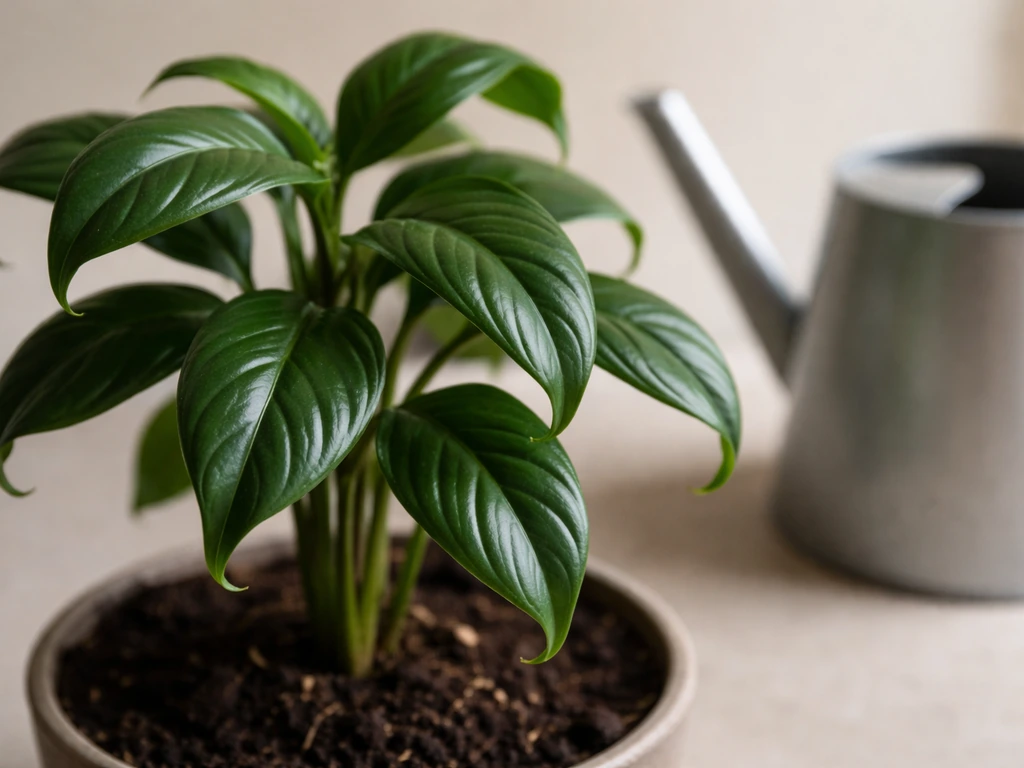
Signs that your seedling is healthy: green cotyledons, the first true leaves emerging by day 7 to 10, and a stem that thickens rather than stretches. If your seedling is pale yellow from day one, the soil may be too wet or your pH is off, not a nutrient deficiency. Wait, check your pH, and let the soil dry before diagnosing further. Early panic-feeding is what causes actual burn.
Vegetative to Flowering: The Phase-Based Dr. Earth Schedule
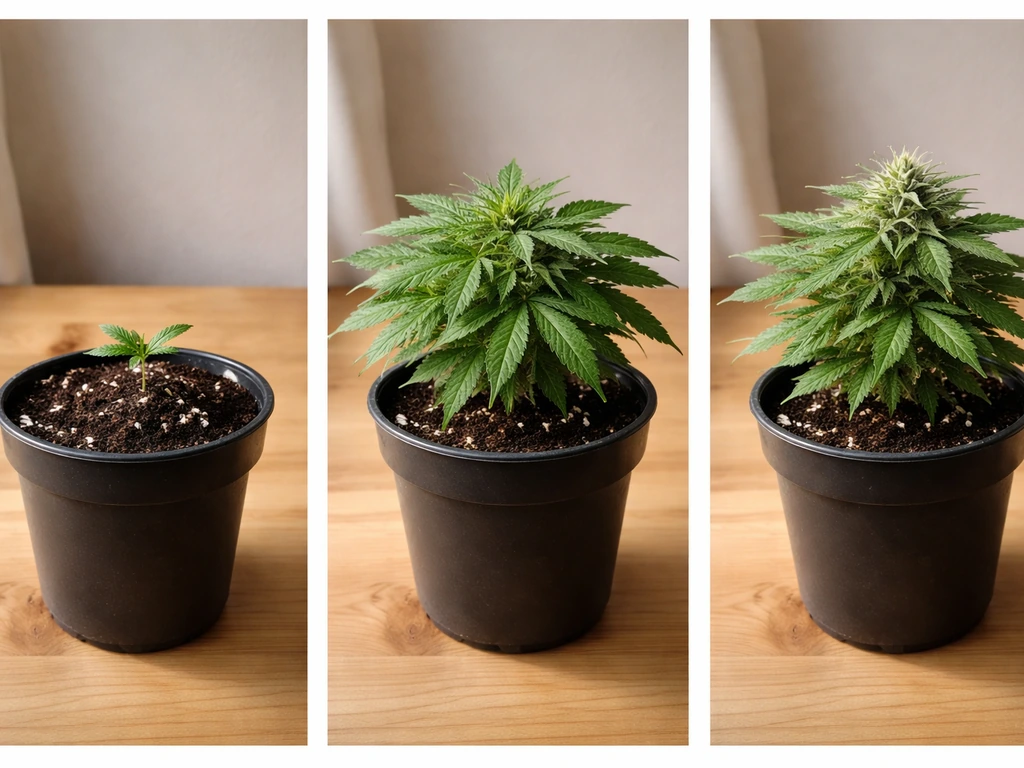
Autoflowers typically move through three phases: seedling (days 1 to 14), vegetative (weeks 2 to 4 or 5), and flowering (weeks 4 to 5 through harvest at around weeks 8 to 12 depending on strain). Because you cannot control when an auto flips to flower by changing light, your nutrient timing has to track plant signals rather than a strict calendar. Here is the schedule that maps onto Dr. Earth's product lineup.
| Growth Phase | Timing (approximate) | Dr. Earth Product | Application Rate & Frequency |
|---|---|---|---|
| Pre-plant setup | Before germination | Home Grown (4-6-3) | 1/4 cup blended into top 4 inches; one-time at setup |
| Seedling | Days 1 to 14 | None (soil is already charged) | Water only with pH 6.5 water |
| Early veg | Weeks 2 to 3 | Premium Gold (4-4-4) | 1/4 cup top-dressed into top few inches; water well after |
| Mid veg / pre-flower | Weeks 3 to 5 | Premium Gold (4-4-4) | Repeat if growth looks slow; wait 3 weeks between top-dresses |
| Flowering onset | Weeks 4 to 6 (when pistils appear) | Flower Girl (3-9-4) | 1/4 cup top-dressed; switch from Premium Gold |
| Mid to late flower | Weeks 6 to 10 | Flower Girl (3-9-4) | Every 2 to 3 weeks until 1 to 2 weeks before harvest |
| Final weeks | Last 1 to 2 weeks | None | Flush with plain pH water or just water down |
The 3-week interval between top-dresses is important. Because Dr. Earth is slow-release, you are not feeding on contact like a liquid synthetic. The granules need time to break down and deliver. If you top-dress every week, you accumulate excess nitrogen and phosphorus in the root zone before the plant can use it. Patience is the discipline here.
When you see the first white pistils emerging from the nodes, that is your signal to stop using Premium Gold and switch to Flower Girl. The lower nitrogen and higher phosphorus in Flower Girl (3-9-4) supports bud development without pushing excessive leaf growth during flower. Keep top-dressing with Flower Girl every 2 to 3 weeks through mid-flower, then taper off in the final stretch.
If you want a quick liquid boost between top-dresses, the Pump & Grow liquid food (1-1-1) can be applied directly to the soil at 2 pumps per plant. Water within 24 hours after applying it. This product is low-concentration and mild, making it useful for a seedling that looks a little pale before you commit to a full top-dress. It feeds for about two weeks per application.
Reading Your Plants and Dialing In the Schedule
No feeding schedule is set-and-forget. Autoflowers are fast, and problems can develop in a week if you are not checking your plants every couple of days. Here is how to read what your plant is telling you and what to actually do about it.
Signs of deficiency
- Overall yellowing starting from lower, older leaves: likely nitrogen deficiency. In an organic grow, this often means soil biology is slow (too cold, too wet) rather than a lack of nitrogen. Check soil temperature (keep above 65°F) and watering frequency before adding more fertilizer.
- Yellow leaves with green veins (interveinal chlorosis): magnesium deficiency. A foliar spray of Epsom salt (1 teaspoon per liter) or a soil drench fixes this quickly. Dr. Earth products do not contain high magnesium, so this is a common gap.
- Brown tips or edges on leaves: could be calcium deficiency or, more commonly, salt buildup. Flush the pot with pH-adjusted water (2x the pot volume) and reassess.
- Pale new growth at the top (not the bottom): likely pH lockout or a micronutrient issue. Check your water pH and correct to 6.5.
Signs of excess or overfeeding
- Dark green, clawing leaves (the leaf tips curl down): too much nitrogen. Stop all top-dresses, water with plain pH water until you see improvement, and hold off on your next feeding cycle.
- Burnt tips on new growth across the whole plant: nutrient toxicity or salt stress. Flush and let the plant recover before any more amendments.
- Slow or stalled growth combined with dark coloring: possible nitrogen excess combined with phosphorus lockout. Flush, check pH, and wait.
Light and watering fixes
Yellowing and slow growth are often blamed on nutrients when the real cause is overwatering or light intensity issues. In a Dr. Earth grow, where nutrients release slowly through biology, ensuring the soil is properly aerated and not waterlogged is half the battle. If your plants are pale and your soil stays wet for more than 4 days, reduce watering volume, improve drainage, and check that your fabric pot holes are not clogged. For light: autoflowers do well on 18 to 20 hours of light per day from seed to harvest, and dropping below 15 hours can slow growth noticeably even in strains marketed as fully light-independent.
Adapting Dr. Earth for Hydroponics or Soil-Less Grows
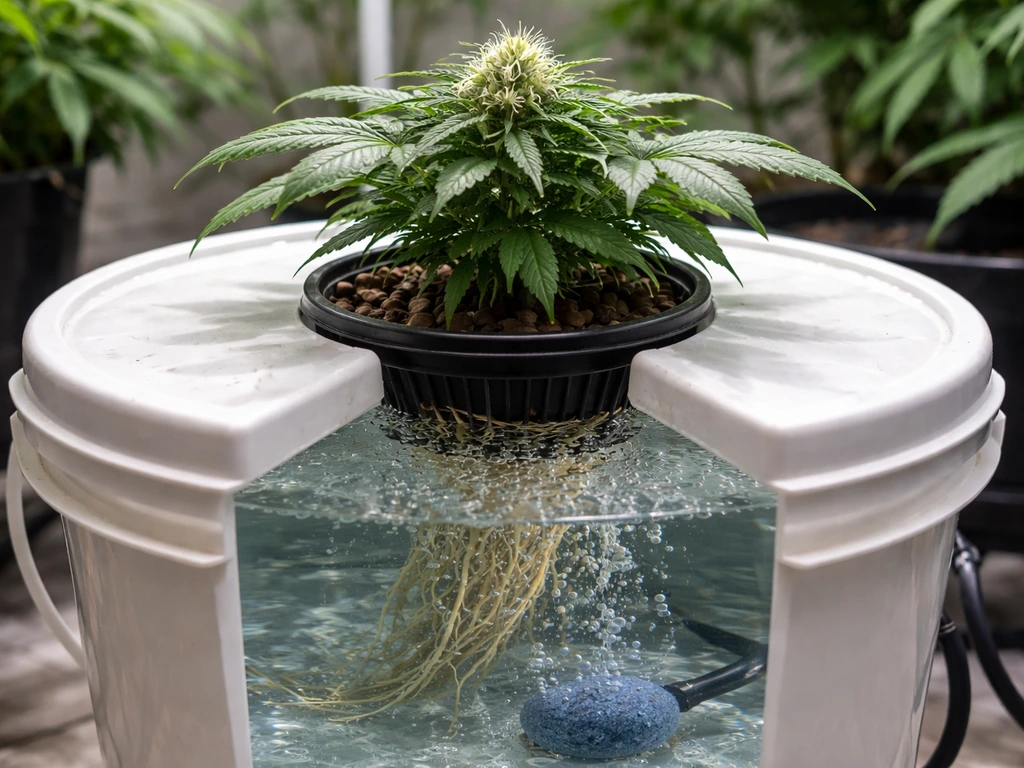
This is where you need to be honest with yourself about what Dr. Earth is designed to do. Dr. Earth's granular products are soil amendments, not hydroponic nutrients. They work by feeding soil microbes that break down organic matter into plant-available ions. In a soil-less or DWC hydroponic setup, there is no microbial ecosystem to activate the granules, so blending Home Grown or Flower Girl into a coco reservoir or hydro bucket will not work the same way and can clog lines, raise turbidity, and promote anaerobic bacteria. If you are growing autoflowers in a DWC system, you will need to follow DWC-specific nutrient and oxygen rules rather than relying on soil-focused granule feeding DWC hydroponic.
If you are growing autoflowers in hydroponics (DWC, recirculating systems) and want to use Dr. Earth, your best option is their liquid line, including Pump & Grow, which is fully soluble. However, even liquid organic nutrients in hydro carry risks: they can promote microbial growth in your reservoir, raise EC unpredictably, and are harder to dial in than purpose-built hydro nutrients. If you are committed to a hydro autoflower grow, a hydro-specific nutrient line will give you more control. Dr. Earth shines in soil and amended mediums.
For coco coir growers, a hybrid approach works well. Run your coco with a base hydroponic nutrient solution for precision, and use small top-dresses of Dr. Earth's granulars alongside beneficial bacterial and fungal inoculants (which Dr. Earth products already contain) to build some biological activity in the coco. Keep your coco pH at 5.8 to 6.2 rather than the soil range of 6.2 to 6.8. Monitor EC carefully and start with half the standard top-dress amount until you see how your plants respond.
Pests and Common Problems in an Autoflower Organic Grow
Organic soil grows are generally resilient, but they are not immune to pests. The moist, biologically active environment that makes Dr. Earth work also attracts certain problems. Here is what to watch for and how to deal with it without nuking your soil biology.
Fungus gnats
These are the most common pest in organic soil autoflower grows. The larvae live in the top inch of moist soil and damage roots. The fix is straightforward: let the top 2 inches of soil dry out completely between waterings (which you should already be doing), add a layer of dry sand or diatomaceous earth on top of the soil, and use yellow sticky traps to catch adults. If the infestation is heavy, Bacillus thuringiensis israelensis (BTi) drenches are fully organic and very effective. Avoid systemic pesticides, which will kill your soil biology.
Spider mites and thrips
Both appear more often in hot, dry environments. Autoflowers do not have time to recover from a heavy infestation the way photoperiod plants can. Catch them early by checking the undersides of leaves weekly. Neem oil or insecticidal soap sprays are safe during veg. Stop spraying anything on buds once flowers develop to avoid contamination and mold risk. Predatory mites (Phytoseiulus persimilis for spider mites) are a clean, organic option for indoor grows.
Powdery mildew and bud rot
Both are humidity problems first, not nutrient problems. Keep relative humidity below 50% once plants enter flower, and aim for 40 to 45% in late flower. Good airflow across the canopy is essential. If you see white powdery patches on leaves during veg, a dilute solution of potassium bicarbonate or hydrogen peroxide (3%, diluted to 1 part in 10 parts water) applied as a foliar spray can stop it early. Bud rot is harder to fight once it starts: remove affected buds immediately and improve air circulation.
Root problems and overwatering
Brown, slimy roots and a foul smell from the pot mean root rot, almost always caused by overwatering in combination with poor drainage. In an organic grow with Dr. Earth, you can try to rescue by letting the pot dry aggressively, adding beneficial bacteria like Bacillus subtilis, and improving airflow around the pot. Fabric pots help prevent this because they air-prune roots and encourage evaporation from the sides. If root rot is advanced in an autoflower, the plant usually cannot recover given how short the remaining life cycle is.
Late-Stage Care, Harvest, and What Comes After
Autoflowers are typically ready to harvest between 8 and 12 weeks from seed, depending on the strain. The most reliable harvest indicator is trichome color. Under a jeweler's loupe (30x to 60x) or a digital microscope, clear trichomes mean early, milky white means peak THC, and amber means THC is converting to CBN (more sedative, less potent). Most growers harvest when they see mostly milky with around 10 to 20 percent amber, but this is a matter of preference.
On the question of flushing: this is genuinely debated. With synthetic nutrients, there is a clear argument for flushing the final 1 to 2 weeks to remove salt buildup. With Dr. Earth's organic system, you do not have salt accumulation in the same way. The minerals are slowly released, not delivered in ionic salt form. Many organic growers skip the flush entirely and simply stop top-dressing 2 to 3 weeks before harvest, watering with plain pH-adjusted water in the final stretch. The plant will use up remaining soil nutrition naturally. If you want to flush anyway, two passes of plain water through the pot (roughly 2x the pot volume each time) will not hurt and clears any minor accumulations.
Stop all top-dresses at least 2 to 3 weeks before your expected harvest. In the last week, water only when the pot feels light, and let the plant focus its energy on ripening rather than pushing new growth. Some growers do a 24 to 48 hour dark period right before cutting, believing it boosts resin production. The evidence for this is anecdotal, but it does not hurt the plant.
After harvest, do not throw away your amended soil. Dr. Earth's soil biology persists. You can recharge the pot with a fresh 1/4 cup top-dress of Home Grown, water it in, and let it rest for a week before starting your next autoflower cycle. This is called re-amending, and it is one of the practical advantages of building a live organic soil over time rather than starting fresh every run.
Putting It All Together: What a Successful Grow Looks Like
A Dr. Earth autoflower grow done right looks like this: healthy dark-green seedlings by day 10, vigorous branching through weeks 3 and 4, pistils appearing around week 4 to 5, dense bud development through weeks 6 to 9, and a plant that finishes with no major deficiencies or discoloration beyond normal late-flower yellowing of the largest fan leaves (which is completely normal as the plant recycles its own nitrogen). If you are using grow dots for autoflowers, the same phase-based timing and patience around slow release products will help you dial in top-dress frequency and avoid overfeeding autoflower grow done right. You should expect 30 to 60 grams dry per plant under a reasonable LED setup indoors, with well-developed genetics potentially exceeding that.
The main thing Dr. Earth gives you is simplicity and safety margin. You are not mixing liquid A and liquid B and watching EC climb. You are amending soil, watering, and top-dressing on a relaxed 2 to 3 week cycle. That is genuinely beginner-friendly. The trade-off is that organic nutrients are slower to correct deficiencies than liquid synthetics, so reading your plant regularly matters more, not less. If you want to go fully organic from seed to harvest and keep your grow as clean and low-maintenance as possible, this system delivers. If you want to push maximum yield and have precise control week by week, pairing Dr. If you want the full week-by-week map for autoflowers, build your plan around phase timing, top-dress intervals, and how your plant responds each week week by week. Earth's soil biology with targeted liquid additions is a reasonable middle path.
If you are also exploring other approaches, the principles here connect closely to broader organic autoflower growing methods and to comparing soil mediums for autoflowers, both of which can help you decide how much structure you want in your setup before committing to a full grow.
FAQ
Can I use Dr. Earth if my autoflowers are in an 3-gallon pot instead of 5 gallons?
Yes, but expect faster drying and less nutrient buffer. Use the same Home Grown blend, but top-dress closer to the low end of the 2 to 3 week interval and water only when the top inch is dry, since small pots can become waterlogged sooner. If you see the soil staying wet beyond 4 days, reduce watering volume immediately.
Do I need to adjust pH for top-dressing with Dr. Earth granulars?
You mainly adjust pH for the water you apply, not the granules themselves. Keeping your water around 6.5 for soil helps microbial activity and nutrient availability. If seedlings start pale from day one while the soil is not too wet, check pH before adding more amendments.
How do I know if I accidentally overfed with Home Grown or Premium Gold?
Early signs are leaf clawing or overly dark, canoeing leaves, combined with slower upward growth. The most likely cause is excess feeding before the plant can use it. The fix is not adding more nutrients, instead water less often but properly (until dry zones re-appear), and let the slow-release cycle pass before your next top-dress.
Should I top-dress into the surface or mix it deeper into the pot?
For Dr. Earth in a top-dress system, keep granules in the top layer you blend in during setup and subsequent top-dresses. Mixing deeply can create wetter, oxygen-poor pockets that microbes struggle with. After each top-dress, water thoroughly so the granules start working, then resume your normal dry cycle.
What if my plant starts flowering before the Premium Gold top-dress window?
Use flowering as the trigger, not the calendar. When you see the first pistils at the nodes, stop Premium Gold and switch to Flower Girl for the next interval. Autos can stretch their vegetative phase, so letting plant cues lead prevents nitrogen-heavy feeding during early flower.
Can I “pause” feeding if my autoflower looks fine but I’m worried about running out of nutrients?
If the plant looks healthy, you can safely slow down rather than speed up. Dr. Earth releases gradually, so skipping one top-dress or extending the interval within the 2 to 3 week window often prevents excess buildup. Resume with Flower Girl when pistils show, if you are already near mid-cycle.
How much should I water after each top-dress so I do not wash granules away or cause runoff issues?
Water until you see bottom runoff, then stop and wait for the pot to dry based on the lift-test and the top inch or two. The goal is to activate granules and settle the soil biology, not keep the surface constantly moist. If you notice frequent runoff without a dry interval, your watering schedule is too heavy.
Is it okay to germinate directly in the final pot with Dr. Earth soil amended?
Yes, and it matches the slow-release setup. Plant the seed around 1 cm deep, dome it for humidity, and keep the light on a consistent 18/6 or 20/4 schedule. The soil should carry the seedling for the first week, so avoid any early Premium Gold or Flower Girl additions.
What should I do if I think I have a nutrient deficiency, but the problem might be overwatering?
Before adding nutrients, check soil moisture. If the soil stays wet more than 4 days or the pot smells sour, treat it as an oxygen problem first. Improve drainage and let the pot dry according to the dry-test, then reassess color and growth after the plant has a chance to recover.
Can I use Neem oil or insecticidal soap during late flower with Dr. Earth?
You should avoid spraying on developing buds during flower. If pests appear in late bloom, prefer spot treatments like removing affected leaves early, using sticky traps for monitoring, and switching to non-bud-contact approaches. This reduces mold and contamination risk while still protecting soil biology.
Should I flush before harvest when using Dr. Earth?
Most growers skip traditional flushing, since Dr. Earth is slow-release and not driven by salt buildup in the same way. A safer approach is to stop top-dress 2 to 3 weeks before harvest and water with pH-adjusted plain water during the final stretch. If you still want extra cleanup, limit it to two light plain-water passes as described in the article.
How do I re-amend a pot after harvest without messing up the next autoflower cycle?
Remove old plant material, then add a fresh 1/4 cup of Home Grown into the top layer, water it in, and let the pot rest for about a week. After re-amending, do not start topping with Premium Gold immediately on seed day, the granules need microbial time to ramp up again.
Can Dr. Earth work in coco coir without causing pH or EC problems?
Yes, but treat it as a hybrid system. Keep coco pH lower, around 5.8 to 6.2, and start with half the normal top-dress amount to gauge response. Monitor EC and adjust your base nutrient strength so you do not stack too much fertility from both the base solution and the granular top-dresses.