For most outdoor grows, a three-stage nutrient approach works reliably: a high-nitrogen fertilizer during vegetative growth, a balanced NPK mix during the transition, and a low-nitrogen, high-phosphorus/potassium formula once flowering or fruiting kicks in. That basic framework, repeated across thousands of Reddit grows and backed by real results, beats any single "all-in-one" bottle you'll find at the garden center.
Best Nutrients for Outdoor Grow: Reddit-Style Starter Plan
Marcus Holloway
18 May 2026
What actually matters in an outdoor nutrient formula
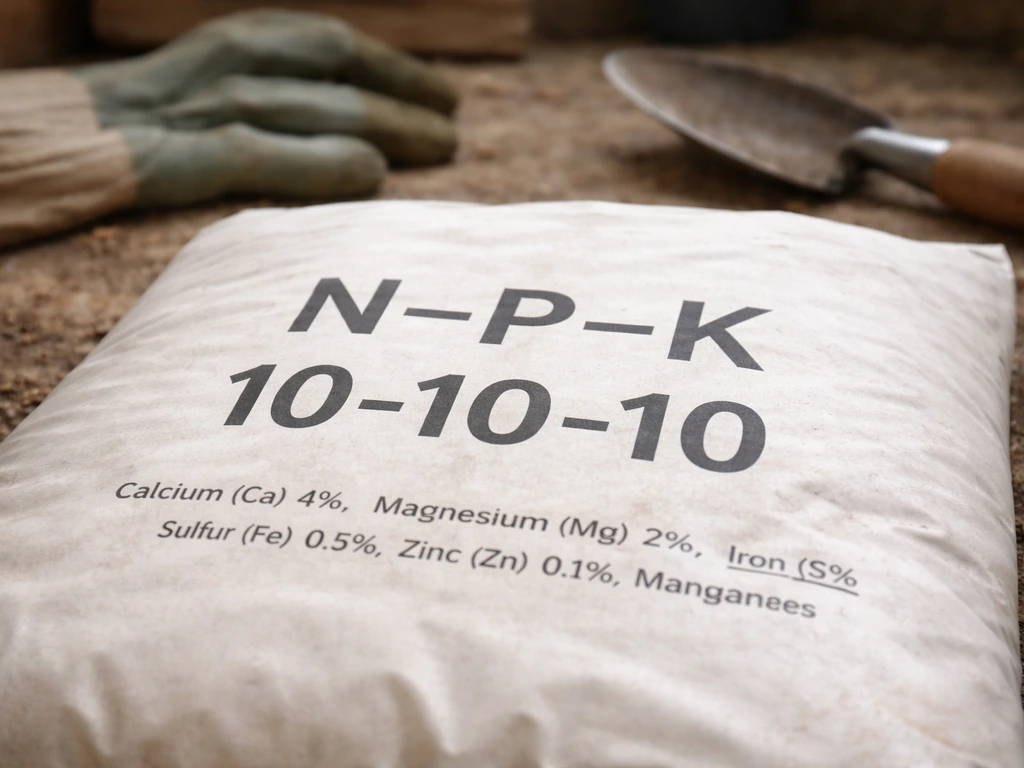
The three numbers on every fertilizer label are the NPK ratio: nitrogen (N), phosphorus (P), and potassium (K), in that order. Nitrogen drives leafy vegetative growth. Phosphorus supports root development, flowering, and fruiting. Potassium handles overall plant health, water regulation, and strong cell structure. A 20-14-13 formula, for example, is a good vegetative fertilizer, while a lower-N, higher-P/K product is what you want once buds or fruit start forming.
Beyond NPK, the secondary nutrients and micronutrients are what separate a thriving plant from one that looks off for reasons you can't explain. Calcium and magnesium (often sold together as "cal-mag") are the most commonly needed supplements outdoors, especially in containers or fast-draining soils. Iron, sulfur, boron, zinc, and manganese round out the micronutrient picture. You won't need to buy each one separately if you start with a quality base fertilizer that lists these on the label, but it's worth knowing they exist and can cause problems when they're missing.
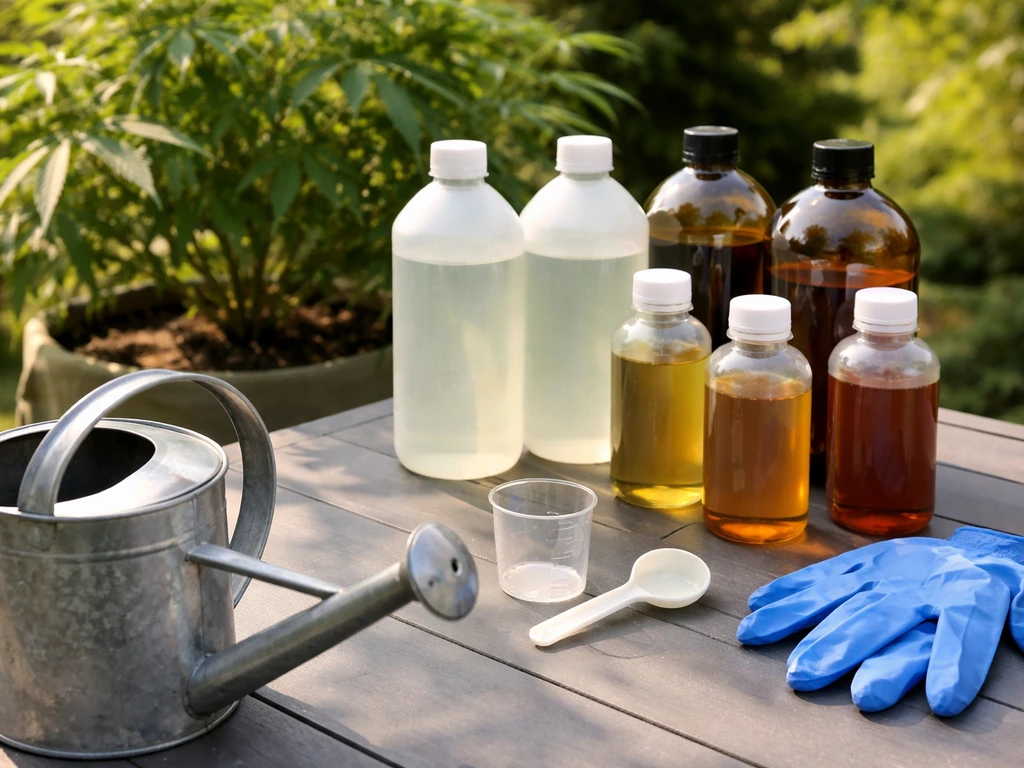
On formulation: liquid concentrates are the most flexible because you can dial in the dose precisely and change ratios by stage. Granular slow-release fertilizers are convenient but harder to adjust once applied. Dry water-soluble powders (like the General Hydroponics Maxi Series) sit in between: precise, but require mixing. Organic liquid amendments, such as fish emulsion or kelp-based products, typically require higher dilution ratios (15 parts water to 1 part fertilizer is a common starting point) and feed more gently. The right formulation depends on how hands-on you want to be.
Soil, amendments, or hydro-style nutrients outdoors: which fits your setup
The biggest decision for outdoor growers isn't which brand to buy, it's what type of nutrient delivery makes sense for the medium you're growing in. Here's how the main options compare:
| Approach | Best For | Pros | Cons |
|---|---|---|---|
| Rich amended soil (compost, worm castings, dry amendments) | In-ground or large container grows | Low input after setup, microbial activity improves uptake, forgiving for beginners | Hard to correct deficiencies quickly, slow to adjust between stages |
| Liquid bottled nutrients (organic or synthetic) | Containers, soilless mixes, growers who want control | Fast-acting, easy to adjust by stage, widely available | Requires mixing every feed, pH must be monitored, salt buildup risk in containers |
| Granular slow-release fertilizers | In-ground grows with stable soil | Low effort, one application covers weeks | No mid-season adjustments, risk of over-application in small containers |
| Hydro-style mineral nutrients used in soil/coco outdoors | Experienced growers, coco coir or perlite-heavy mixes | Precise, stage-specific, consistent results | Requires EC/ppm monitoring, pH critical, more work than organic approach |
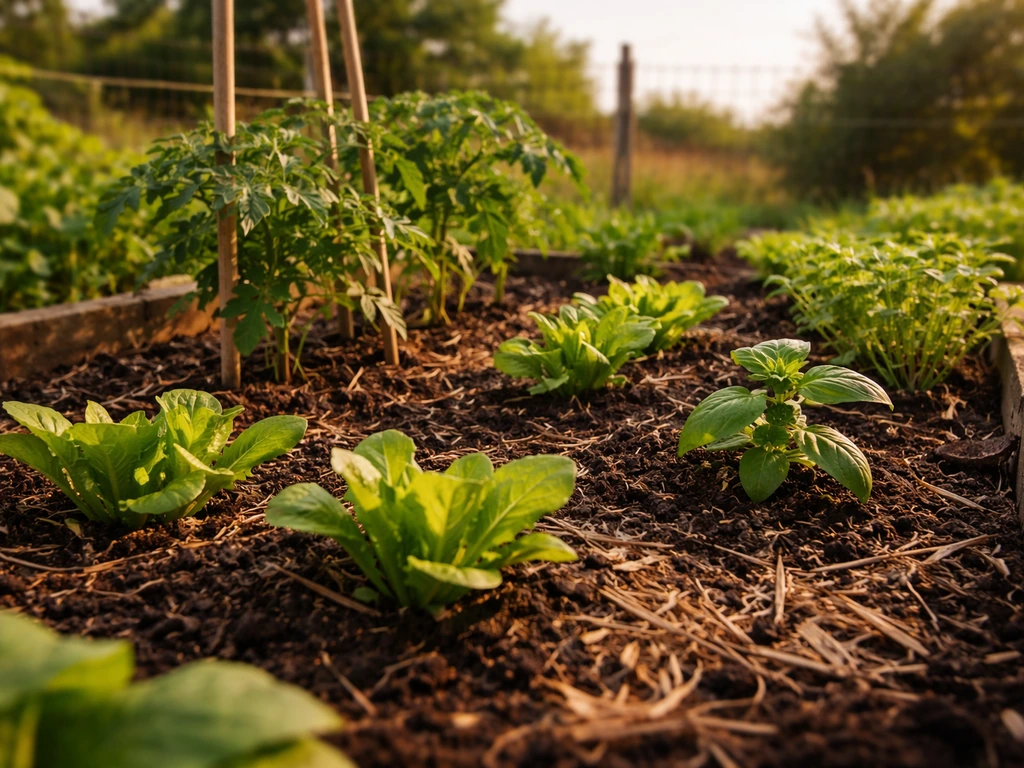
If you're growing directly in the ground with well-composted soil, you may need very little supplemental feeding at all, especially early in the season. Growers on Reddit commonly take a "half dose of high-nitrogen additive during veg, then transition to a different nutrient profile for flowering" approach, letting the soil carry the plant for the first several weeks. For container grows or sandy/depleted native soil, bottled liquid nutrients give you the control you need to actually keep up with the plant's changing demands.
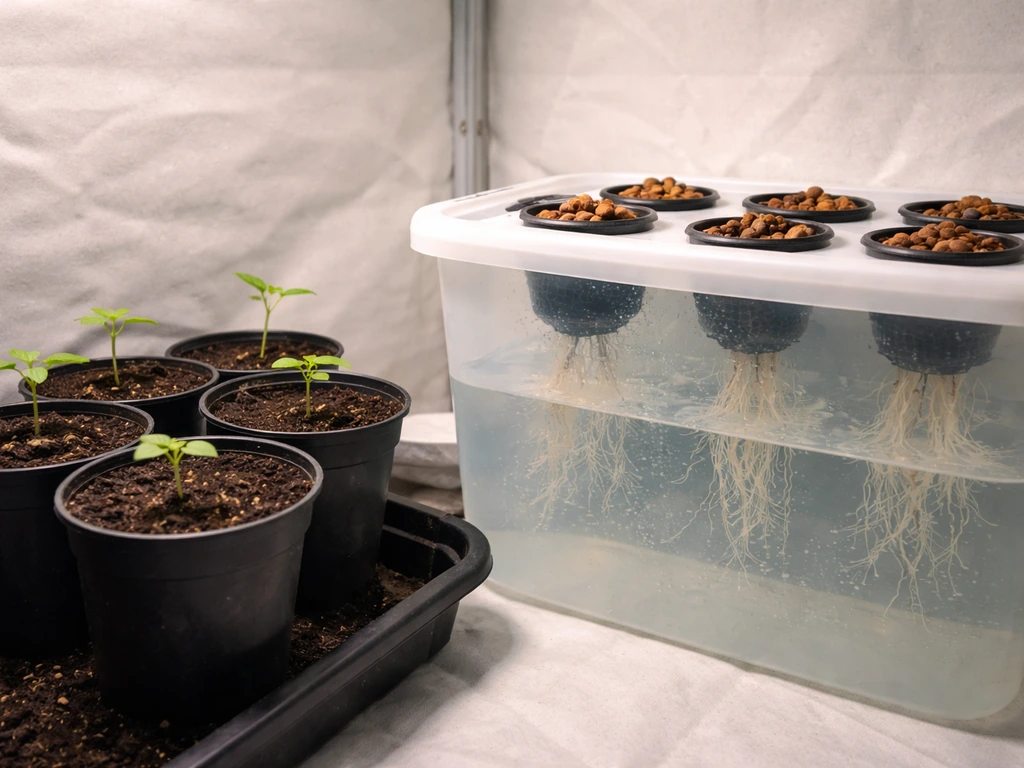
Hydroponic-style mineral nutrients (like the General Hydroponics Flora Series) absolutely work outdoors in containers or coco coir, but they require you to monitor pH and EC/ppm consistently. If you skip that step, you'll see deficiencies that aren't actually deficiencies, just lockouts from incorrect pH.
Outdoor feeding schedule by stage
This schedule assumes liquid nutrients applied to a container or moderately fertile in-ground plant. If you want to refine this further, a feeding schedule best nutrients for outdoor grow guide can help you match nutrient strength to each stage while avoiding common salt buildup issues. If you're in rich amended soil, reduce all doses by 50% and skip the early veg feeding entirely. Adjust based on how the plant responds, not just the calendar.
Early vegetative (weeks 1 to 4 from transplant)
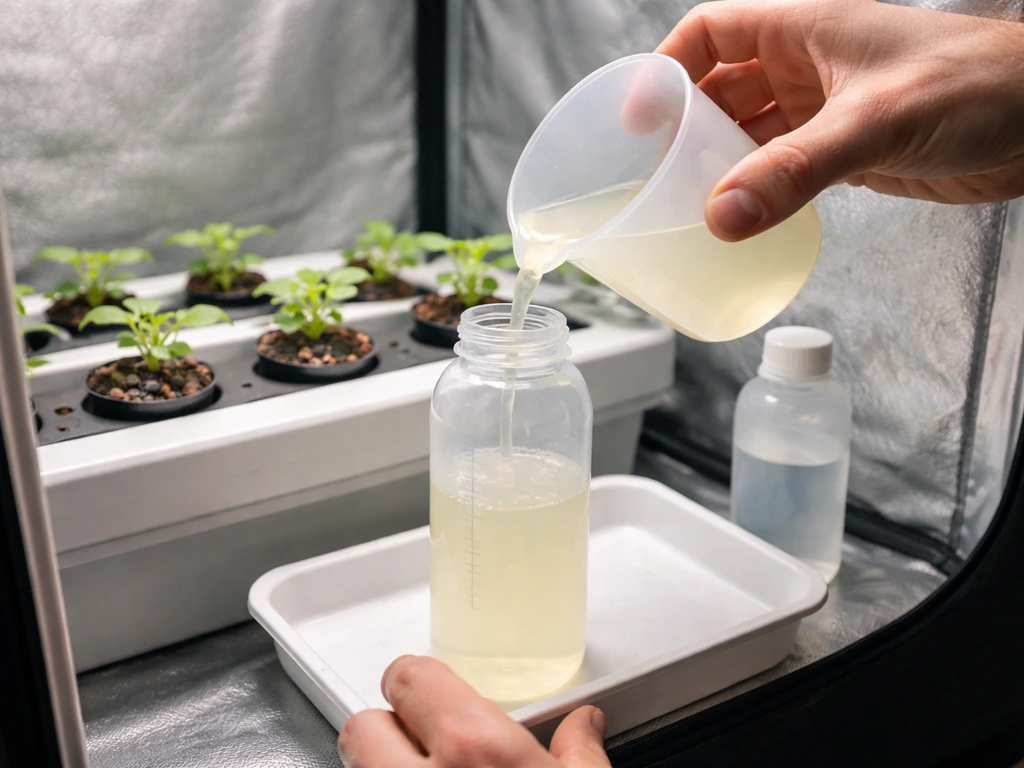
Focus entirely on nitrogen. A high-N formula like a 3-1-2 or 20-14-13 NPK product applied at half strength is where most growers start. If using the General Hydroponics Flora Series, a vegetative ratio of FloraGro 2 tsp, FloraMicro 1 tsp, FloraBloom 1 tsp per gallon gives a balanced but nitrogen-forward feed.
General Hydroponics’ feedcharts for products like FloraPro/FloraSeries/Maxi Series include aggressive, medium, and light feeding recipes, and they’re intended as recommendations that require adjustment based on your plants and conditions feedcharts (like FloraPro/FloraSeries/Maxi Series) include aggressive/medium/light feeding recipes. Feed once per week at this stage, and let the soil dry slightly between waterings. Most outdoor plants in decent soil don't need feeding at all for the first two to three weeks.
Late vegetative / transition (weeks 4 to 6)
Start balancing the NPK. For the best seeds for outdoor grow results, choose genetics suited to your local climate and pair them with a stage-appropriate feeding plan like this one. Reduce nitrogen slightly, begin increasing phosphorus and potassium. If you're using a veg/bloom two-part system, this is where you start blending them. The plant is sizing up fast, so you can move toward full-strength doses if it's been responding well. Watch for any leaf tip darkening or clawing, which signals too much nitrogen and is worth backing off.
Flowering and fruiting (weeks 6 onward)
Drop nitrogen significantly and push phosphorus and potassium. For the flowering stage, use the best nutrients for outdoor grow setups by dropping nitrogen and pushing phosphorus and potassium to support buds and fruiting. The classic Reddit advice here is to ["drop the N"](https://www. rollitup.
org/t/newbie-fertilizer-question. 216966/) and use a true bloom formula. Products like FoxFarm Tiger Bloom (2-8-4 NPK) or similar high-P/K fertilizers mixed at 1 to 3 teaspoons per gallon are the backbone of most outdoor bloom schedules. Feeding every 4 to 7 days is common at this stage, with plain pH-adjusted water between feedings to prevent salt buildup.
For more specific guidance on good nutrients for outdoor grow setups, choose a stage-based NPK plan and verify pH before you feed. Using a stage-based NPK plan is a practical way to dial in good nutrients for outdoor grow results. Using a high-nitrogen fertilizer here is one of the most common mistakes Reddit growers call out: it causes nitrogen toxicity in flower, which stunts development and causes dark, clawing leaves.
Late flower / ripening (final 2 to 3 weeks)
Taper nutrients back and start flushing with plain water more frequently. Many growers stop synthetic feeding entirely in the final two weeks and use plain pH-adjusted water to clear out accumulated salts. For organic programs, you can continue light feeding right up to harvest since organic inputs break down more slowly and don't accumulate the same way.
How to mix and apply nutrients without making common mistakes
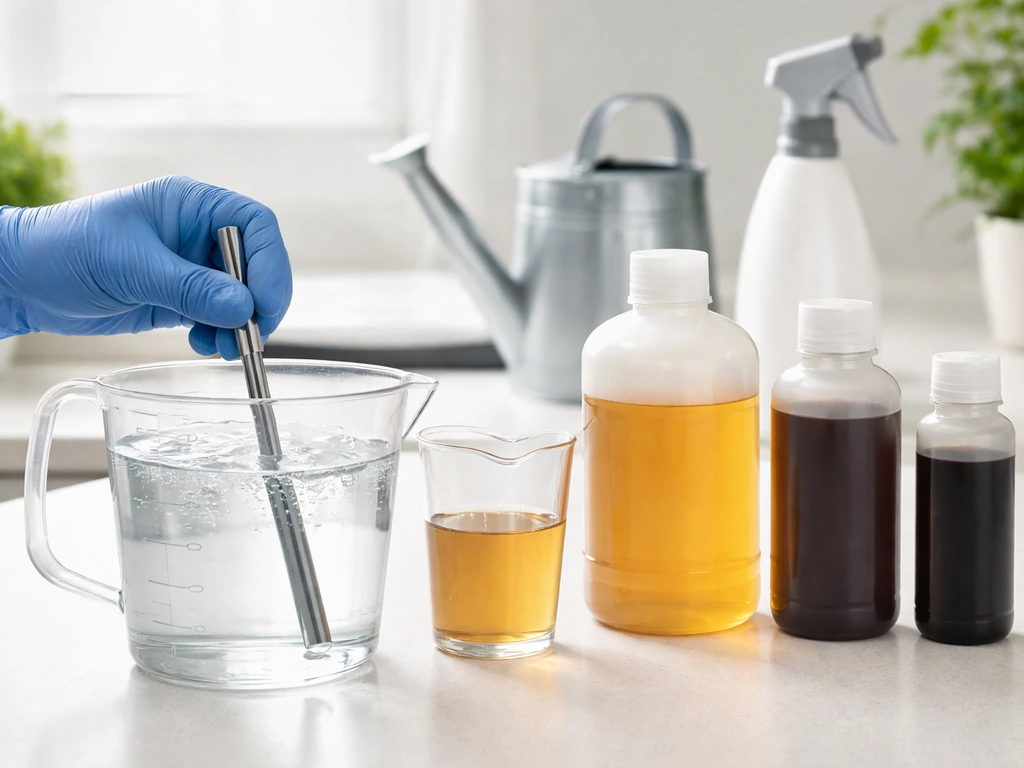
Always mix nutrients into water in this order: water first, then any cal-mag, then base nutrients, then additives. Mixing concentrated nutrients directly together before adding water can cause them to react and lock out certain elements. Use room-temperature water and stir well between additions. Measure with a measuring spoon or syringe, not just a pour from the bottle. Typical starting doses are 1 to 2 teaspoons per gallon for liquid concentrates, scaling up to full-chart dosing only after you've confirmed the plant handles it without stress.
Apply nutrients to moist, not bone-dry soil. Feeding dry plants causes concentrated salt burn at the root zone. Water with plain water first if the medium is very dry, then follow with nutrient solution. For containers, water until you get about 10 to 20% runoff out the bottom. This prevents salt accumulation and tells you the root zone is getting fully saturated.
Rain is a real variable outdoors that indoor growers don't deal with. A heavy rainstorm right after feeding essentially dilutes and flushes your nutrient application. If a big rain is coming, hold off on feeding until after it passes. Conversely, a dry spell in hot weather concentrates nutrients in the root zone faster, which can cause salt burn even at doses that were fine a week earlier. When temps spike above 85F or you're in a drought stretch, back off nutrient concentration and increase plain water frequency.
Watch for white crusty buildup on the surface of your soil or on the outside of clay pots. That's salt accumulation, and it's a sign you need to flush. Leach the container by running two to three times the pot's volume of plain pH-adjusted water through it, letting it drain freely. This clears accumulated fertilizer salts and resets the root environment.
Spotting and fixing outdoor nutrient problems
Before you rush out to buy a supplement, check your pH. Most apparent deficiencies outdoors are pH-related lockouts, not actual missing nutrients. The plant can't absorb what's already in the soil or feed solution when the pH is off, and the symptoms look identical to a true deficiency. Fix pH first, wait a week, then reassess.
Common deficiency symptoms and what they mean
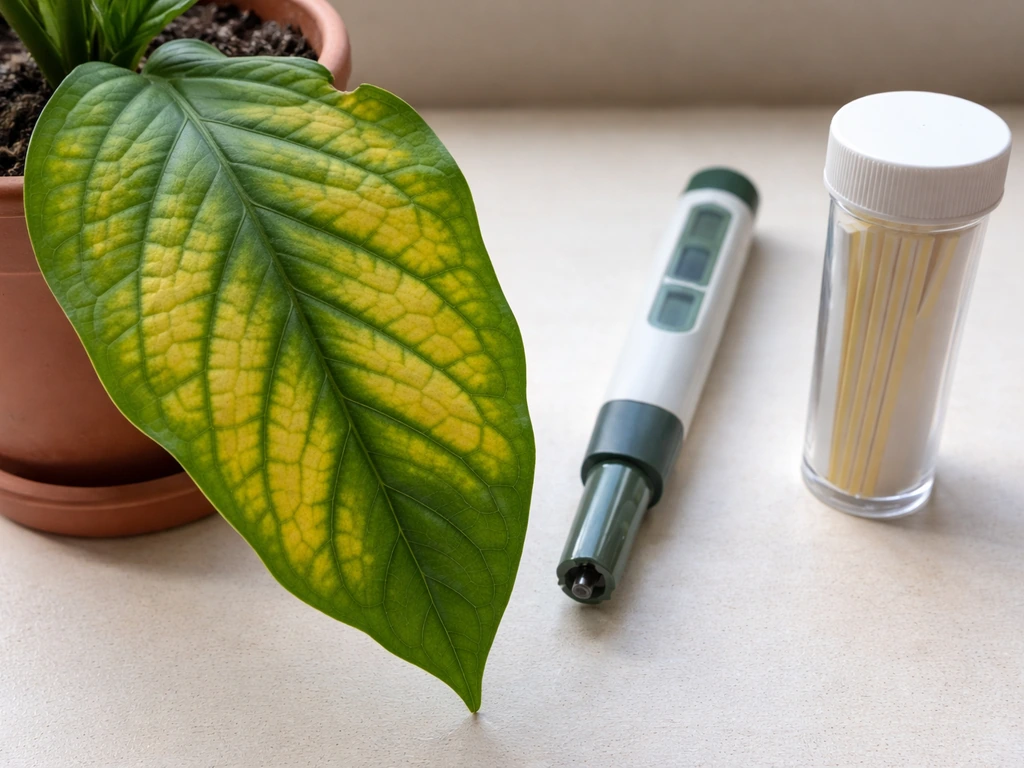
- Yellowing starting on older/lower leaves and moving up: nitrogen deficiency (mobile nutrient, shows on old growth first)
- Interveinal yellowing on older leaves (yellow between veins, green veins): magnesium deficiency, common in containers and heavy-rain conditions that flush Mg out
- Interveinal yellowing on new/upper leaves (yellow between veins, veins stay green): iron deficiency, almost always a pH problem above 7.0 rather than a true iron shortage
- Brown/scorched leaf margins starting on older leaves: potassium deficiency, or potassium excess causing magnesium and calcium displacement
- Tip burn on young leaves, or blossom end rot in fruiting plants: calcium deficiency, often in containers with inconsistent watering
- Overall dark green leaves, clawing, or taco-ing: nitrogen toxicity, most often from using a high-N veg fertilizer into the flowering stage
Mobile nutrients (nitrogen, phosphorus, potassium, magnesium) show deficiency symptoms on older leaves first because the plant pulls them from old tissue to support new growth. Immobile nutrients (calcium, iron, boron, sulfur) show symptoms on new growth first because the plant can't relocate them. This distinction is your fastest diagnostic tool when something looks wrong.
For toxicity: nitrogen toxicity (dark claw leaves) means you need to drop N immediately and flush. Salt toxicity (crispy leaf tips across the plant) means flush with plain water and hold nutrients for a week. Potassium excess is sneaky because it shows up as magnesium or calcium deficiency rather than obvious K symptoms, so don't keep piling on potassium if you're seeing interveinal chlorosis mid-flower.
pH, EC, and water quality: what you actually need to check
If you're using bottled or mineral nutrients outdoors, pH is non-negotiable to monitor. Most plants do best in a pH range of 6.0 to 7.0, with 6.2 to 6.8 being the sweet spot for soil-based outdoor grows. Below 6.0, calcium and magnesium availability drops off. Above 7.0, iron, manganese, and other micronutrients become locked out even if they're physically present in your soil or feed solution.
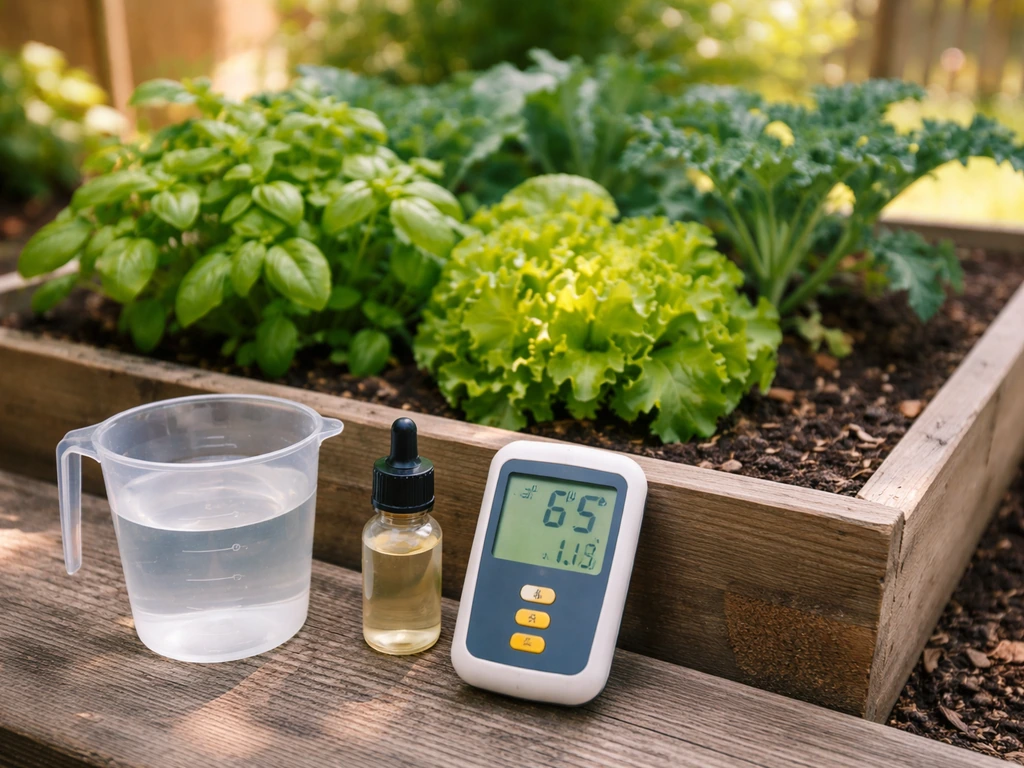
Check the pH of your feed solution after mixing nutrients, not before. Nutrients change the pH of plain water, sometimes significantly. A basic digital pH pen (around $15 to $30) is accurate enough for home growing. Test your tap water too: high alkalinity (common in many municipal water sources) can push your mix above 7.5 and cause chronic lockout issues that no amount of additional fertilizer will fix.
EC (electrical conductivity) and PPM (parts per million) measure how much dissolved mineral content is in your feed solution. For vegetative growth, a target of 800 to 1,200 ppm is a reasonable range for most plants. For flowering, 1,200 to 1,800 ppm is common. If you don't have a meter, start at half the manufacturer's recommended dose and watch how the plant responds. If new growth looks healthy and dark green (not too dark), you're in range. You only really need to get precise with EC/ppm if you're pushing the plant hard with synthetic nutrients or running a coco/soilless mix where the medium itself provides zero buffering.
One thing that trips up a lot of outdoor growers: tap water in some areas already contains 200 to 400 ppm of dissolved minerals before you add anything. That's not necessarily bad, but it does mean your nutrients are building on a base that's already there, and it eats into your headroom before hitting toxicity. If you're using well water or your tap water is high in calcium carbonate, consider a basic water report from your municipality or a cheap TDS meter test.
Simple starter nutrient plans and your weekly monitoring checklist
Below are two straightforward starter plans, one for organic/soil growers and one for bottled mineral nutrient users. Both are intentionally simple, because the most common Reddit mistake is buying a 10-bottle system when a 2 or 3-part approach does the job.
Organic / soil-based starter plan
- Amend your soil before planting with quality compost (25 to 30% of mix volume) and optionally worm castings (10 to 15%).
- Weeks 1 to 4: No additional feeding if soil is pre-amended. If growth is slow, apply a liquid fish emulsion or kelp product at half the label rate (roughly 1 tablespoon per gallon as a starting point).
- Weeks 4 to 6 (transition): Switch to a balanced organic bloom-ready liquid (look for lower N, moderate P and K). Apply once per week.
- Weeks 6 onward (flower/fruit): Apply a bloom-specific organic fertilizer every 5 to 7 days. Continue through mid-flower, then taper off in the final 2 weeks.
- Water between feedings with plain water, and let the medium approach (but not reach) dry before each watering cycle.
Bottled mineral / synthetic starter plan (General Hydroponics Flora Series example)
- Early veg: FloraGro 2 tsp + FloraMicro 1 tsp + FloraBloom 1 tsp per gallon. pH to 6.2 to 6.5. Apply once per week.
- Late veg: FloraGro 2 tsp + FloraMicro 1 tsp + FloraBloom 2 tsp per gallon. Begin including cal-mag if using RO water or soft water.
- Transition: FloraGro 1 tsp + FloraMicro 1 tsp + FloraBloom 2 tsp per gallon. Start feeding every 5 to 7 days, alternating with a plain-water day.
- Full flower: FloraGro 0 to 0.5 tsp + FloraMicro 1 tsp + FloraBloom 3 tsp per gallon. Feed every 4 to 5 days, pH to 6.2 to 6.8.
- Late flower/ripening: Taper to half doses for 1 to 2 weeks, then flush with plain pH-adjusted water for the final 7 to 14 days.
Weekly monitoring checklist
- Check pH of feed solution every time you mix nutrients, before applying
- Inspect lower/older leaves for yellowing, spots, or margin burn (mobile nutrient issues show here first)
- Inspect new/upper growth for tip burn, bleaching, or interveinal yellowing (immobile nutrient or pH lockout)
- Look at the soil surface for white crusty salt deposits (flush if present)
- Note whether the plant has grown visibly since last week (slow growth despite feeding often means a root or pH issue)
- Check runoff for extreme pH deviation (if runoff pH is above 7.5 or below 5.5, the root zone has a problem)
- Confirm your water source hasn't changed (seasonal shifts in municipal water chemistry are more common than growers realize)
- Adjust dose up or down by 25% based on plant response, never jump straight to maximum label rates
The most reliable outdoor grows aren't running the most complex nutrient programs. They're running a simple 2 or 3-part system consistently, checking pH before every feed, watching the plant respond, and adjusting one variable at a time. If you're also thinking through your bloom stage feeding in more detail, or comparing how outdoor feeding differs from indoor mineral programs, those are worth exploring separately as you dial in your grow.
Choosing the best bloom nutrients for outdoor grow comes down to using a low-nitrogen, high-phosphorus and potassium formula at the right strength for your medium bloom stage feeding. If you're growing indoors, the best fertilizer for indoor grow setups often depends on your medium and whether you're using a soil or hydro-style nutrient plan indoor mineral programs. Start simple, stay consistent, and let the plant tell you what it needs.
FAQ
Should I follow the nutrient schedule by calendar or by plant look outdoors?
Use a calendar only as a starting point, then adjust by canopy response. If leaves stay pale or growth stalls, increase strength slightly or extend feeding frequency, but if you see clawing, very dark green leaves, or burned tips, back off nitrogen or salts first. Outdoor plants can swing nutrient demand fast with heat, rain, and cloudy days, so visual checks matter more than week numbers.
Can I use the same nutrients for the entire grow if I only change the dose?
In most cases, no. Even if you reduce strength, the mix can still be wrong for flowering because phosphorus and potassium needs rise while nitrogen should drop. Keeping a veg-heavy formula going into bloom is a common cause of stunted flower development and dark, clawing leaves.
What should I do if my soil is really rich, compost-heavy, or already has slow-release fertilizer?
Start with less supplemental feeding than you think, often skipping the first several weeks entirely. If the soil already includes slow-release pellets, you can also get salt buildup later when you add bottled nutrients on top. Watch for early excess, and if you do start feeding, begin at 25% to 50% strength and increase only after you confirm new growth stays healthy.
How do I tell nutrient deficiency from pH lockout outdoors when symptoms look similar?
Fix pH first and reassess after about a week. If the issue is a lockout, correcting pH often improves overall growth rather than only targeting one leaf pattern. Also check whether symptoms appear broadly across the canopy (often lockout) versus clearly on older or newer leaves (often mobile versus immobile nutrient behavior).
Do I need cal-mag every time if I’m growing outdoors in soil?
Not automatically. Cal-mag needs are higher in containers, fast-draining media, and when pH is drifting out of the ideal range. If your base fertilizer already includes calcium and magnesium and your pH stays in range, you may only need occasional top-ups. If you see new growth issues like distorted leaves, then consider adding cal-mag and confirm pH before adding more anything else.
Is it safe to feed at full label dose outdoors?
Usually not as a first try. Outdoor swings in temperature and evap rate can concentrate salts faster than you expect. Start at half dose, verify pH and observe leaf color and tip condition, then adjust gradually. Jumping straight to full strength is a frequent driver of salt burn and chronic lockout problems.
Should I adjust EC/PPM for hot weather or drought?
Yes. When plants transpire less or more erratically (hot, dry spells, wind), salt concentration can effectively rise at the root zone even if your measured feed is unchanged. In those periods, drop nutrient strength slightly and rely more on plain pH-adjusted water frequency to keep root conditions stable.
My runoff is dirty, should I always chase runoff numbers or just use volume?
Prioritize controlling salt buildup, so consistent runoff is more important than chasing exact EC values. For containers, aim to water to achieve meaningful runoff, then let it drain fully. If you repeatedly see white crust or the plant worsens despite regular feeding, schedule a leaching event (several times the pot volume) and lower future doses.
How do I mix nutrients safely to avoid precipitation or lockouts?
Follow water-first mixing, then add cal-mag if needed, then base nutrients, and only then additives. Avoid combining concentrated nutrient bottles directly in a small container, because some salts can react and form unusable precipitates. Stir between additions and use room-temperature water to reduce weird reactions and inconsistent dosing.
What if it rained right after feeding, do I need to flush or can I wait?
Usually you can wait. Rain can dilute and partially reset the root zone, which often reduces salt stress. Unless you already saw salt burn or crusting before the rain, skip an emergency flush and watch for recovery in leaf condition over the next 5 to 7 days. Resume feeding at a reduced dose if growth looks healthy.
How much should I flush in the final weeks, especially if I’m using bottled nutrients?
A common approach is tapering synthetic feeding and switching to plain pH-adjusted water more frequently during the last 1 to 2 weeks, while monitoring runoff condition. If you see heavy crusting or persistent tip burn, more aggressive flushing (leaching) can help. With organic inputs, salt behavior differs, so you may not need to stop feeding the same way, but you should still avoid overdoing late heavy doses.
If my leaves look fine but buds aren’t swelling, what nutrient mistake is most likely?
The most common issue is keeping nitrogen too high during bloom. Another frequent mistake is feeding too strong and causing subtle stress, which redirects energy away from flower growth. Verify you’re using a true bloom profile and reduce N, then make sure pH and salt buildup are under control.
Should I stop nutrients entirely if I see one symptom like crispy tips?
Not always immediately, but you should act quickly. Crispy tips usually point to salt stress, so the right move is to flush with plain pH-adjusted water, pause nutrients for about a week, and restart at lower strength. Continue monitoring new growth, because old damaged tips will not recover.
Can I use a single fertilizer for both veg and bloom to keep things simple?
Sometimes, but it rarely gives ideal performance. A “general” product can work if you strictly adjust dosing and ensure nitrogen drops in flower, yet many all-in-one formulas still contain too much N for late stages. If simplicity is the goal, a basic 2 or 3-part system with a veg and bloom profile is usually more reliable than one bottle.