The best seeds for an outdoor grow are ones matched to your specific climate, your local frost dates, and your growing goals, not whatever ranked first in a generic top-ten list. If you're in a short-season northern climate, you want fast-maturing, cold-tolerant varieties. If you're growing in a hot, humid southern zone, disease resistance and heat tolerance jump to the top of your checklist. Get that match right and almost everything else becomes easier: germination is more reliable, plants stress less, and you end up with a real harvest instead of a disappointing late-season scramble.
Best Seeds for Outdoor Grow: Match Varieties to Your Climate

Marcus Holloway
23 May 2026
How to choose the right seeds for your outdoor climate
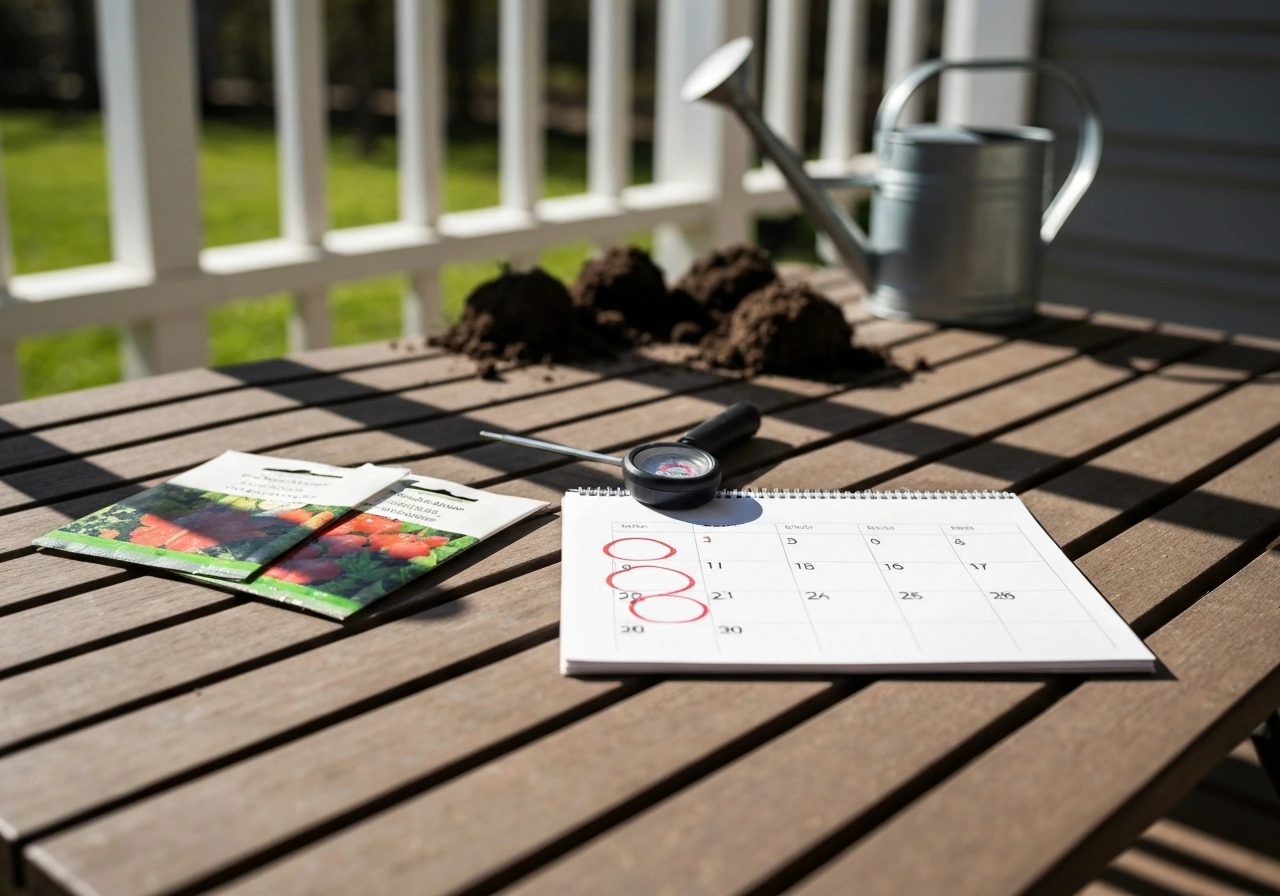
Before you buy a single seed, figure out two things: your last spring frost date and your first fall frost date. These two numbers define your actual growing window. The Old Farmer's Almanac frost dates calculator gives you both by ZIP code, pulling from nearby weather stations. Once you know those dates, you know how many frost-free days you're working with, and that number directly tells you what 'days to maturity' you can realistically fit.
Your USDA Plant Hardiness Zone is also worth knowing, but don't lean on it too hard for annual crops. Hardiness zones are built around average annual minimum winter temperatures in 10°F bands with 5°F half-zones, which makes them more useful for perennials than for vegetables or cannabis. What matters more for annuals is your growing season length, your average summer highs and lows, and your humidity patterns. NOAA's Climate Normals tool gives you 30-year averages (the most recent set covers 1991–2020) for temperature and precipitation at stations near you, that's the data that actually tells you whether your summers top out at 75°F or 105°F.
Here's a quick framework by climate type: If your summers are hot (consistent daytime highs above 80°F with nights staying above 55°F), look for heat-tolerant varieties and warm-season crops. If your growing window is under 90 days, prioritize short-season or fast-maturing varieties, some shorter-season types actually outperform longer-season ones in quality because they finish before late-season heat or early frost hits. If you're in a humid region with frequent summer rain, mold resistance and good air circulation from the plant's growth structure become critical selection criteria.
Best seed traits: fast-maturing, resilient, high-yield (and the tradeoffs)
No single seed trait gives you everything. Here's what each of the key traits actually buys you, and what you give up.
| Trait | What it gets you | The tradeoff |
|---|---|---|
| Fast-maturing / short-season | Fits short growing windows, escapes late-season heat or early frost, lower risk overall | Often lower total yield ceiling than slow-maturing varieties |
| Disease/mold resistance | Survives humid summers, reduces losses from botrytis and powdery mildew | Resistance can break down with new pathogen strains or extremely favorable disease conditions |
| Drought tolerance | Handles inconsistent watering and hot dry spells | May sacrifice some yield potential vs. well-watered high-input varieties |
| Cold tolerance | Extends your season earlier in spring and later in fall | Cold-tolerant varieties often sacrifice peak heat-season performance |
| High-yield genetics | Maximum harvest potential under ideal conditions | Usually demands more inputs (water, nutrients, attention) and often has a longer maturity window |
| Compact / dwarf growth | Great for containers, small spaces, stealth growing | Lower overall yield per plant; sometimes lower potency or flavor ceiling |
For most outdoor beginners, fast-maturing plus disease resistance is the best combination to start with. You're reducing two of the most common failure modes, running out of season and losing plants to mold or rot, without needing to optimize everything else perfectly. Seed listings from reputable sources often flag heat tolerance and disease resistance with specific symbols or labels. Johnny's Selected Seeds, for example, uses a 'Heat Tolerant' symbol on individual varieties within crop groups, which is more useful than a general category label. Look for that kind of variety-specific rating rather than just the crop category.
Key selection criteria to check on any seed listing: days to maturity, growth habit (determinate vs. indeterminate, compact vs. sprawling), heat and cold tolerance ratings, disease resistance codes, and fruit or flower size. Seed packets and online listings typically list days to germination and days to harvest separately, the maturity number usually starts from germination for direct-sown seeds, so factor in your germination time when doing the math against your frost dates.
Seed types and what they mean for outdoor success
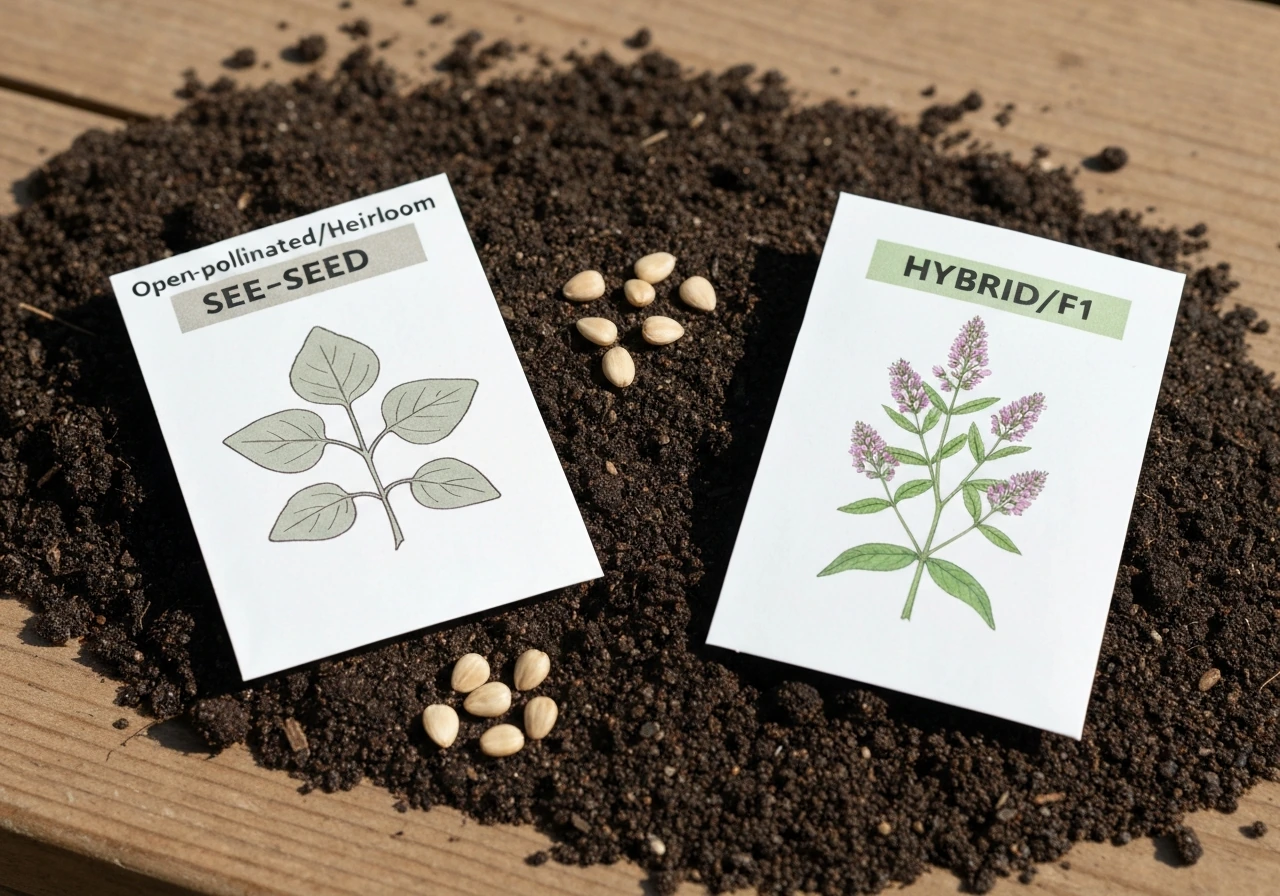
For general outdoor vegetables and edibles, the main distinction is between open-pollinated (OP) and heirloom varieties on one side, and hybrid (F1) varieties on the other. Hybrids tend to offer more uniform performance, disease resistance bred specifically into them, and often higher yields, but you can't save seed from them reliably. Open-pollinated and heirloom varieties let you save seed year to year and often have better flavor, but they're generally more variable in performance and sometimes less disease-resistant. For a first outdoor grow focused on reliability, F1 hybrids with disease resistance codes are usually the safer call.
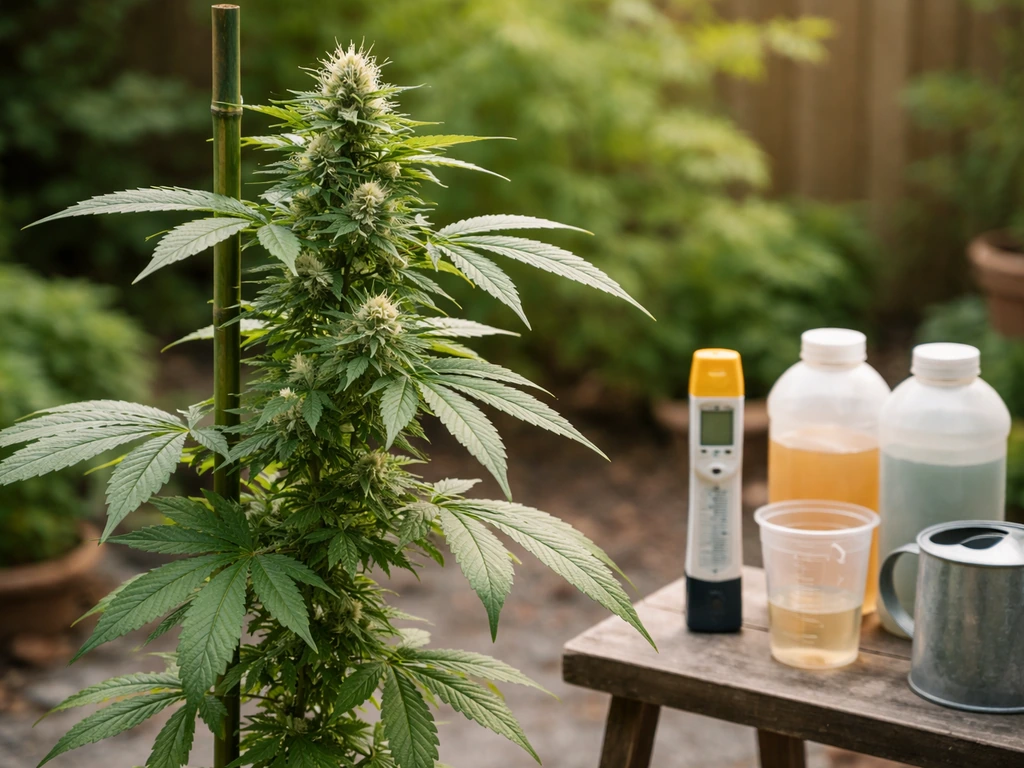
For cannabis growers specifically, the seed type decision is a big one. Photoperiod seeds produce plants that switch from vegetative growth to flowering based on the length of darkness each night, meaning your outdoor plant will start flowering naturally as days shorten in late summer. Autoflowering seeds, by contrast, flower based on age rather than light cycle, typically completing their full life cycle in around 70–90 days from germination regardless of day length. For outdoor cannabis grows, autoflowers are hard to beat for beginners: you can run multiple harvests in a single season in warm climates, they stay compact, and you're not locked into a single harvest window tied to the fall equinox. Feminized seeds (available in both photoperiod and autoflowering types) eliminate the risk of male plants, which matters a lot outdoors where controlling pollination is harder than indoors.
Quick comparison: photoperiod vs. autoflower for outdoors
| Factor | Photoperiod | Autoflower |
|---|---|---|
| Flowering trigger | Day length (darkness hours) | Plant age |
| Typical outdoor harvest window | Late September to November (varies by latitude) | 70–90 days from germination, flexible timing |
| Plant size | Can get large (better yield ceiling) | Compact to medium |
| Multiple harvests per season | Usually one | Two or more in long seasons |
| Best for | Experienced growers maximizing yield | Beginners, short seasons, multiple runs |
Where to plant (in-ground vs. containers) and how that changes your seed pick
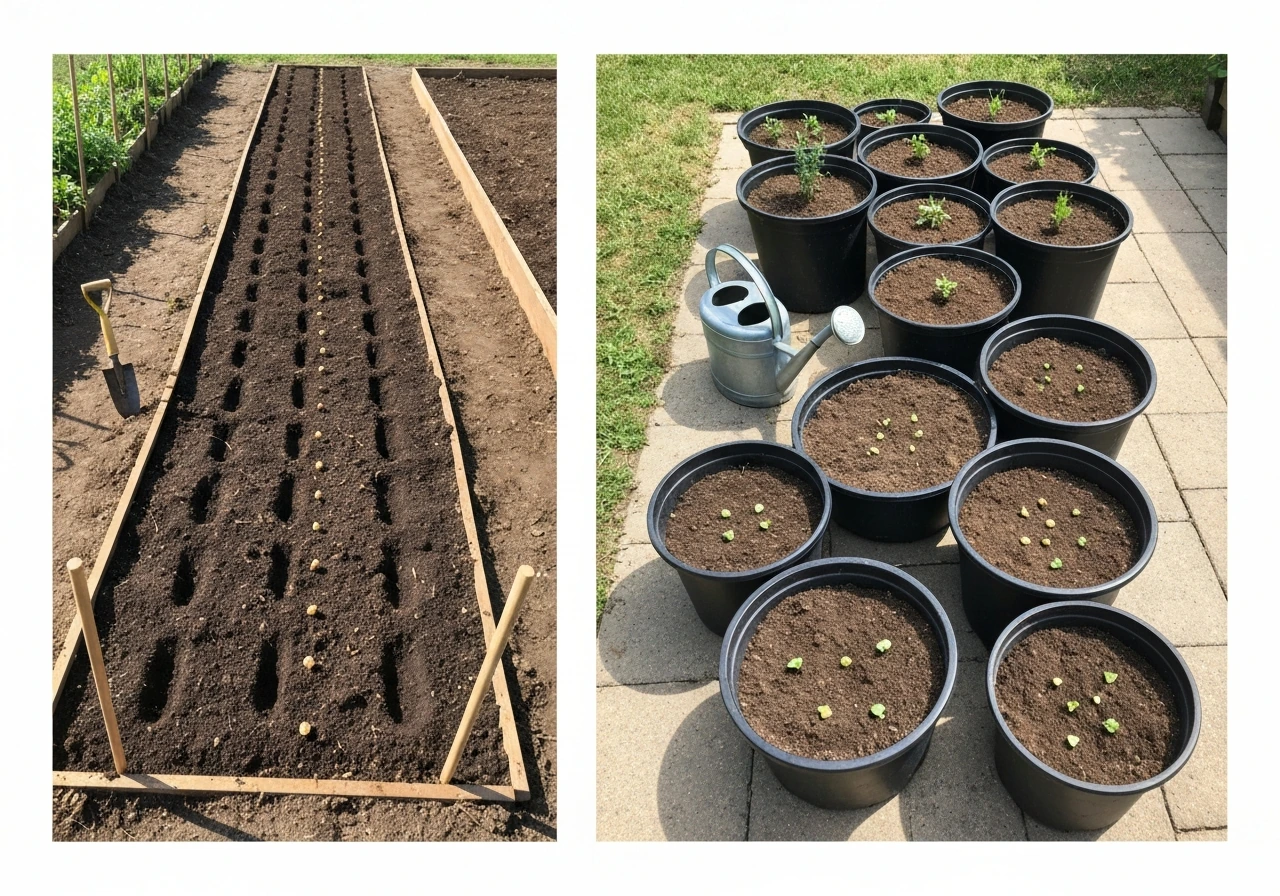
In-ground planting gives your plants the most root space, the most consistent moisture retention, and access to native soil biology. It's the right choice for large, long-season plants that need room to spread, indeterminate tomatoes, squash, full-size cannabis photoperiods, and anything with a deep taproot. With in-ground growing, your seed choice isn't really constrained by space, so you can prioritize yield, flavor, or disease resistance without worrying about plant size.
Container growing is a different game. Containers restrict root space, which limits how large a plant can get and how long it can go between waterings, as plants grow, they can need daily watering in warm weather. Container size matters a lot: compact or dwarf seed varieties are a natural fit. For tomatoes, peppers, and eggplants, you need at least 5 gallons of container volume with 12–18 inches of depth. Cucumbers need at least 3 gallons with 8 inches of depth, while peppers can work in as little as 2 gallons if the variety is small-statured. A rough spacing rule: one plant per 8–12 inches of container top diameter. The practical takeaway is that if you're growing in containers, specifically look for seed varieties described as 'patio,' 'dwarf,' 'bush,' or 'compact.' For cannabis in containers, autoflowers are almost always the better fit, they stay smaller naturally and their predictable finish time makes container management much easier.
Container growing does give you one significant advantage that changes your seed strategy: mobility. You can move containers to optimize sun exposure, protect plants during unexpected cold snaps, or bring them inside during extreme weather. That flexibility lets you stretch slightly outside your hardiness comfort zone and try varieties that might be marginal for your outdoor climate.
Timing: when to start and when to transplant outdoors
Timing is where most beginner outdoor grows go wrong. Planting too early gets you frost-damaged seedlings. Planting too late cuts into your season and can leave you racing the first fall frost. Here's how to nail it.
Start from your last spring frost date and work backward. Cool-season crops (peas, arugula, radish, turnip, spinach, lettuce) can go into the ground when soil reaches about 50°F, they can handle light frost after establishment. Warm-season crops (tomatoes, peppers, squash, cannabis) need soil at a minimum of 60°F, ideally 65–70°F. Planting into cold soil stalls germination and invites disease. Cool-season crops germinate best around 55–65°F soil temperature; warm-season crops germinate best around 65–75°F.
If you're starting seeds indoors and transplanting, count backward from your outdoor transplant date. Most warm-season vegetables need 6–8 weeks of indoor growth before transplanting. Cannabis seedlings are typically ready to go outside in 2–4 weeks. Then add the hardening-off period: plan for at least 1–2 weeks before transplant where you expose seedlings to outdoor conditions gradually. University research consistently recommends starting hardening two weeks before the planned transplant date, moving plants outside to a shaded protected spot during warm days and bringing them back in at night. Skip this step and you'll get sunscald and wind stress that sets plants back by weeks.
- Find your last spring frost date (use the Old Farmer's Almanac frost date calculator by ZIP code)
- Check current soil temperature with a probe — wait for 50°F+ for cool-season crops, 60–65°F+ for warm-season crops
- Count backward from transplant date to determine indoor start date (typically 6–8 weeks for most vegetables, 2–4 weeks for cannabis)
- Begin hardening off 2 weeks before planned outdoor transplant date
- Check days to maturity on your seed listing and confirm it fits between your transplant date and first fall frost
Germination and early seedling care outdoors
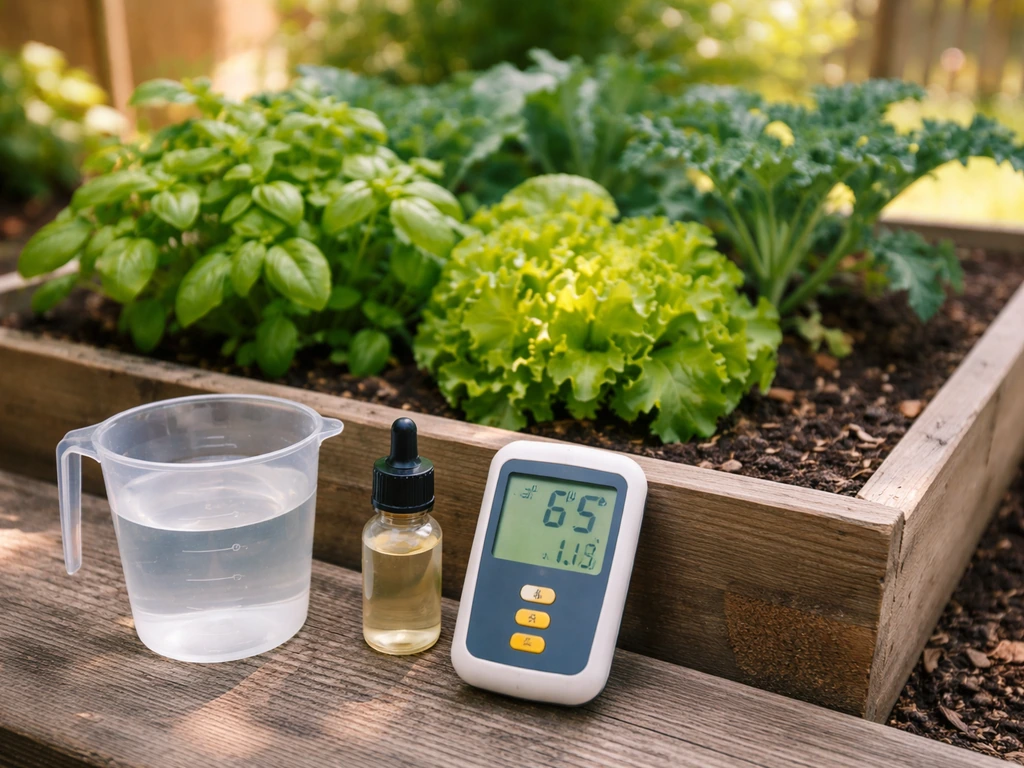
Whether you're germinating indoors first or direct-sowing outside, the first two weeks of a plant's life are its most vulnerable. The biggest enemy at this stage isn't cold or drought, it's damping off, a fungal disease complex that collapses seedling stems at the soil line. It spreads through contaminated water, shared trays, and reused potting mix. The fix is straightforward: use fresh, sterile potting mix for seedling trays (never garden soil or compost, which carry pathogens), water with clean water at around 68–77°F, and don't overwater. Soggy conditions are what pathogens thrive in. Well-draining mix is non-negotiable.
For direct outdoor sowing, wait for soil temperatures to hit the appropriate threshold for your crop type (see the timing section above). Sow at the depth listed on the packet, usually 2–3 times the seed diameter. Keep the top inch of soil consistently moist but not saturated until germination. Outdoor germination is slower and less predictable than indoor germination because temperature fluctuates, so give it a few extra days before assuming failure.
Once seedlings have their first true leaves (the pair that comes after the initial seed leaves), they're significantly more resilient. At this point, ease back slightly on watering frequency, letting the top layer dry a bit between waterings encourages deeper root growth. For transplanted seedlings, keep them shaded and sheltered for the first 3–5 days outdoors even after completing the full hardening process. Wind stress is underrated as a seedling killer; a simple temporary windbreak (staked row cover, a piece of cardboard, anything) makes a real difference.
Outdoor risk management: pests, mold, weather stress and fixes
Smart seed selection prevents a lot of problems before they start, but you still need to manage outdoor risks actively. Here's what to watch for and how to stay ahead of it.
Mold and fungal disease
Botrytis (gray mold) is the outdoor grower's most frustrating late-season problem. Fungal spores land on flowers or developing fruit during wet weather and germinate there, causing rot during ripening, exactly when you can least afford to lose the crop. Rainy conditions during bloom are the main trigger. Seed selection helps here: look for varieties with botrytis resistance ratings, and avoid dense-foliaged varieties in humid climates because they trap moisture and limit air movement. Powdery mildew is triggered by shaded areas and poor air circulation. Choosing varieties with powdery mildew resistance (look for 'PM resistance' or specific pathogen resistance codes on the listing) and giving plants adequate spacing are your two best preventive tools.
Pests
Pest pressure varies massively by region, so the most useful thing you can do is research what's common in your specific area before you buy seeds. That said, choosing vigorous, healthy-starting plants (which comes back to seed quality and timing) means you're not dealing with pest-weakened plants that attract secondary problems. Stressed or nutrient-deficient plants are more susceptible to infection and pest damage, chlorosis (yellowing leaves) and stunted growth are early warning signs that a plant is struggling and likely to become a pest magnet. Getting your nutrients and feeding schedule dialed in alongside your seed selection is a connected problem. If you want practical feeding guidance, search for best nutrients for outdoor grow reddit threads and compare advice against your specific crop and local weather. Your soil fertility and nutrient program, topics worth exploring in their own right for outdoor grows, directly affect how resistant your plants are to both pest and disease pressure. During the flowering stage, using the right nutrients for an outdoor grow helps support bud development while reducing stress flowering stage best nutrients for outdoor grow. If you dial in good nutrients for outdoor grow plants, you can reduce stress and help them resist pests and diseases as conditions change.
Weather stress
Unexpected cold snaps, heat waves, and heavy rain are the weather events that kill outdoor grows. For cold events, container growers can simply move plants inside. In-ground growers should have row cover or frost cloth ready when late spring cold is forecast. For heat stress, choosing heat-tolerant varieties (look for that specific designation on the seed listing, not just 'warm-season') and mulching heavily around plant bases to retain soil moisture are the two fastest fixes. For heavy rain, ensure your planting site or containers have genuine drainage, pooling water around roots for more than a few hours starts a cascade of root problems that no amount of good seed genetics will overcome.
Your seed selection checklist and next steps
Use this checklist to narrow your seed shortlist before you buy anything. Go through it in order, the earlier questions eliminate the most options and save you from making a purchase you'll regret when your plants don't finish before frost.
- Find your frost dates: Look up your last spring frost and first fall frost by ZIP code. Calculate your frost-free growing window in days.
- Check your soil temperature: Confirm actual soil temp before planting or planning germination. Don't go by calendar dates alone.
- Match days to maturity: Any variety you consider must mature in fewer days than your frost-free window, with a 10–14 day buffer for weather surprises.
- Choose your seed type: Autoflower vs. photoperiod (cannabis), or hybrid vs. open-pollinated (vegetables), based on your goals and season length.
- Check for disease resistance: In humid or rainy climates, non-negotiable. Look for specific resistance codes on the seed listing (PM, botrytis, etc.).
- Match plant size to your setup: Container growing means compact or dwarf varieties. In-ground gives you more flexibility.
- Assess germination rate: Buy from reputable seed suppliers that publish germination rates. For cannabis, stick to feminized seeds for outdoor grows unless you have a specific reason not to.
- Plan your start date: Work backward from your transplant date. Add 2 weeks for hardening off. Add 6–8 weeks if starting indoors (2–4 weeks for cannabis).
- Prepare your germination setup: Fresh sterile potting mix, clean water at 68–77°F, good drainage — non-negotiable for healthy seedlings.
- Have your outdoor risk plan ready: Row cover for cold snaps, adequate plant spacing for air circulation, drainage confirmed at your planting site.
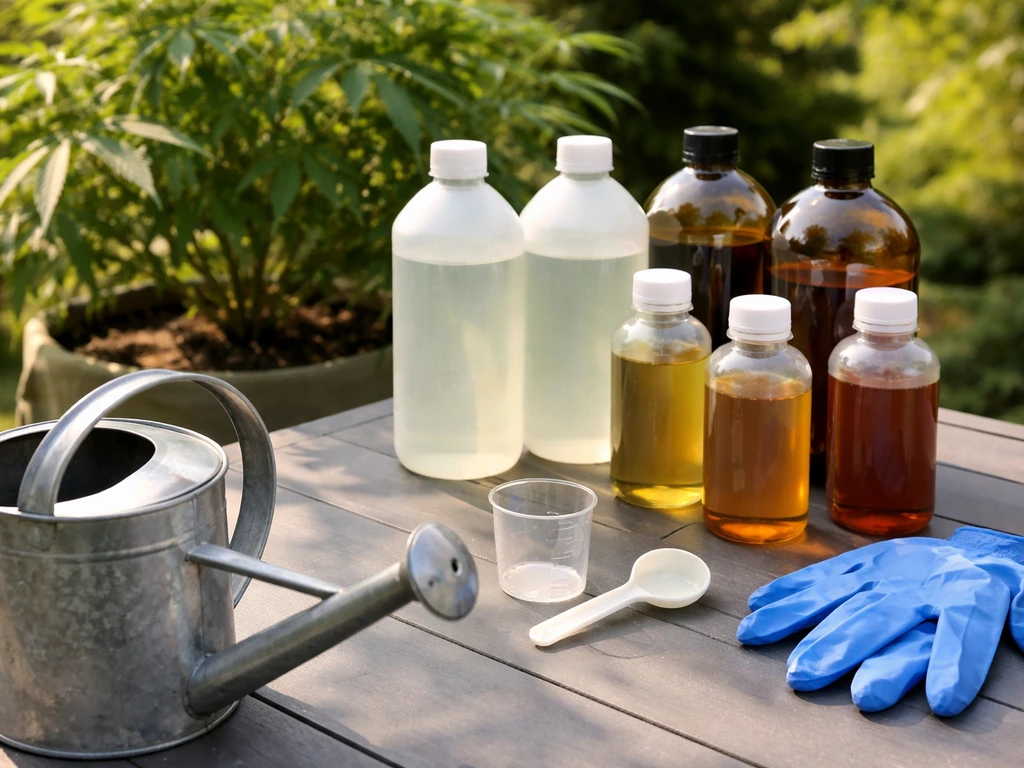
Once you've got your seed shortlist down, the next decisions that matter most are your fertilizer and nutrient program, what you feed your outdoor plants from seedling through harvest has nearly as much impact on success as the seeds themselves. Getting your feeding schedule and bloom nutrients dialed in for the outdoor environment is the natural next step after locking in your seed selection, and it's worth giving those topics as much thought as you gave your variety choices. From there, use a feeding schedule matched to your plants' growth stage so they get the best nutrients for an outdoor grow without overfeeding. Once seedlings are established, picking the best bloom nutrients for outdoor grow helps support flower and fruit development without causing late-season nutrient burn. For indoor setups, the nutrients change fast, so it helps to know the best fertilizer for indoor grow results before you dial in your feeding schedule.
Buy seeds from suppliers that publish actual germination percentages, provide clear disease resistance labeling, and offer growing notes specific to outdoor conditions. Avoid unlabeled seeds, seeds with no listed days to maturity, or bargain bulk seed mixes with no variety names, you can't plan around what you can't measure. Start with two or three well-chosen varieties matched to your climate rather than buying ten varieties and hoping something sticks. One successful harvest in your specific outdoor conditions is worth more than a dozen incomplete attempts with the wrong seeds.
FAQ
How can I tell if my “best seeds for outdoor grow” are actually viable before planting?
It depends on your crop type. For many outdoor vegetables, germination failure from the seed is less common than germination delay from cold soil or uneven moisture. A practical check is to place 10 seeds on a damp paper towel at about 70°F for 3 to 7 days (warm-season usually sooner, cool-season a bit longer). If germination is low there, the seed lot is likely the issue. If germination is good but outdoor fails, your timing, depth, and soil temperature are the more likely causes.
What’s the most common planting mistake with outdoor seeds, and how deep should I sow them?
For direct-sowing, seed depth errors are a common reason “good seed” still disappoints. A useful rule is to sow at about 2 to 3 times the seed diameter (and keep seed in contact with moist soil). If you planted too shallow, surface drying and birds take a bigger toll. If you planted too deep, seedlings may not have enough energy before conditions worsen or frost arrives.
What should I do if spring weather runs colder than expected after I plant?
If your last spring frost date is “safe” on paper, your real risk is late cold snaps that hit after you planted. You can hedge by using row cover or a low tunnel for 1 to 2 weeks after sowing/transplanting, especially for warm-season crops. Another hedge is choosing slightly faster-maturing varieties than you think you need, then you gain buffer if your spring warms slower than the 30-year average.
In humid regions, how do I adjust seed choice and spacing to avoid mold and mildew?
Dense foliage can make humidity problems worse even when you selected resistant varieties. In humid climates, favor growth habits that allow airflow (less canopy density, better spacing, and training where applicable). Also, avoid planting right next to fences or walls that trap moisture. If you are container growing, remember that containers can dry unevenly, and chronic uneven moisture stresses plants, which can lead to disease even with good genetics.
How do I calculate whether a variety’s days to maturity will truly fit my outdoor season?
For short growing windows, prioritize the maturity you can actually finish, not just the seed listing’s top-end scenario. A good decision aid is to count frost-free days, then subtract a safety buffer of about 10 to 20 days for weather swings, slower-than-ideal germination, and transplant shock. That buffer is often the difference between “harvestable” and “rushed at frost.”
Are disease-resistant seeds always reliable, or are there conditions that can still make them fail?
If your goal is reliability, F1 hybrids with disease resistance traits are usually easier than heirlooms, but you should still check which specific diseases the resistance applies to (example, botrytis versus mildew). Also confirm whether the crop listing assumes ideal spacing or irrigation. Some resistant varieties do fine only when you maintain airflow and avoid chronic leaf wetness, so seed resistance is not a substitute for basic site and spacing choices.
Can I save seeds from the varieties that perform best outdoors?
Yes, and it’s especially relevant if you plan to save seed. Hybrid (F1) seeds generally should not be relied on for next year’s consistency. Open-pollinated and heirloom varieties keep more predictable traits and are typically the better choice if seed saving is part of your plan. If you buy a mix of types, label them so you do not accidentally save from a hybrid you thought was stable.
Which outdoor seeds are most container-friendly, and when should I switch to autoflowers?
You can, but you need crop-specific thinking. Dwarf or patio tomatoes and compact peppers are easier in small containers, but cannabis containers often work best with autoflowers because they finish on a schedule and stay smaller. Also, container warmth can be a double-edged sword, in spring it warms faster but in midsummer it can overheat and dry out quickly, so choose containers and soil that hold moisture without staying waterlogged.
How do I protect outdoor seedlings and flowering plants when a heat wave hits?
If you get a late heat wave, the biggest seed choice benefit is heat tolerance, and the biggest field fix is moisture stability. Use deep mulch to reduce soil temperature swings and evaporation, then keep irrigation consistent to avoid stress and blossom drop. Avoid fertilizing heavily during peak heat stress, because plants under heat load can be more sensitive to salt buildup.